

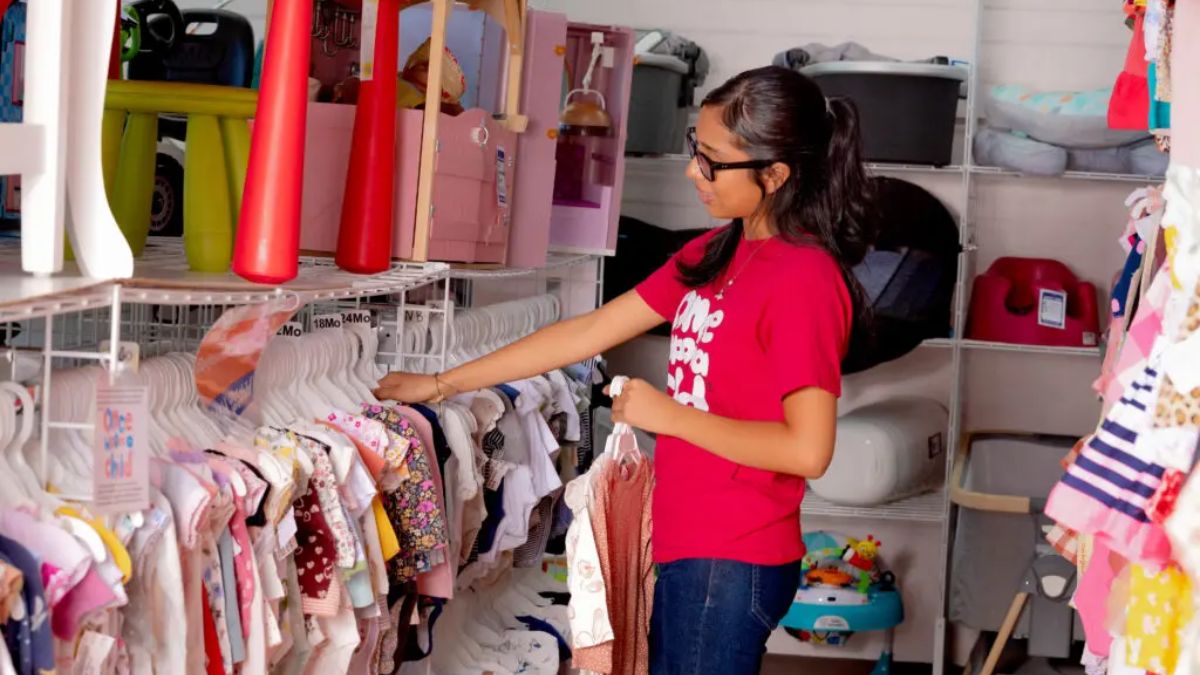
My garage once held eleven bags of outgrown baby clothes, a stroller no one would need again, and a toy kitchen my daughter had loved for exactly four months. I kept saying, “I’ll deal with it someday.” Then a friend asked if I’d ever tried selling any of it. I listed one bundle of onesies on a Tuesday night, and by Thursday it had sold for more than I paid for the whole lot. That tiny win changed how I looked at every pile of stuff in my house.
Reselling is one of the most beginner-friendly ways for a stay-at-home mom to earn: you can start with items you already own, you don’t need special skills, and you can work in short bursts. It can grow from decluttering to a real side business of sourcing, listing, and shipping. But it’s also time-consuming, full of small costs, and a magnet for scams, so a clear plan matters.
There’s also a tax side that confuses people. After years of back and forth, recent federal law restored the long-standing threshold for payment platform reporting: a 1099-K is generally issued only if you receive more than $20,000 and have more than 200 transactions. That doesn’t mean small sellers owe nothing, but it does mean fewer people will get surprise forms.
In this guide, I’ll explain how moms can start reselling kids’ clothes, toys, and thrift finds: what sells, where to sell, how to price, how to ship, how to stay safe, and what to know about taxes. (Income varies widely and isn’t guaranteed.)
Two Kinds of Reselling
Selling your own stuff
Decluttering and selling items you already own. It’s the lowest-risk way to start and often brings in money immediately.
Sourcing to resell
Buying items (thrift stores, garage sales, clearance, estate sales, bulk lots) to sell for a profit. This takes more time, cash, and judgment, and it can become a real business.
Start with the first, then test the second.

What Tends to Sell Well
Demand changes, so always check what’s actually selling, but common categories include:
- Kids’ clothing, especially popular brands, bundles in good condition, and seasonal items
- Baby gear and toys that are clean, safe, and complete
- Books and educational materials, including homeschool curricula
- Maternity wear
- Costumes and special-occasion outfits
- Home decor and kitchen items
- Brand-name shoes and bags (with authenticity checks)
- Furniture and larger items for local pickup
Safety matters for children’s products: check recalls and platform rules before selling items like car seats, cribs, and some toys, since some are restricted or prohibited.
Where to Sell
- Local marketplaces and community groups: good for larger items and quick, no-shipping sales
- Online resale marketplaces for clothing: built-in shoppers, with fees
- General marketplaces and auction sites: wide audiences for toys, books, and collectibles
- Your own social channels or a small shop: possible once you’ve built a following
Each platform has different fees, rules, and buyer habits. Start with one or two instead of listing everywhere.

Step 1: Source Smartly
- Start at home: closets, garages, and storage boxes.
- Swap with friends: moms often have items they’re ready to pass along.
- Shop thrift stores, garage sales, and clearance with a clear budget and a list of what sells.
- Check sold listings on your chosen platform before buying anything to resell. What people are paying matters more than what sellers are asking.
- Inspect condition carefully: stains, damage, missing pieces, and odors.
- Skip risky items: recalled products, anything you can’t verify, and items that are hard to ship.
Step 2: Photograph and Describe Honestly
Good photos and honest descriptions sell items and reduce returns:
- Use natural light and a clean background.
- Take multiple photos: front, back, tags, close-ups of flaws.
- Describe size, brand, material, and condition accurately.
- Mention smoke- or pet-free homes only if true.
- Use search-friendly titles with brand, size, color, and item type.
- Use AI to help draft descriptions if you like, but check every detail so you don’t state something that isn’t true.
Step 3: Price for Profit
Work out your numbers:
- What you paid (or zero if it’s your own item)
- Platform fees and payment fees
- Shipping costs (including packaging)
- Time spent, which has real value
Check sold prices for similar items, price slightly flexibly if offers are common on your platform, and don’t underprice just to move items.
Step 4: Ship Like a Pro
- Weigh and measure carefully before listing, so shipping costs are accurate.
- Use proper packaging: clean polybags for clothing and sturdy boxes for fragile items.
- Buy shipping labels through your platform or carrier for tracking and protection.
- Ship quickly, since speed affects your reputation.
- Keep proof of postage and tracking.
- Consider a weekly packing session to save time.

Step 5: Protect Yourself From Scams and Safety Risks
Reselling comes with real risks:
- Never accept overpayments and agree to send back the difference.
- Be careful with payment app scams: only use payment methods with seller protection when available, and don’t share verification codes.
- Don’t ship before payment clears.
- Stay on the platform for messages and payments. Be wary of buyers who push you to switch to text or email.
- For local pickup, stay safe: meet in a public place or use a porch pickup with a friend nearby, and tell someone where you’re going.
- Don’t share your home address publicly.
- Watch for counterfeit items if you sell or buy brand-name goods.
Step 6: Understand Taxes and Records
Tax rules depend on where you live and whether you’re selling used personal items at a loss or running a business for profit. General points for U.S. sellers:
- Selling personal items at a loss is generally not taxable income, but profits and business activity are different. Ask a tax professional about your situation.
- If you buy items to resell, it’s generally a business. Net self-employment earnings of $400 or more trigger self-employment tax, even if no form is sent.
- The 1099-K reporting threshold is generally more than $20,000 and more than 200 transactions, but you must still report income whether or not you receive a form.
- Keep records: what you paid, what you sold for, fees, and shipping.
- Set aside money from sales for taxes if you’re running a business.
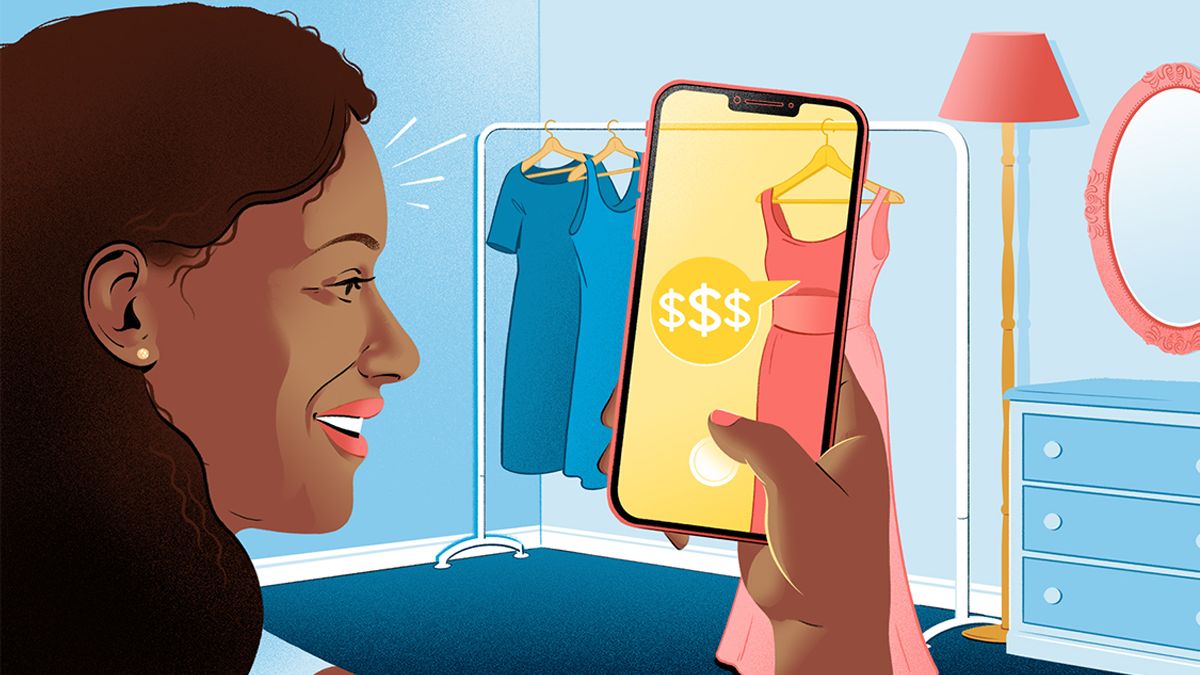
Step 7: Build a System
- Weekly rhythm: one sourcing trip, one photo session, one listing session, and one packing day.
- A simple spreadsheet to track items, costs, sale prices, and profit.
- A dedicated space: a shelf or bin for inventory.
- Batching: photograph and list many items at once.
- A minimum profit rule: don’t buy items that won’t earn at least a set amount.
Mistakes to Avoid
- Buying more than you can list.
- Ignoring fees and shipping.
- Skipping condition checks.
- Selling restricted or recalled items.
- Falling for overpayment scams.
- Not tracking costs and sales.
- Letting inventory pile up.
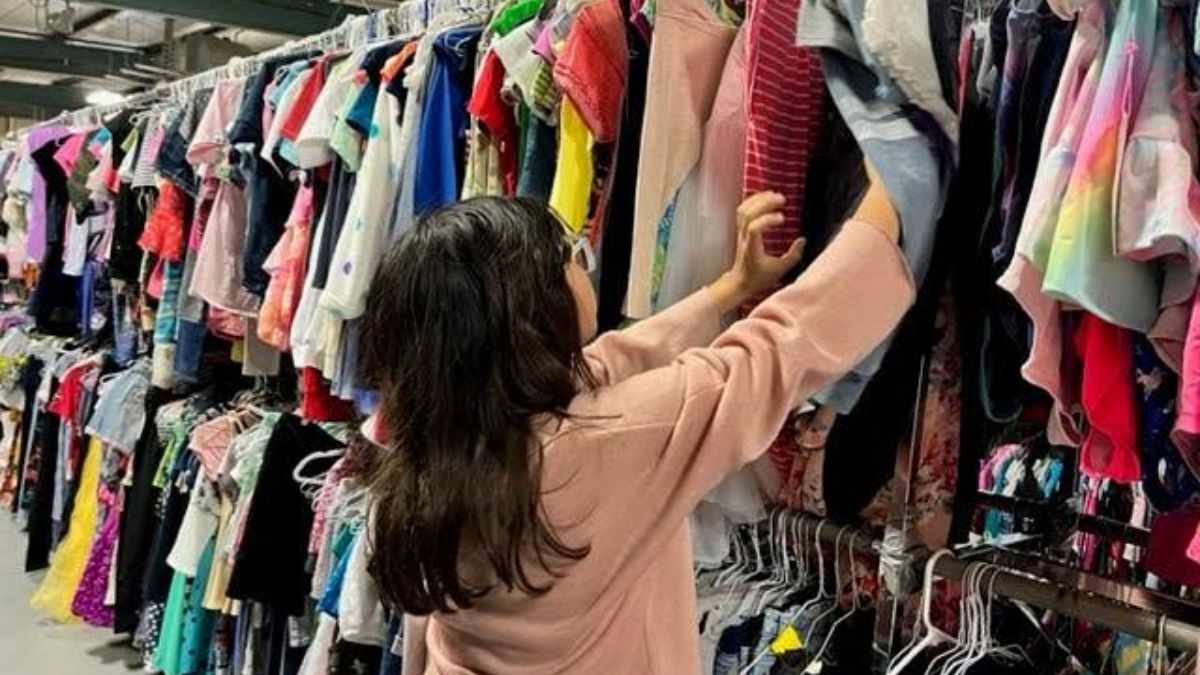
Your 30-Day Reselling Plan
- Week 1: Gather 20 items from home and check sold prices.
- Week 2: Photograph and list your first 20 items on one platform.
- Week 3: Ship quickly, ask for feedback, and set up your tracking spreadsheet.
- Week 4: Make one small sourcing trip with a budget, and compare your profit per hour.
Build Reselling Into a Bigger Plan
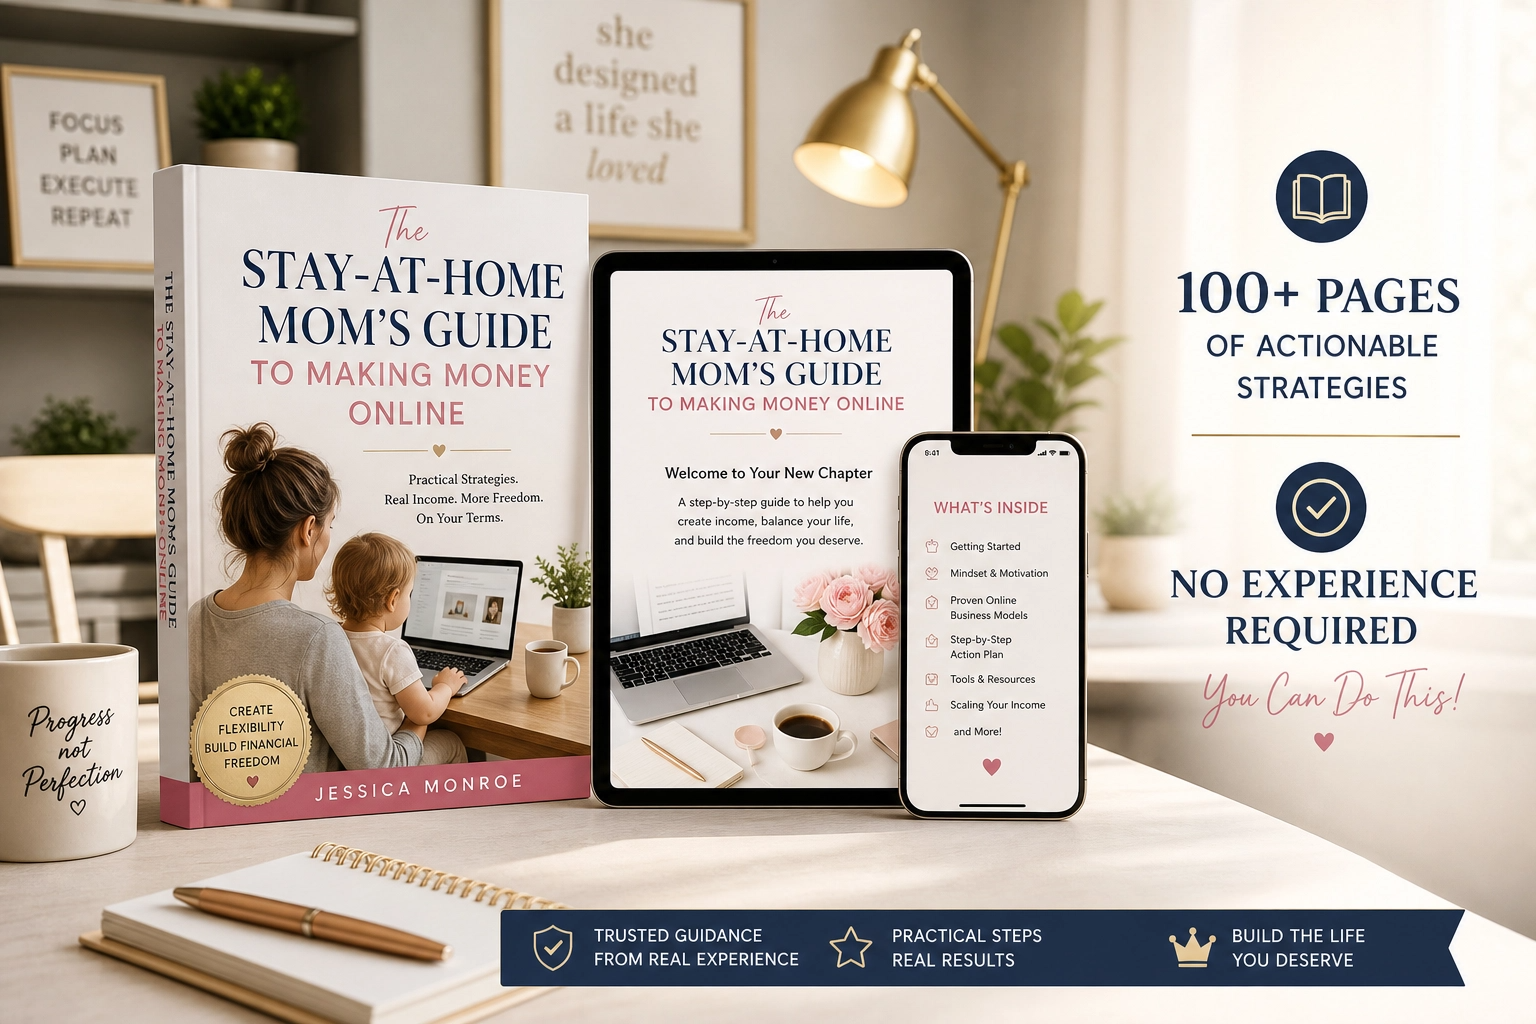
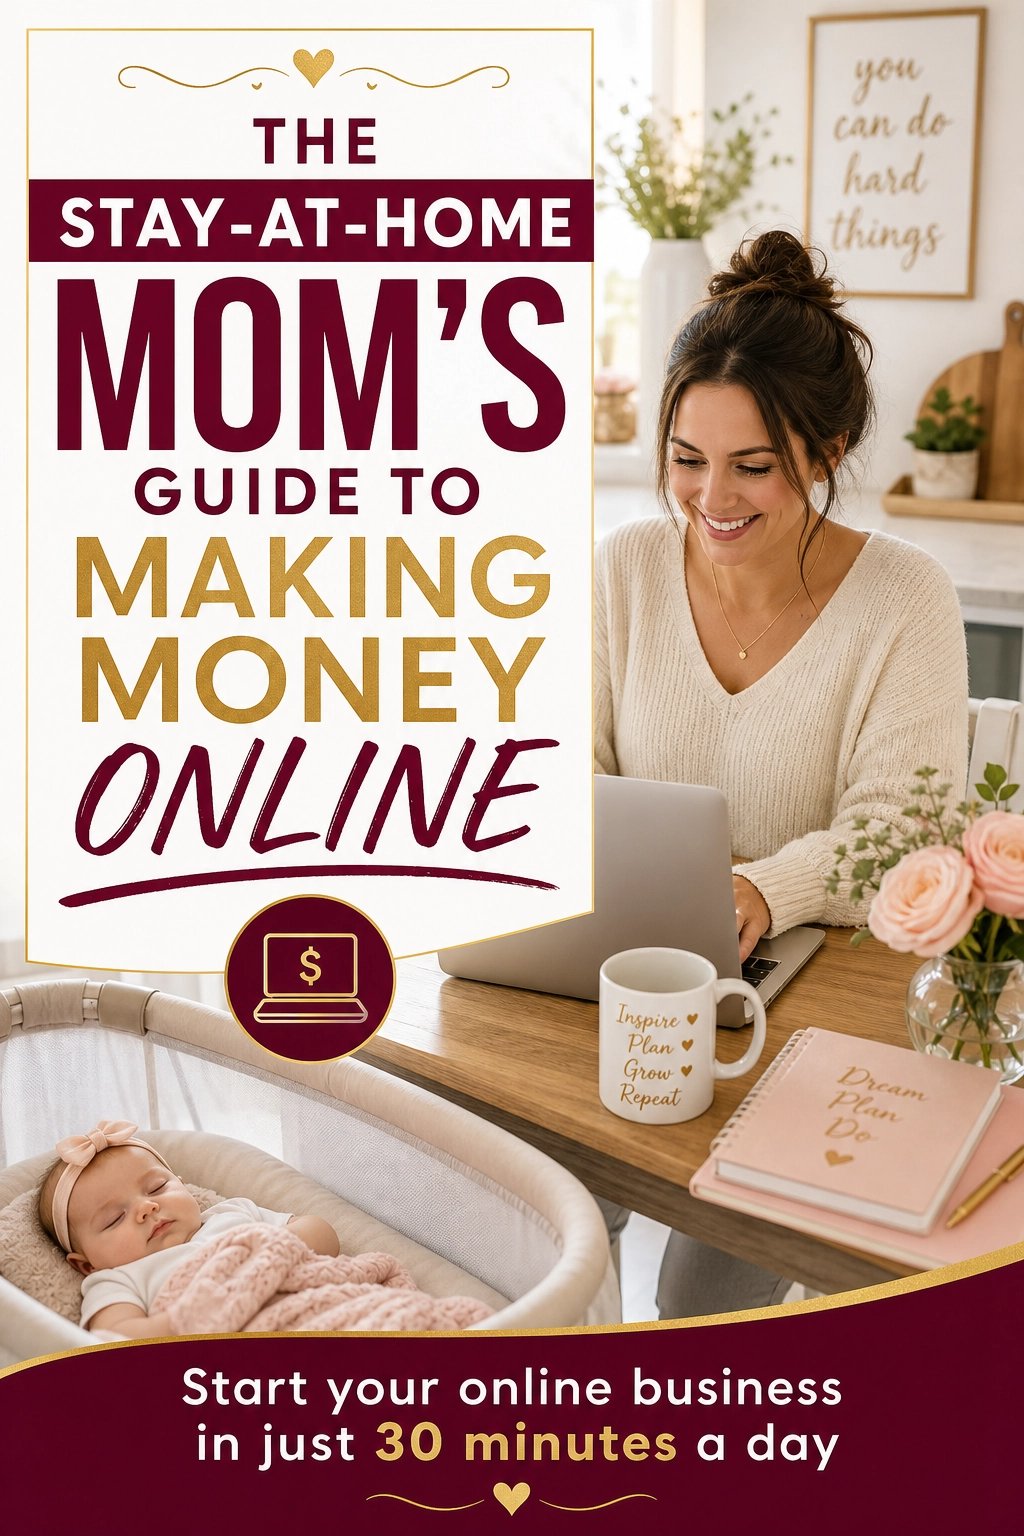
Reselling can fund your next steps and teach you the basics of running a small online business. If you’d like a beginner-friendly roadmap made for moms, take a look at my ebook:
The Stay-At-Home Mom’s Guide To Making Money Online
Trust me, a plan keeps a fun hobby from becoming a cluttered second job.
Final Thoughts
Reselling is a practical, low-barrier way for moms to turn extra items into income and learn how online selling works. Start with what you already own, price with fees in mind, stay safe, track your numbers, and understand your tax responsibilities. A few good listings a week can add up, and your garage will thank you.







Leave a Reply