


Selling online has never been more accessible. You don’t need a warehouse, a storefront lease, or a huge budget. With a laptop, a solid idea, and the right tools, you can open your own online store and sell to customers anywhere in the world.
But here’s where many new sellers stumble: they choose the wrong platform, sign up for expensive monthly subscriptions, or pick a slow host that scares customers away at checkout. A store that loads slowly, crashes during a sale, or feels unsafe costs you money every single day.
In this guide, I’ll show you how to start an online store the smart way, using WordPress, WooCommerce, and a reliable, affordable host. You’ll learn how to pick products, set up your store, accept payments, and start attracting customers. Let’s get your business off the ground.
Why Start an Online Store Now?
E-commerce continues to grow year after year as more people shop from their phones and prefer the convenience of buying online. That growth creates real opportunities for small sellers who serve a specific audience well.
Benefits of running an online store:
- Low overhead. No rent, minimal staffing, flexible inventory options.
- Global reach. Your customers aren’t limited by location.
- Open 24/7. Your store sells while you sleep.
- Scalable. Start small and grow at your own pace.
- Full control. Your brand, your pricing, your customer relationships.
And when you build on your own website instead of relying only on marketplaces, you keep more of your profit and own your customer data.

Step 1: Decide What You Want to Sell
Your product choice shapes everything else. Start by considering these popular models:
Physical Products (Your Own)
Handmade goods, fashion, candles, skincare, art, jewelry, and home decor. You control quality and branding, but you manage inventory and shipping.
Digital Products
Ebooks, templates, printables, presets, courses, software, and stock photos. There’s no shipping, and margins are high, making this model great for beginners.
Print on Demand
You design products such as T-shirts, mugs, or posters, and a supplier prints and ships when orders come in. No inventory required.
Dropshipping
You list products from a supplier, who ships directly to your customer. It’s low-risk to start, but margins can be thin and competition high, so choose your niche and suppliers carefully.
Services and Bookings
Coaching sessions, consultations, and appointments can also be sold through a store.
How to validate your idea:
- Search for existing demand using Google Trends and keyword research tools.
- Study competitors: What do they do well? Where are the gaps?
- Check profit margins after product costs, shipping, fees, and marketing.
- Test with a small audience before investing heavily.
A focused niche with a clear customer beats a general store selling a little of everything.

Step 2: Choose Your Ecommerce Platform
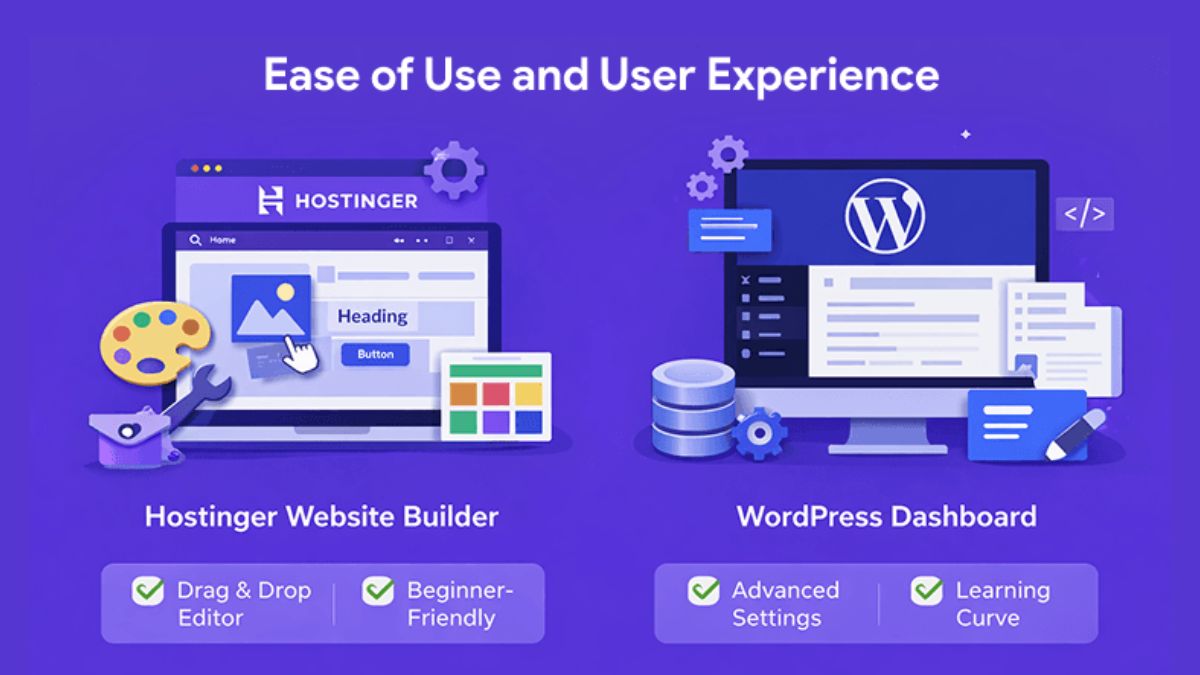
You have several options: hosted platforms with monthly fees, website builders with built-in store features, or self-hosted solutions like WordPress with WooCommerce.
Why WooCommerce is a smart choice:
- The plugin is free. You’re not paying a monthly platform fee just to use the software.
- Highly flexible. Sell physical goods, digital downloads, subscriptions, and more.
- Massive extension library. Add shipping tools, payment methods, marketing features, and more.
- Great for SEO. Built on WordPress, it works beautifully with content marketing.
- You own everything. No platform can suspend your store on a whim.
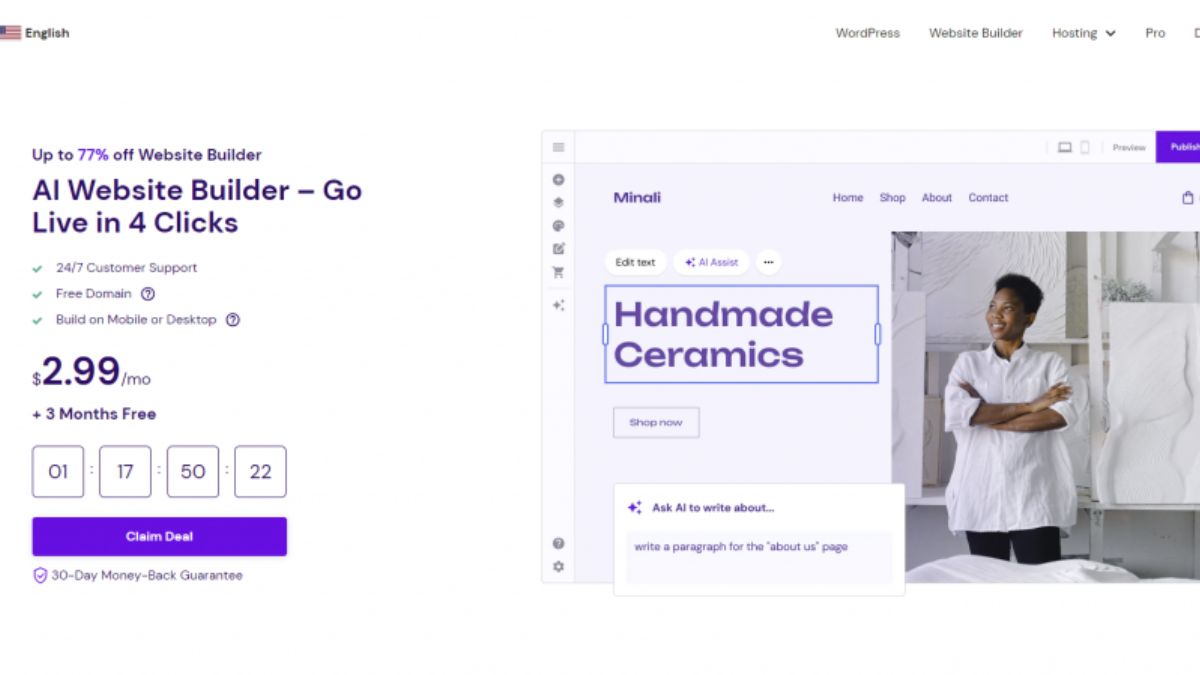
Hostinger also offers its own AI-powered website builder with ecommerce features if you’d prefer a simpler, all-in-one approach. Both routes are beginner-friendly, so pick the one that matches your comfort level.
Step 3: Get Fast, Secure Hosting for Your Store
Hosting matters even more for an online store than for a blog. Here’s why:
- Speed drives sales. Shoppers abandon slow websites quickly.
- Security is essential. You’re handling customer accounts and orders, so SSL encryption is a must.
- Uptime equals revenue. If your store is down, you can’t sell.
- Scalability. You need room to grow during promotions and busy seasons.
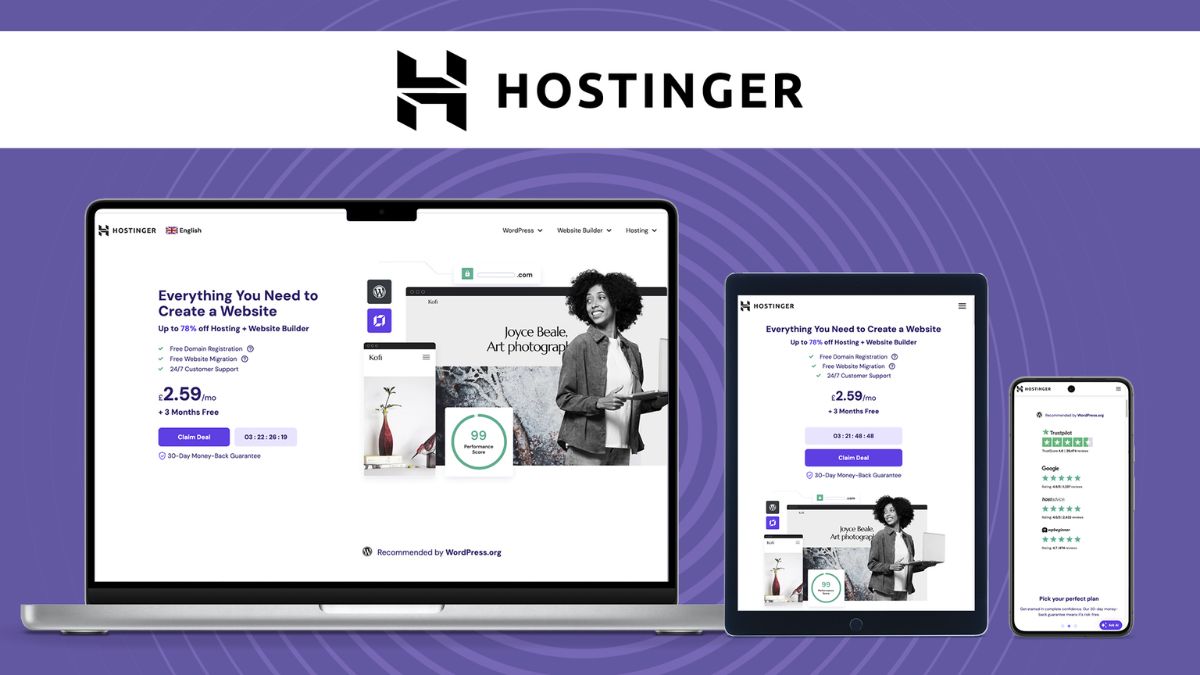
That’s why I recommend Hostinger for new store owners. It combines affordability with the features stores depend on:
- LiteSpeed-powered performance and caching for faster page loads
- Free SSL certificate to protect customer data and build trust
- One-click WordPress installation for quick setup
- Free domain on eligible plans
- Free website migration if you’re moving an existing store
- Backups to protect your products, orders, and settings
- 24/7 live chat support when something needs fixing fast
- A path to scale from shared hosting up to cloud hosting as sales grow
- 30-day money-back guarantee so you can start with confidence
For a store, I suggest choosing a higher-tier plan rather than the most basic one, since you’ll benefit from more resources, more frequent backups, and extra performance features. Check the current plan details on the Hostinger site to see which tier matches your expected traffic.
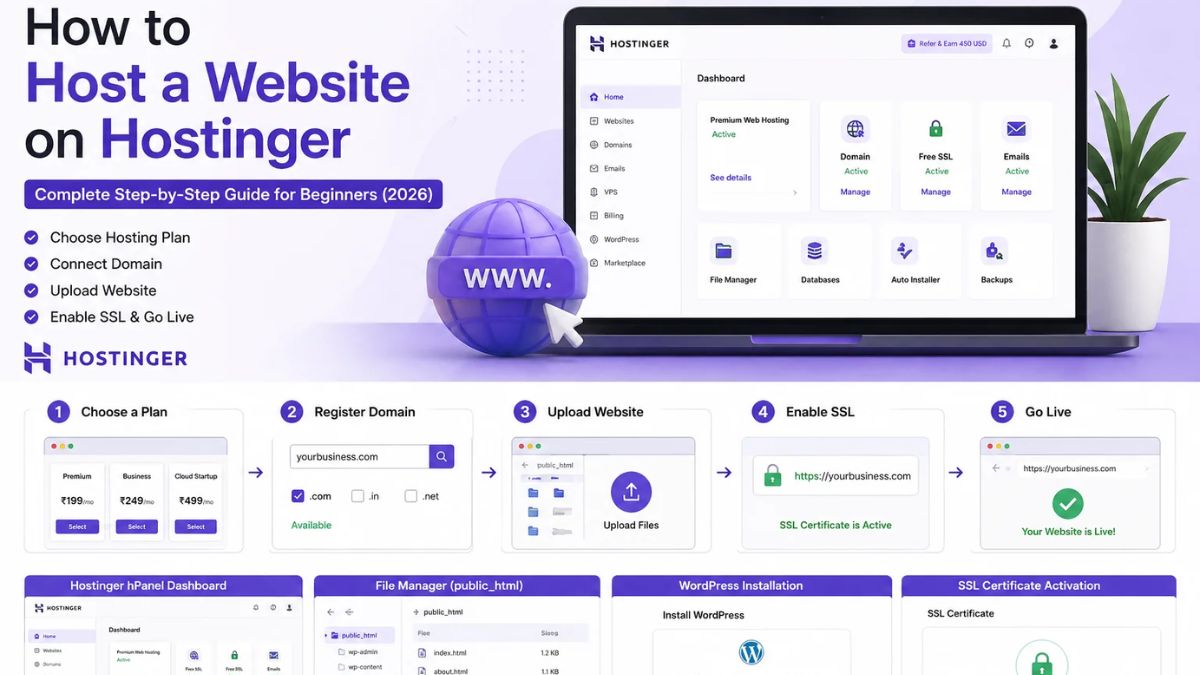
👉 Get started with Hostinger and give your online store a fast, reliable home.
Step 4: Register Your Domain and Set Up Your Account
Choose a store name that’s memorable, easy to spell, and relevant to your products. Then register the matching .com domain if possible. Many Hostinger plans include a free domain for the first year on eligible plans, so you can handle hosting and domain in a single checkout.
Complete your Hostinger signup, connect your domain, and you’re ready for the next step.
Step 5: Install WordPress and WooCommerce
Inside your Hostinger dashboard, use the guided setup to install WordPress in just a few clicks. Then follow these steps to add ecommerce functionality:
- Log in to WordPress at yourdomain.com/wp-admin.
- Go to Plugins > Add New.
- Search for WooCommerce, click Install Now, then Activate.
- Follow the WooCommerce setup wizard to enter your store details, industry, product types, and location.
The wizard will help you configure currency, basic tax information, and shipping options. You can refine these later, so don’t worry about perfection on your first pass.
Step 6: Pick a Store-Friendly Theme
Choose a theme designed for WooCommerce so product pages, carts, and checkout flows look professional right away. Popular, beginner-friendly options include Astra, Kadence, Blocksy, and Storefront.
Design tips for stores that convert:
- Use a clean, uncluttered layout. Let your products shine.
- Ensure it’s mobile-first. Many shoppers buy on their phones.
- Keep navigation simple with clear categories.
- Use high-quality photos with consistent lighting and backgrounds.
- Make your call-to-action buttons obvious and easy to tap.
Step 7: Add Your Products
Go to Products > Add New in WordPress. For each product, complete these elements:
- Product name: Clear and keyword-friendly.
- Description: Explain benefits, not just features. Answer likely questions.
- Price and sale price: Price with your costs and margins in mind.
- Images: Use multiple high-quality photos from different angles.
- Categories and tags: Help customers browse and help SEO.
- Inventory: Track stock levels to avoid overselling.
- Shipping details: Weight and dimensions for accurate calculation.
- SKU and attributes: Sizes, colors, and variations.
Product page best practices: Include customer reviews, clear return information, and trust signals such as secure checkout badges. Write descriptions that speak directly to your ideal customer and their needs.
Step 8: Set Up Payments, Shipping and Taxes
Payments
WooCommerce integrates with popular payment gateways such as PayPal, Stripe, and others depending on your country. Offering multiple payment options reduces abandoned carts. Follow each gateway’s instructions to connect your account.
Shipping
Decide how you’ll ship:
- Flat rate: Simple and predictable.
- Free shipping: Great for conversions; consider building the cost into product prices or setting a minimum order.
- Real-time carrier rates: More accurate, requires extensions.
- Local pickup: Handy if you serve a local audience.
Taxes
Tax rules vary widely by location and product type. Configure them under WooCommerce > Settings > Tax, and consider consulting a local accountant to make sure you’re compliant.
Step 9: Create Essential Store Pages and Policies
Trust is everything in ecommerce. Make sure your store includes:
- About page: Tell your story and show the real people behind your brand.
- Contact page: Multiple ways to reach you.
- Shipping and returns policy: Clear, honest, and easy to find.
- Privacy policy and terms and conditions: Legally important.
- FAQ page: Answer common questions before customers have to ask.
Clear policies reduce hesitation at checkout and cut down on customer service headaches.

Step 10: Optimize for Speed, Security and SEO
Speed:
- Use the LiteSpeed Cache tools available with Hostinger.
- Compress product images before uploading.
- Keep plugins minimal and updated.
Security:
- Confirm your SSL certificate is active.
- Use strong admin passwords and two-factor authentication.
- Keep WordPress, WooCommerce, and plugins updated.
- Take regular backups.
SEO:
- Install an SEO plugin like Rank Math or Yoast.
- Write unique product titles and descriptions. Avoid copying manufacturer text.
- Use descriptive image file names and alt text.
- Create helpful blog content that answers your customers’ questions and links to your products.
- Set up Google Search Console and submit your sitemap.
Content marketing is a powerful, low-cost way to attract shoppers. For example, a candle shop can publish posts about home fragrance trends and gift guides that bring in search traffic and lead readers straight to products.

Step 11: Test Everything Before Launch
Never launch a store without a thorough test. Place a test order yourself and verify:
Products display correctly on desktop and mobile
Add to cart, cart updates, and checkout work smoothly
Payment processing completes successfully
Order confirmation emails arrive
Shipping and tax calculations are accurate
Coupon codes work
Policy pages are accessible
Site speed is acceptable
Ask a friend or two to test as well. Fresh eyes catch problems you’ll miss.

Step 12: Launch and Attract Customers
Once you’re live, it’s time to bring in shoppers. Effective, budget-friendly strategies include:
- SEO and content marketing: Long-term, sustainable traffic.
- Email marketing: Collect emails from day one with a signup incentive, then nurture subscribers with launches and offers.
- Social media: Focus on where your customers spend time. Visual products often thrive on Instagram, TikTok, and Pinterest.
- Influencer and affiliate partnerships: Let others promote your products for a commission.
- Paid ads: Test small budgets on Google or social platforms once your store converts well.
- Promotions: Launch discounts, bundles, and seasonal sales to create urgency.
Track everything. Use analytics to see which channels bring real buyers, then double down on what works.
Common Ecommerce Mistakes to Avoid
- Choosing slow, unreliable hosting. It directly hurts sales. Start with a dependable host like Hostinger to protect your revenue.
- Selling to everyone. Niche down and know your ideal customer.
- Ignoring product photos. Bad images kill conversions.
- Complicated checkout. Remove friction wherever possible.
- No email list. Repeat customers are far more profitable than one-time buyers.
- Skipping backups and security. A hacked store can destroy trust overnight.
- Not testing. Small bugs can quietly cost you many sales.
Frequently Asked Questions
How much does it cost to start an online store? Costs vary by model. With WordPress and WooCommerce on affordable hosting, your main expenses are hosting, your domain, products or inventory, and marketing, which is far less than most traditional businesses require.
Do I need coding skills to open an online store? No. WordPress, WooCommerce, and modern themes are designed for non-technical users.
Is Hostinger good for online stores? Yes, especially for small and growing stores. It offers fast performance, free SSL, and easy scaling to cloud hosting as your traffic grows.
Can I sell digital products? Absolutely. WooCommerce handles digital downloads well, making it a great option for ebooks, templates, and courses.
What’s the difference between WooCommerce and a store builder? WooCommerce gives you more flexibility and ownership. Builders can be simpler but often limit customization and may come with ongoing platform costs.
Can I move an existing store to Hostinger? Hostinger offers free website migration for eligible sites, and their support team can help with the process.

Your Store Won’t Build Itself, So Start Today
Every successful online store began as a simple idea and a first step. You’ve now got the whole roadmap: pick your products, choose WooCommerce, secure fast and reliable hosting, set up payments and shipping, test thoroughly, and launch.
The foundation of your store is your hosting. Choose one that’s fast, secure, affordable, and ready to grow with you.
👉 Start your online store with Hostinger today.
With a 30-day money-back guarantee and 24/7 live chat support, you can build with confidence. Your first customer is out there, waiting for exactly what you’re about to sell. Go open your doors.





Leave a Reply