

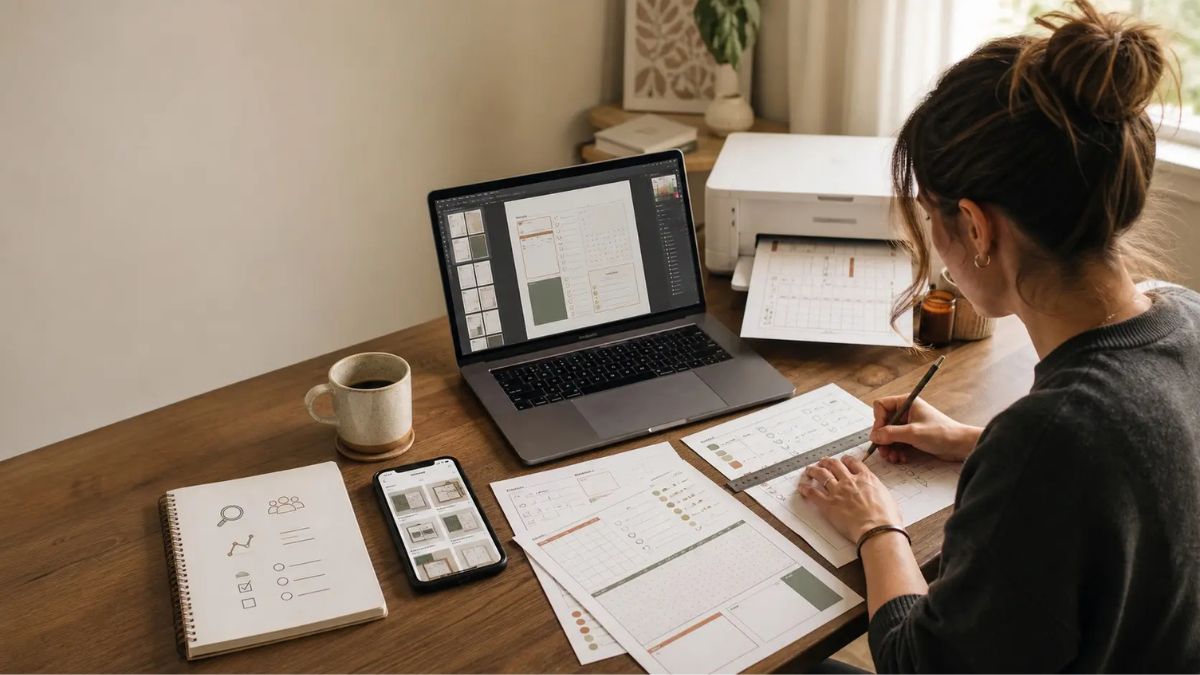
Did you know that millions of shoppers visit Etsy every month looking for planners, wall art, party games, and organizers? A big chunk of those buyers want instant downloads they can print at home. I discovered this almost by accident when I listed a simple weekly planner I’d designed for myself. Within two weeks, a stranger bought it. Within two months, I had a handful of sales every week.
Since then, I’ve learned a lot (often the hard way) about how to sell printables on Etsy in a way that actually earns money. Little by little, that simple shop has become a reliable income stream.
In this guide, I’ll walk you through everything: choosing products, designing them, setting up your shop, writing listings that rank, pricing, and getting those first sales.
Why Printables Are a Great Business for Beginners
Let me share why I recommend printables to nearly every beginner:
- No inventory. You create the file once. Customers download it instantly.
- No shipping. Nothing to pack, nothing to mail.
- Low costs. Free tools can get you started, and Etsy’s listing fees are small.
- Repeat sales. One design can sell hundreds of times.
- Easy to scale. More listings mean more chances to be found.
The honest part: Etsy is competitive. You won’t succeed by uploading one mediocre planner and hoping for the best. You’ll succeed by choosing a clear niche, making polished products, and learning how Etsy search works.
Step 1: Find a Profitable Niche
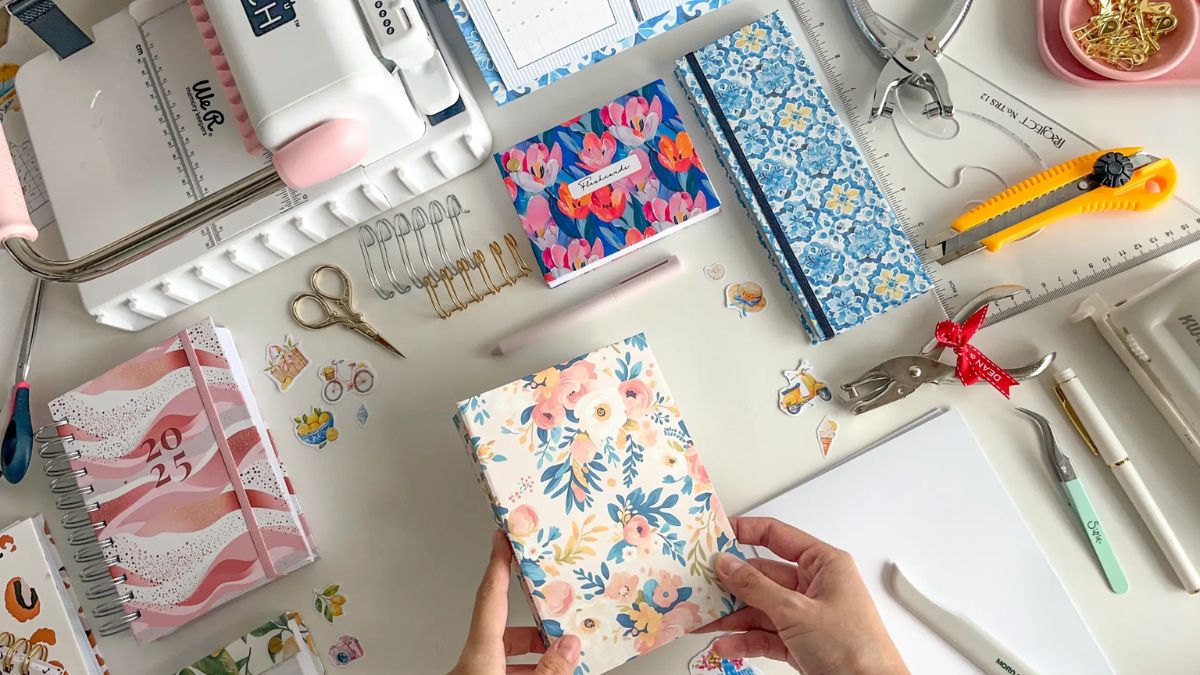
My first shop sold random designs: a planner here, a poster there. Big mistake. Shoppers trust specialists. Here’s how to choose a niche:
- Browse Etsy and note best-selling printables in categories like planning, budgeting, education, weddings, parties, and home organization.
- Look at reviews for what buyers love and what they wish was better.
- Pick a specific audience, such as teachers, busy moms, students, small business owners, or wedding planners.
- Check demand with Etsy search suggestions, Pinterest, and Google Trends.
Printable Ideas That Often Sell Well
- Budget and debt-payoff trackers
- Meal plans and grocery lists
- Teacher resources and classroom decor
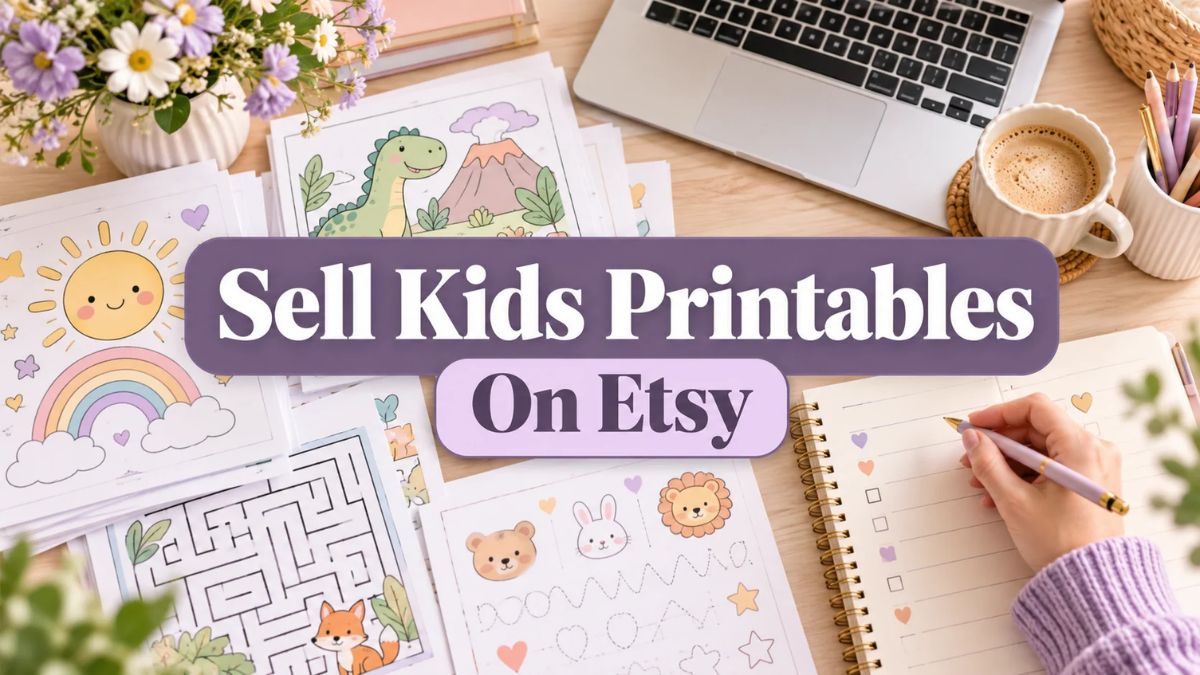
- Kids’ chore charts and activity sheets
- Wedding and baby shower games
- Business planners and social media content calendars
- Habit trackers and gratitude journals
- Minimalist wall art
Pro tip: A niche like “budget planners for freelancers” beats a broad one like “planners” because the buyer feels the product was made just for them.
Step 2: Design Your Printables
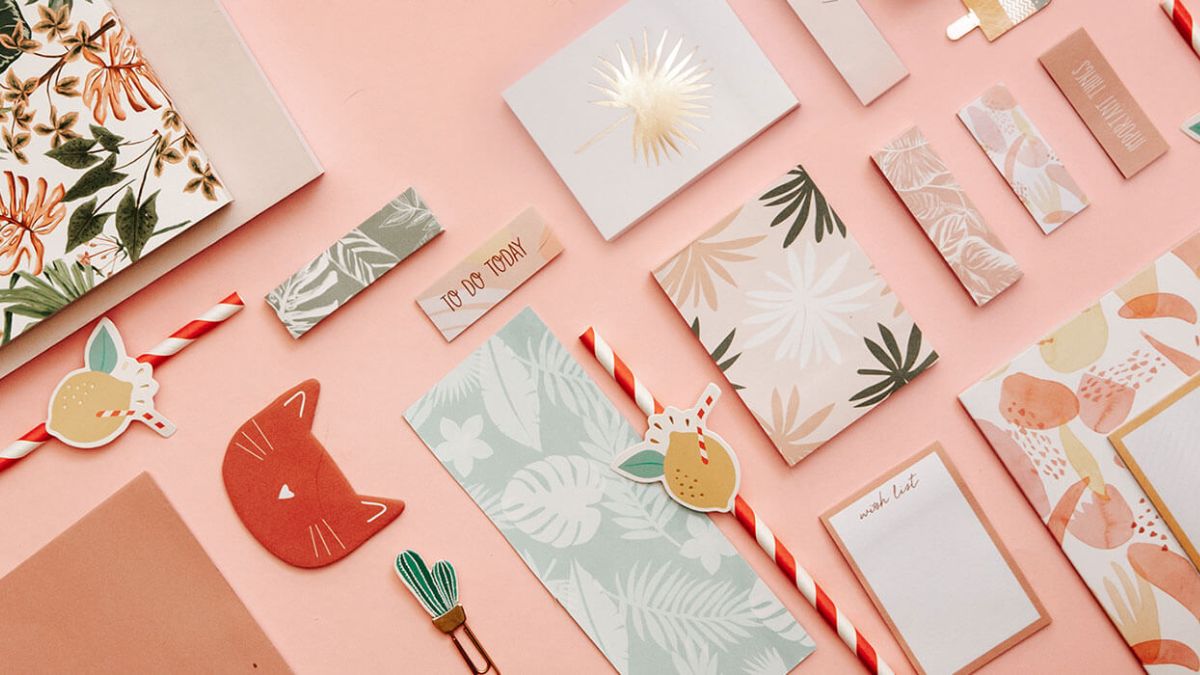
You don’t need to be a professional designer. Canva has been my main tool for years, and I use Canva Pro for most designs because it saves time with premium elements and easy resizing.
Design Basics
- Choose a consistent color palette of two or three colors.
- Use readable fonts, with no more than two per product.
- Leave white space so pages aren’t cramped.
- Make them printer-friendly. Avoid heavy backgrounds that use lots of ink.
- Offer multiple sizes, such as US Letter, A4, and A5, to attract international buyers.
Use AI to Speed Up the Boring Parts
I use an AI assistant to brainstorm product names, outline workbook sections, and draft listing descriptions. If you’d like to learn how to prompt effectively, The Claude Advantage shares practical frameworks.
Check Licensing
Only use fonts, graphics, and templates you have the right to use commercially. Read the license terms for every asset, and follow Etsy’s current rules about digital products and AI-generated content.
Step 3: Set Up Your Etsy Shop
- Create your Etsy account and open your shop.
- Choose a shop name that’s memorable, easy to spell, and fits your niche.
- Set up payments and billing. Etsy will guide you through identity verification.
- Write your shop policies covering digital downloads, refunds, and usage rights.
- Add a shop banner and logo using a simple Canva design.
- Write a short “About” section introducing yourself and why you create your printables.
Etsy charges listing fees, transaction fees, and payment processing fees, and these can change, so check Etsy’s current fee page before you launch.
Step 4: Create Listings That Rank and Convert
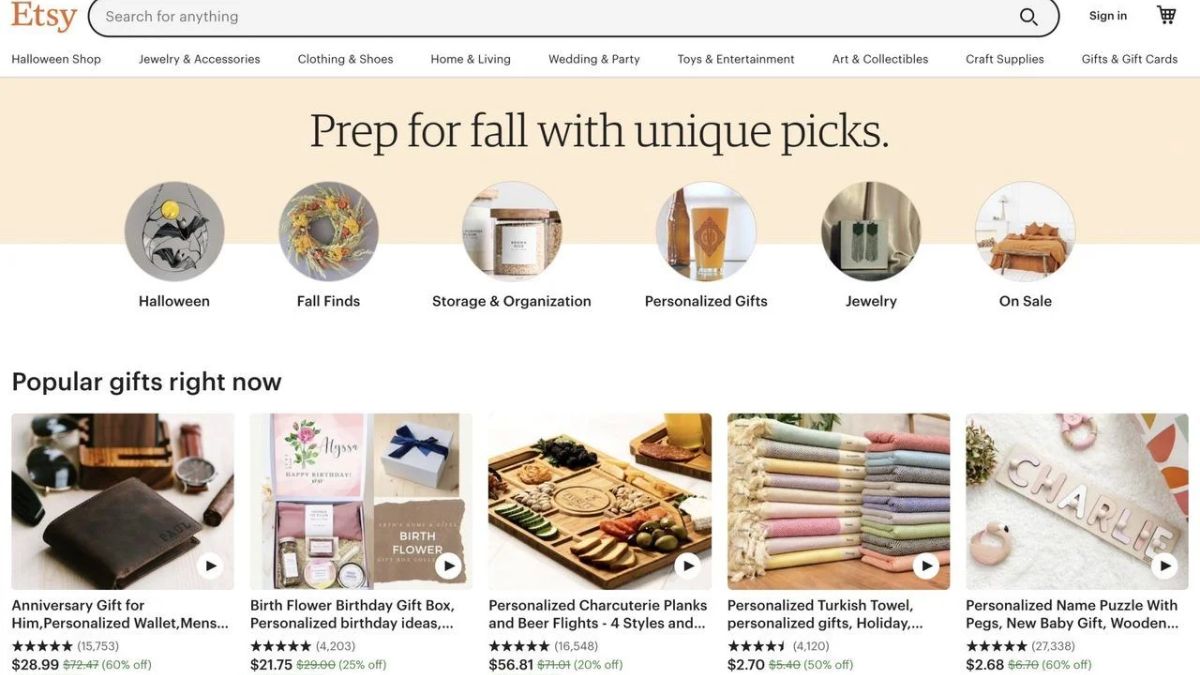
This is where many beginners lose sales. Your listing needs to appeal to both Etsy’s search engine and human shoppers.
Titles
Use a clear, keyword-rich title that puts the most important words first. For example: “Budget Planner Printable, Monthly Budget Tracker, Debt Payoff Worksheet, Digital Download PDF.”
Tags
Etsy gives you up to 13 tags. Use all of them, with long-tail phrases that buyers actually type. Tools like eRank and Marmalead can help with keyword research.
Photos
Etsy allows multiple images, so use them:
- A bright main image showing the product clearly
- Mockups of the printable in use
- A close-up of details
- An image listing what’s included
- A “how it works” image explaining the download
Descriptions
Open with the benefit, list what’s included, explain file formats and sizes, and add simple instructions for downloading and printing. Answer common questions upfront.
Step 5: Price Your Printables
Typical ranges many sellers use:
- Single-page printables: $2–$6
- Planners and multi-page packs: $8–$25
- Bundles: $15–$50+
- Templates and editable files: $5–$30
Start with competitive pricing, then adjust once you have reviews. Bundles help raise your average order value, and occasional sales can nudge hesitant buyers.
Step 6: Get Your First Sales
Your first sales are the hardest. Here’s what worked for me:
- Build a collection of 15–30 listings before judging results. More listings mean more chances to be found.
- Share on Pinterest. Pins can drive traffic for months and months, long after posting.
- Ask early buyers for reviews with a polite follow-up message.
- Promote to your own network through social media and email.
- Refresh underperforming listings with new photos and updated keywords.
For more on driving traffic, The Digital Marketing Playbook covers beginner-friendly marketing strategies. And if you’re a mom fitting this business around family life, The Stay-At-Home Mom’s Guide to Making Money Online is full of practical, flexible ideas.
A Simple 30-Day Launch Plan for Your Shop
If you like a clear schedule, here’s the plan I’d follow if I were opening a new printables shop tomorrow:
- Days 1–3: Research your niche, study ten competitors, and pick a shop name.
- Days 4–10: Design your first five printables, create mockups, and set up your Etsy shop and policies.
- Days 11–15: Write titles, tags, and descriptions for each listing. Publish your first five.
- Days 16–25: Design and list five more products. Create ten Pinterest pins linking to your listings.
- Days 26–30: Review your stats. See which listings get views but no sales, and improve their photos or titles.
By day 30, you’ll have ten live listings, a small Pinterest presence, and real data to work with. Remember, this is a starting line, not a finish line. Every month, add more listings and keep improving.
What Etsy Shoppers Really Want
After reading hundreds of reviews in my niche, I noticed the same themes again and again. Buyers want products that are:
- Easy to use. Clear instructions and simple file delivery win five-star reviews.
- Printer-friendly. Nobody wants to waste ink on a heavy background.
- Specific to their needs. A “teacher lesson planner” beats a generic one.
- Delivered with care. A short thank-you note in the download file builds loyalty.
When you read competitor reviews, treat them like free market research. Every complaint is a chance to make a better product, and every compliment shows you what to keep.
Step 7: Grow Beyond Etsy
Etsy is a great starting point, but relying on one platform is risky. Build your own audience too:
- Create a free freebie and collect emails.
- Start a Pinterest account with branded pins.
- Sell the same products on Gumroad or your own site.
- Build a recognizable brand so shoppers remember you. The Personal Brand Blueprint can help.
Handle the Money Side Wisely
Etsy income is real income. Track every sale and expense, set aside money for taxes, and consider a separate bank account. If budgeting isn’t your strong suit, The Smart Mom’s Complete Guide to Money breaks it down simply. For tax and legal questions, consult a qualified professional in your area.
Mistakes to Avoid
- Copying other sellers’ designs. It’s unethical and can get your shop in trouble.
- Ignoring SEO. Without keywords, nobody finds you.
- Using low-quality mockups. Photos sell the product.
- Opening with too few listings. Build a catalog.
- Quitting after a month. Etsy often takes a few months to gain momentum.
Quick Answers About Selling Printables on Etsy
How much can I make? It varies widely. Some shops earn modest side income, and others grow to replace a full-time salary. Niche, quality, and consistency make the biggest difference.
Do I need design experience? No. Canva templates and tutorials make it very beginner-friendly.
How long until I get my first sale? Some sellers see a sale within weeks, while others need a few months. Keep adding listings and improving them.
Is it passive income? It can become mostly passive after the setup work, but you’ll still want to promote and update listings.
Your Etsy Shop Is Waiting
Learning how to sell printables on Etsy is a skill that pays you again and again. Choose a niche you care about, design with care, write listings that help shoppers find you, and stay patient while your shop grows.
Start this week by browsing Etsy for ten ideas, then design your first printable this weekend. Trust me, that first notification saying “You made a sale!” is worth every bit of effort. Let’s get designing!







Leave a Reply