

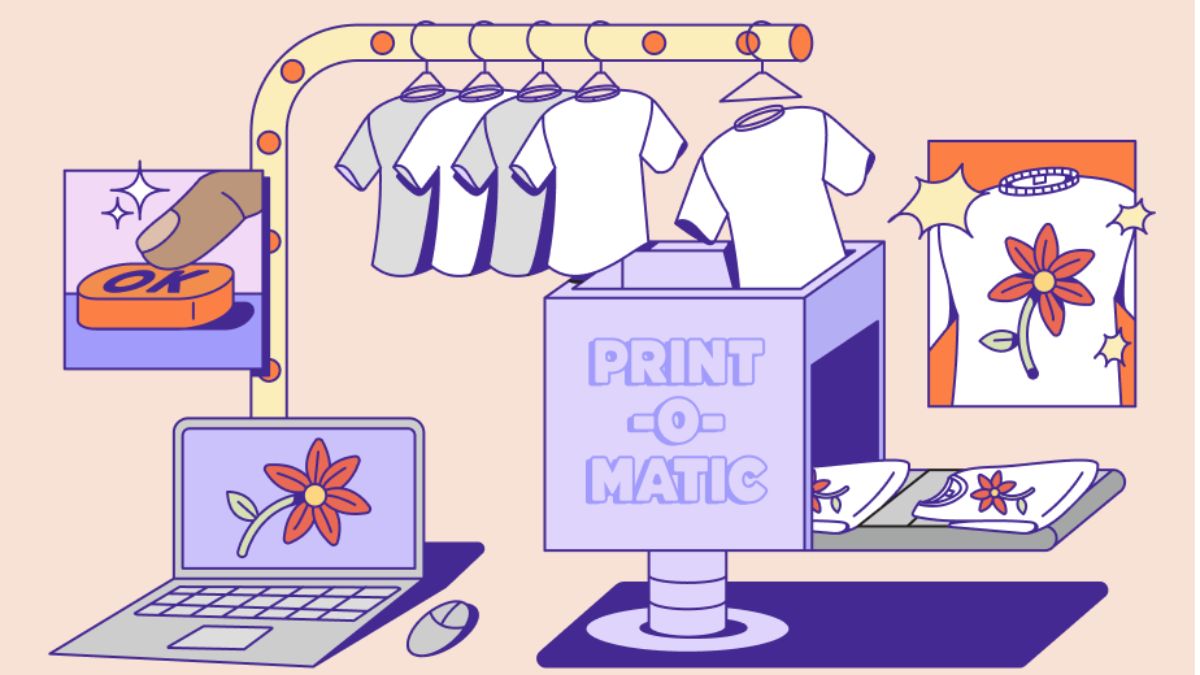
The idea sounds almost too good: you design a mug, a shirt, or a baby bodysuit, upload it to a website, and when a customer orders it, a company prints it and ships it for you. No garage full of boxes. No trips to the post office. No upfront inventory costs. For a mom with a toddler hanging off one leg, that’s a very appealing pitch.
Print-on-demand (POD) is real, and people do earn money with it. But it’s also one of the most crowded, most competitive, and most misunderstood side hustles out there, and the rules are tightening. Etsy’s Creativity Standards now say print-on-demand sellers must be the original designers of the artwork they use, so buying a design and printing it without meaningful changes may no longer be allowed. Marketplaces are cracking down on mass-produced and AI-generated listings, and bot-generated listings with no human involvement can get a shop removed.
In this guide, I’ll give you a realistic guide to print-on-demand for moms: how it works, what it really costs, how to create original designs, where to sell, and the mistakes that sink new sellers. (Income isn’t guaranteed. Many sellers earn little at first, so go in with realistic expectations.)
How Print-on-Demand Works
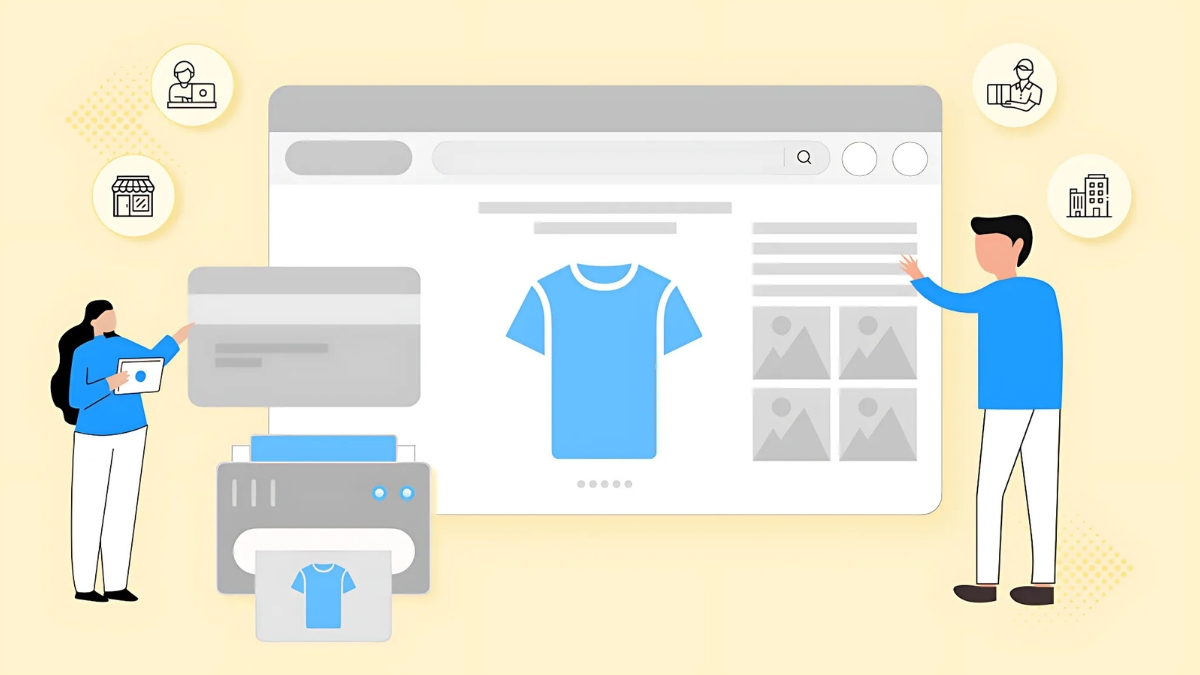
- You create a design (or commission one).
- You connect to a POD provider that prints and ships products such as shirts, mugs, posters, tote bags, and baby items.
- You list the product in your own online store or on a marketplace.
- A customer orders it.
- The provider prints and ships it, and you keep the difference between your price and the production and shipping cost.
You don’t hold inventory, but you also don’t control production directly, so quality and shipping times depend on your provider.

The Honest Pros and Cons
Pros
- Low startup cost
- No inventory to store
- You can test many designs
- Flexible hours that fit around kids
Cons
- Profit per item can be small after production, shipping, and platform fees
- Competition is intense, especially in popular niches
- You don’t control quality or shipping speed directly
- Platform rules can change quickly
- Customer service is still your job when something goes wrong
Here’s the truth: POD rewards originality and niche focus much more than volume.
What the Latest Rules Mean for You
Based on recent coverage of marketplace policies:
- Originality is expected. On Etsy, POD sellers are expected to create their own designs. Designs that rely on purchased templates, reused graphics, or minimal modifications may no longer qualify.
- AI is allowed in limited ways. AI-assisted designs can be permitted when you actively prompt, curate, and shape the work and disclose AI use where required. Bot-generated listings without human involvement are banned.
- Photos must be honest. POD items may use authorized mockups, but listings shouldn’t mislead buyers about what they’ll receive.
- Enforcement can be automated, so check your shop’s policy page and keep records of how you created each design.
Always read the current policies of any marketplace you use.
Step 1: Pick a Niche You Understand
Generic designs get lost. A specific audience gives your products a reason to exist:
- Teachers and homeschool parents
- New moms and pregnancy milestones
- Pet owners of one breed
- A hobby you actually do (gardening, running, baking, crafting)
- Faith, family, or community celebrations
- Local pride for your town or region
Write: “I make [product] for [specific people] who love [specific thing].”
Step 2: Create Original Designs
You don’t need to be a professional artist:
- Use your own words and ideas. Original sayings, personalized text, and witty lines for your niche can be strong.
- Learn a simple design tool with a clear commercial license.
- Use fonts and graphics only with commercial rights. Check each license.
- Avoid trademarks, brand names, logos, celebrity names, and copyrighted characters.
- If you use AI, guide it with your own concept, edit the results, and disclose when required. Don’t upload raw AI output en masse.
- Hire a designer if you can’t create what you want, and get usage rights in writing.
Step 3: Choose Products and a Provider Wisely
- Order samples of every product before you sell it. Check print quality, fabric, size, and colors.
- Compare providers on pricing, shipping times, quality reviews, product range, and return policies.
- Start with a few products, such as tote bags, mugs, or t-shirts, rather than fifty.
- Check where items are produced and shipped, since delivery speed affects reviews.

Step 4: Price for Profit
Work out your numbers before listing:
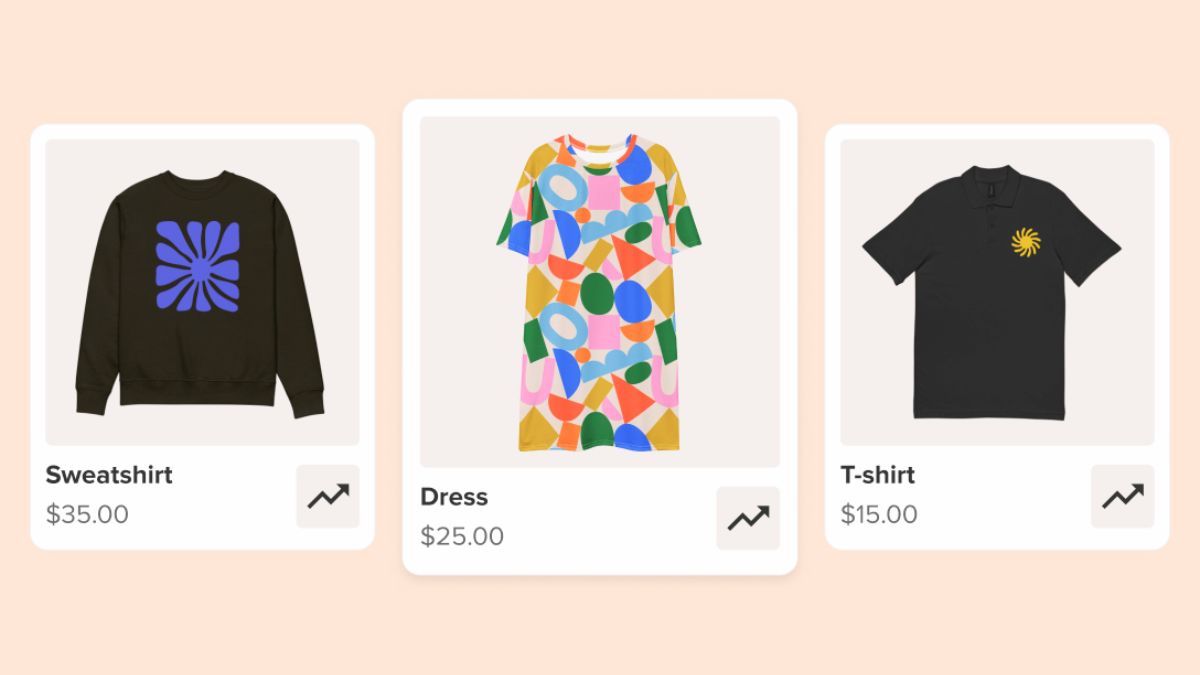
- Production cost + shipping cost + platform fees + payment fees + advertising or marketing costs = your real cost
- Your price minus your real cost = profit per sale
Don’t price so low that you lose money after fees. Many beginners forget advertising and customer service costs.
Step 5: Choose Where to Sell
- Marketplaces (like Etsy) bring built-in shoppers but come with competition, fees, and rule changes.
- Your own store gives you control and an email list, but you must bring all the traffic.
- Social platforms with shopping features can work for visual products.
Many sellers start on a marketplace, then build an email list to reduce dependence on it.
Step 6: Make Your Listings Trustworthy
- Use accurate photos and mockups that reflect the real product.
- Describe sizes, materials, and care instructions clearly.
- State realistic shipping times.
- Explain your return policy.
- Disclose AI use where required and never present AI output as hand-drawn.
- Use keywords buyers actually search.

Step 7: Get Your First Sales
- Share with your niche community in places where you’re welcome, not spamming.
- Make short videos showing the product in use.
- Use Pinterest to show your designs, since people plan gifts and projects there.
- Ask early buyers for honest reviews.
- Start an email list with a freebie such as a printable.
- Test small ad budgets only after you have a product that sells organically.
Step 8: Handle Taxes and Legal Basics
- Income from POD sales is generally business income. In the U.S., net self-employment earnings of $400 or more trigger self-employment tax.
- Keep records of sales, fees, and costs.
- Check sales tax and local rules for where you and your buyers live. Some marketplaces handle part of this for you.
- Respect trademarks and copyrights to avoid takedowns and legal problems.
Mistakes to Avoid
- Uploading other people’s designs or trademarks.
- Selling products you’ve never ordered and tested.
- Using raw AI output in bulk.
- Ignoring fees when you set prices.
- Targeting everyone with generic designs.
- Promising shipping times you can’t meet.
- Quitting after a few weeks with no sales.

Your 30-Day POD Test Plan
- Week 1: Choose your niche and research competitors.
- Week 2: Create five original designs and choose two products.
- Week 3: Order samples, set prices, and create honest listings.
- Week 4: Share your products, collect feedback, and track which designs get views and favorites.
Build POD Into a Bigger Plan
POD works best as one income stream among several, alongside your own audience and skills. If you’d like a beginner-friendly roadmap made for moms, take a look at my ebook:
The Stay-At-Home Mom’s Guide To Making Money Online
Trust me, a clear plan keeps you from chasing trends that vanish.
Final Thoughts
Print-on-demand can be a flexible way to turn your ideas into products, but it takes originality, patience, and honest math. Choose a niche, make your own designs, test samples, price with fees in mind, and follow marketplace rules closely. Start small, and let real customer feedback guide what you make next.






Leave a Reply