

One rainy afternoon, I made a simple weekly meal-planning page for myself. Nothing fancy: a grid, a grocery list, and a spot for “what are we even doing for lunch.” I shared a photo of it in a mom group, and within an hour, six women had asked, “Can I buy that?” I laughed. I’d made it in twenty minutes while the toddler napped. But that little moment taught me something that changed how I think about earning online: if you solve a small problem well, other people will pay for the solution.
That’s the idea behind digital products: planners, templates, printables, checklists, mini-guides, and ebooks that you create once and can sell again and again. No inventory, no shipping, and you can build them in small pockets of time. For stay-at-home moms, it’s one of the most flexible ways to earn online, though it rarely produces income overnight.
In this guide, I’ll walk you through how to sell digital products as a stay-at-home mom: how to find an idea, validate it, create it (including with AI help), price it, sell it, and avoid common mistakes. (No income is guaranteed, and most products need time and marketing to sell.)
Why Digital Products Suit Busy Moms
- Create once, sell many times. Unlike services, your time isn’t tied to each sale.
- Low startup costs. Often just your time and a computer or phone.
- Flexible hours. Work in 20-minute bursts.
- No shipping or inventory.
- Built on your real life. Your daily problems are other moms’ daily problems.
- They fit alongside other income. Many creators pair digital products with affiliate links, services, or a newsletter.
The honest downside: you have to get the product in front of buyers. A beautiful planner nobody sees won’t sell. Marketing matters as much as creating.
Digital Product Ideas for Moms
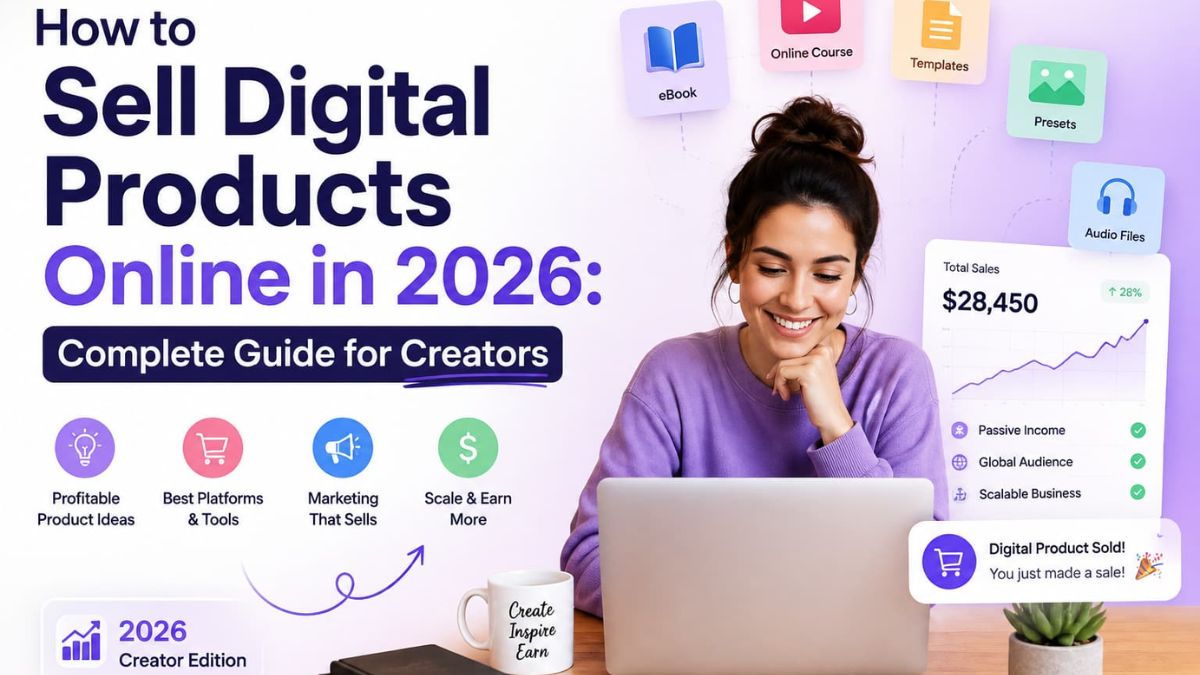
Home and family
- Weekly meal planners and grocery lists
- Chore charts and routines for kids
- Family calendar and command center printables
- Cleaning schedules and checklists
- Budget binders and savings trackers
- Vacation and packing checklists
Kids and learning
- Printable worksheets and learning games
- Reward charts and behavior trackers
- Homeschool planners and lesson templates
- Reading logs and activity ideas
- Party planning kits
Business and productivity
- Social media content calendars
- Client onboarding templates
- Simple invoice and proposal templates
- Planning templates for small businesses
- Mini-guides on skills you’ve mastered (budgeting, organizing, meal prep, freelancing)
Wellness and personal growth
- Habit trackers and goal-setting workbooks
- Gratitude and journaling pages
- Self-care planners
Short guides and ebooks
- “How I paid off a credit card in a year”
- “30-day meal prep plan for busy families”
- “Beginner’s guide to [skill you know well]”
Choose something you genuinely know or have lived, and where you can offer a clear result.
Step 1: Start With a Specific Problem
Broad products rarely sell. “Planner” is vague. “Weekly dinner planner for families with picky eaters” is a product. Ask yourself:
- What do other moms keep asking me about?
- What do I make for myself that people compliment?
- What problem did I solve that cost me time or money to figure out?
- What would have helped me when I was a brand-new mom?
Write the problem, the person, and the result in one sentence:
“A [format] that helps [specific person] [achieve specific result].”
Step 2: Validate Before You Build
Before spending hours designing, test the idea:
- Search for existing products on marketplaces and see what sells. Competition shows demand, but look for a gap or a fresh angle.
- Ask your audience. Post a poll or question in a community where moms hang out (follow the rules).
- Pre-sell or collect interest. Offer a waitlist or early-bird price.
- Share a free sample and see who asks for more.
If nobody responds, adjust the idea before investing more time.
Step 3: Create Your Product
You don’t need design skills or expensive software.
Tools you can use
- A free design tool or built-in templates for planners, printables, and graphics
- Document and spreadsheet apps for checklists, budgets, and trackers
- Presentation tools to turn mini-guides into polished PDFs
- AI assistants to brainstorm, outline, and draft. Some now include document, slide, and design features even on free plans
Use AI as an assistant, not a replacement
AI can speed up the boring parts:
- Brainstorm product ideas and titles
- Draft outlines and checklists
- Suggest layouts and section names
- Write first drafts of descriptions and emails
Then add what AI can’t: your real stories, your tested tips, and your personal voice. Always fact-check anything that matters (especially health, money, or safety advice), and never publish unedited AI content or make claims you can’t back up.
Quality checklist
- Does it solve one clear problem?
- Is it easy to use on the first try?
- Is the design clean and readable, including when printed?
- Did I proofread for typos?
- Did a friend test it?
- Are all fonts, images, and graphics properly licensed?

Step 4: Respect Copyright and Licensing
This is where beginners get into trouble.
- Use only fonts, images, and graphics you have the right to use commercially. Check each license.
- Don’t copy other creators’ products, and don’t use brand names, characters, or logos without permission.
- Avoid copyrighted characters in kids’ printables.
- Be careful with templates from other sellers whose license may not allow resale.
- State your own license so buyers know what they can do (personal use only, small business use, and so on).
If you’re unsure about a license, don’t use the asset.
Step 5: Price Your Product
Pricing is part research and part courage. A simple approach:
- Look at similar products and what they cost.
- Match price to value. A simple printable costs less than a detailed workbook or a mini-course.
- Start with an accessible price to earn your first sales and reviews, then raise it as you gain proof.
- Create tiers: a basic version, a bundle, and a premium version with extras.
- Consider launch pricing for early buyers.
Don’t price so low that you’d resent the sales. Your time has value.

Step 6: Choose Where to Sell
Common options:
- Creator marketplaces where buyers already shop for digital products and templates
- Digital product platforms that let you sell downloads and handle payment and delivery
- Your own website or store, with more control but more setup
- Social media and email to point customers to your product page
Each has fees and rules, so read the terms. Fees, payout schedules, and policies vary.
Step 7: Write a Product Page That Sells
Include:
- A clear title that says what it is and who it’s for
- Clear images or mockups showing what’s inside
- A short description: the problem, the result, and what’s included
- File format and how to use it (printable, editable, digital)
- Who it’s for and who it isn’t for
- Your license terms and refund policy
- An honest note about you: why you made it
Don’t overpromise. Describe what the product does, not miracles.
Step 8: Get Your First Customers
- Share your story where it fits: a short post about the problem and how you solved it.
- Offer a free sample that leads to your paid product.
- Build an email list. This is your most reliable sales channel. Platforms can limit links and change rules, so own your audience.
- Make short videos or pins showing the product in use.
- Ask early buyers for honest reviews.
- Use search-friendly titles if you sell on marketplaces.
- Collaborate with other moms or small creators in related niches.
Be patient. Many products take weeks or months to find traction.
Step 9: Handle the Business Basics
- Taxes: In the U.S., digital product income is generally self-employment income. Net earnings of $400 or more trigger self-employment tax, so keep records and set money aside.
- Sales tax or VAT: Rules for digital goods vary by location. Check the requirements for where you and your buyers live, or ask a professional. Some marketplaces handle it for you.
- Customer support: Answer questions quickly and politely.
- Refund policy: State it clearly.
- Privacy: If you collect emails, follow applicable privacy rules and give an easy way to unsubscribe.
Mistakes to Avoid
- Building before validating.
- Making your product too broad.
- Using unlicensed fonts or images.
- Copying other creators.
- Skipping marketing.
- Publishing unchecked AI content.
- Underpricing and burning out.
- Depending on one platform.
A 30-Day Digital Product Plan
- Week 1: Choose a specific problem. Research competitors and ask five moms what they’d pay for.
- Week 2: Create a simple first version and a free sample.
- Week 3: Test it with a few people, fix problems, set your price, and write the product page.
- Week 4: Launch to your email list or community, and share your story. Ask for feedback.
Grow Beyond Your First Product
Once you have one product, you can:
- Create bundles and companion products
- Turn your best-selling product into a mini-course or workshop
- Add a newsletter with tips and offers
- Combine products with affiliate recommendations or services
Build a Digital Income Plan
Products sell best when you have a clear plan: an audience, a simple offer, and a way to reach buyers. If you’d like a beginner-friendly roadmap for making money online as a stay-at-home mom, take a look at my ebook:
The Stay-At-Home Mom’s Guide To Making Money Online
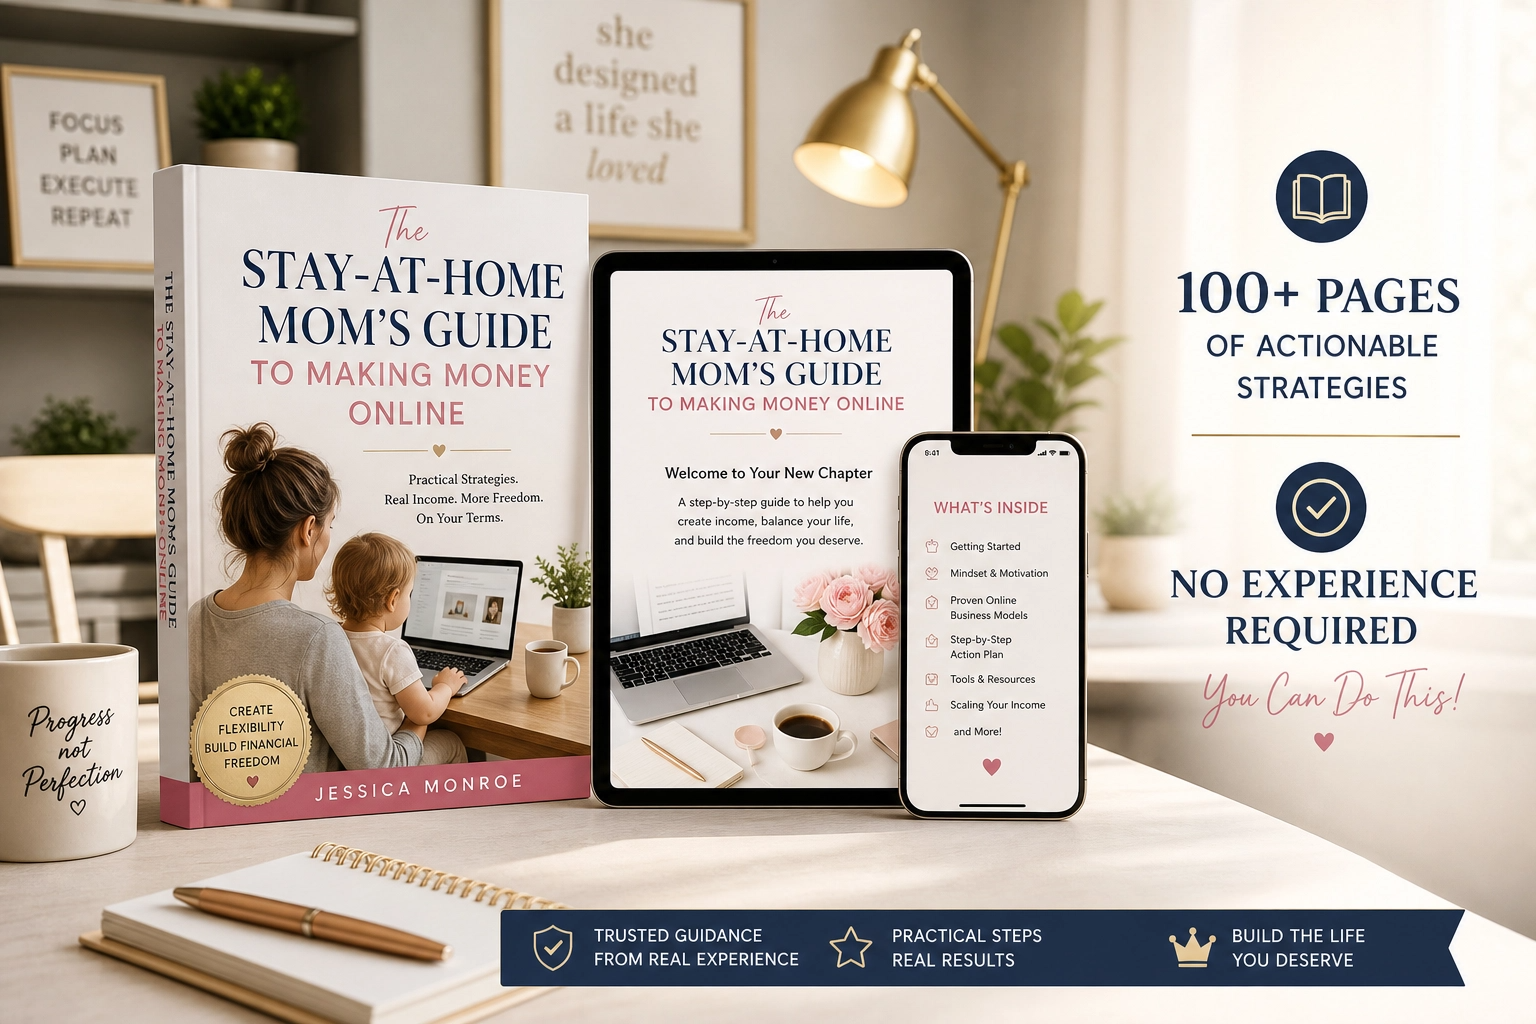
Trust me, it’s easier to create products when you know exactly who you’re creating them for.
Final Thoughts
Digital products turn what you already know into something that can help other people and earn income. Start with a specific problem, validate your idea, create something simple, respect licensing, price fairly, and build an email list so you aren’t at the mercy of any one platform. Your daily life is full of problems you’ve already solved, and someone out there is searching for your solution.






Leave a Reply