

“But I’m not a designer!” If I had a dollar for every time I’ve heard that (and said it myself), I could fund my next batch of sample orders for a year.
When I first considered starting a print on demand business, my biggest fear wasn’t the business side. It was the design side. I pictured people with fancy tablets and years of art school creating gorgeous graphics, and then me, with my wobbly handwriting and zero Photoshop skills. Girl, was I wrong about what it takes to sell shirts and mugs online.
Here’s the truth: some of the best-selling print on demand products are incredibly simple. A clean phrase in a great font. A minimalist icon. A retro color palette. Those are designs you can make in Canva in fifteen minutes, even if you’ve never opened a design tool before.
In this comprehensive guide, I’ll show you how to create print on demand designs with Canva in 2026, from setting up your canvas correctly to exporting print-ready files, and then uploading them to Printful and Printify. Let’s get creative!
Why Canva Is Perfect for POD Beginners
I’ve tried several design tools over the years, and Canva remains my go-to for most POD work. Here’s why:
- Beginner-friendly interface: Drag, drop, and done.
- Huge library of fonts and elements: Great for typography-based designs.
- Templates and layout guides: They make building consistent designs fast.
- Easy transparent PNG exports: A must for apparel printing (this feature is available on Canva’s paid plans).
- Collaboration and organization: Folders keep your niches and collections tidy.
Free vs Pro
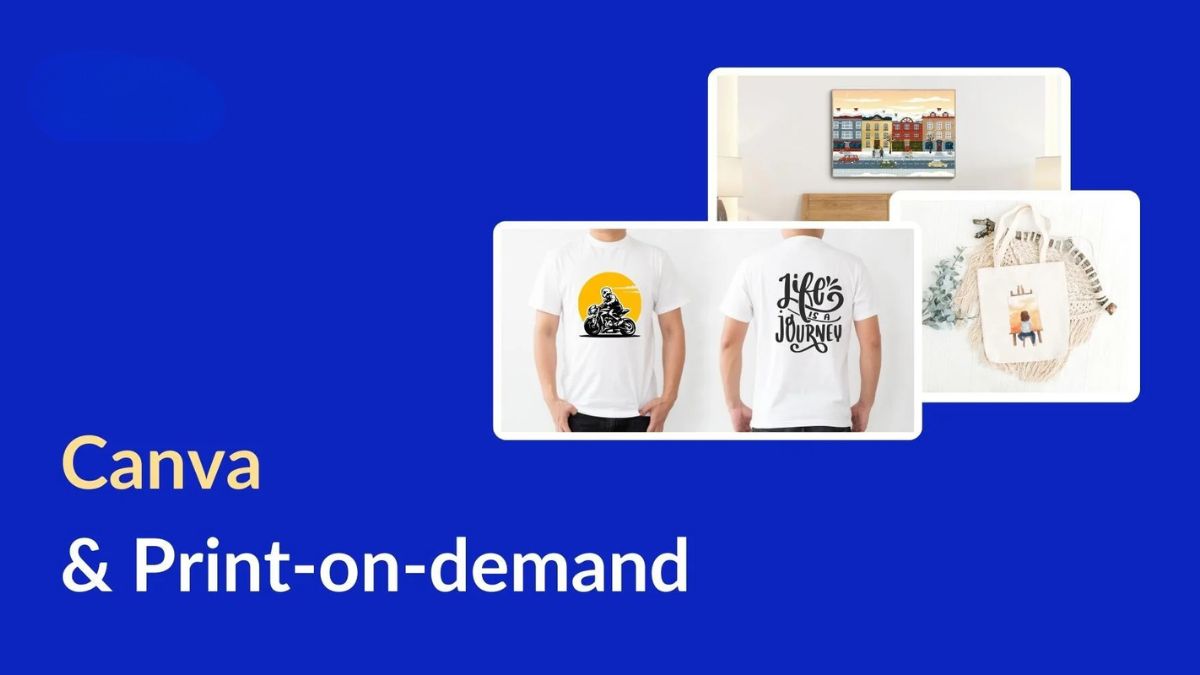
Canva has a free version that’s great for learning, and a Pro plan that unlocks features like background removal, transparent exports, and expanded libraries. If you’re serious about POD, Pro is often worth the investment because transparent PNG downloads are a big deal for apparel. Check Canva’s site for current pricing and plans, since these can change.
Important note: Always read the licensing terms for any fonts, graphics, or elements you use. Some Canva assets have restrictions on how they can be used on merchandise for resale. When in doubt, use your own original creations or assets that clearly permit commercial use on products.
Step 1: Start With a Niche and Concept
Before you open Canva, you need to know who you’re designing for and what they’d love. Random designs rarely sell.
Quick concept-building method
- Pick your niche (for example, plant lovers, nurses, or pickleball players).
- Brainstorm phrases and themes using search suggestions on Etsy, Pinterest, and Google.
- Identify emotions and identities: Humor, pride, nostalgia, encouragement, or belonging.
- Write 20 to 30 ideas before designing any of them.
Design ideas that consistently perform
- Identity statements: “Proud Dog Mom,” “Teacher Mode: On”
- Humor and sarcasm: Clever, niche-specific one-liners
- Positive affirmations: “Grow Through What You Go Through”
- Hobby pride: “Just One More Chapter”
- Seasonal designs: Holidays, graduation, and back-to-school
Pro tip: Before designing, search your phrase on Etsy and Google to see how many similar designs exist, and check for trademark issues. A great idea that’s already trademarked isn’t worth the risk.
Step 2: Set Up Your Canvas the Right Way
This step is where beginners often make costly mistakes. If your canvas is too small, your print will look blurry.
Recommended canvas sizes
- T-shirts and hoodies: Around 4500 x 5400 pixels (a commonly recommended maximum print area)
- Mugs: Follow your POD provider’s template (often a wide, short rectangle)
- Tote bags: Often around 3000 x 3000 pixels or larger
- Posters: Match the exact ratio and size you plan to sell
- Stickers: Generally 1000 to 2000 pixels on the longest side, with a clean edge
How to create a custom size in Canva
- Click Create a design.
- Choose Custom size.
- Enter your width and height in pixels.
- Click Create new design.
Here’s what I learned: Always check the specific print template from Printful or Printify before finalizing your canvas. Each product has slightly different recommended dimensions and safe areas, and following them prevents cropping surprises.
Step 3: Design Text-Based Graphics That Look Professional
Typography-based designs are the bread and butter of many POD stores. Here’s how to make them look polished instead of amateur.
Font pairing basics
- Use 1 to 3 fonts maximum. More than that feels cluttered.
- Pair a bold display font with a simple supporting font.
- Vary size and weight to create visual hierarchy. The key words should stand out.
- Watch your spacing: Adjust letter spacing and line spacing so everything feels balanced.
Layout tips
- Center-align most shirt designs for a clean look.
- Stack short phrases in 2 to 4 lines instead of one long line.
- Leave breathing room around the edges.
- Add a simple accent like a star, sun, or line to make the design feel finished.
Color strategy for apparel
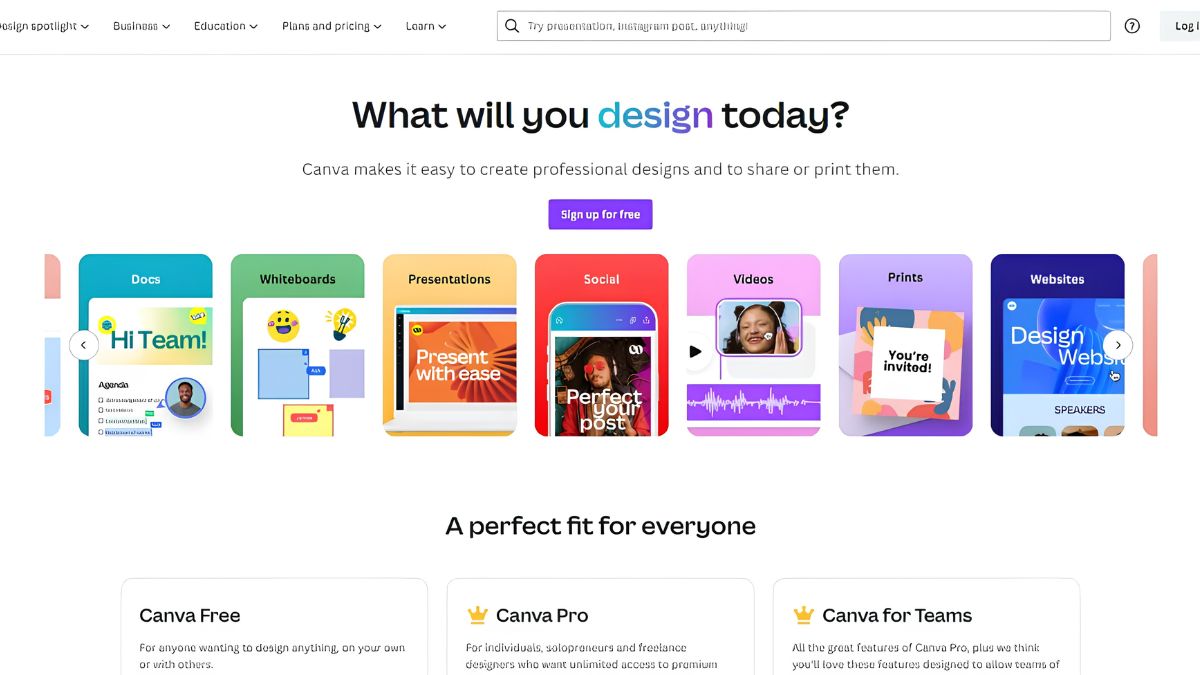
- Choose colors that contrast strongly with your shirt color.
- Create two versions of each design: one for light shirts and one for dark shirts.
- Avoid very thin, light-colored text on light shirts.
- Limit your palette to 2 to 4 colors for a cohesive look.
Pro tip: View your design at a small size. If it’s still readable when shrunk down to a thumbnail, it will work well in marketplace search results.
Step 4: Add Graphics and Illustrations (Carefully)
Text-only designs are great, but adding simple graphics can help your products stand out.
Ways to add visual interest
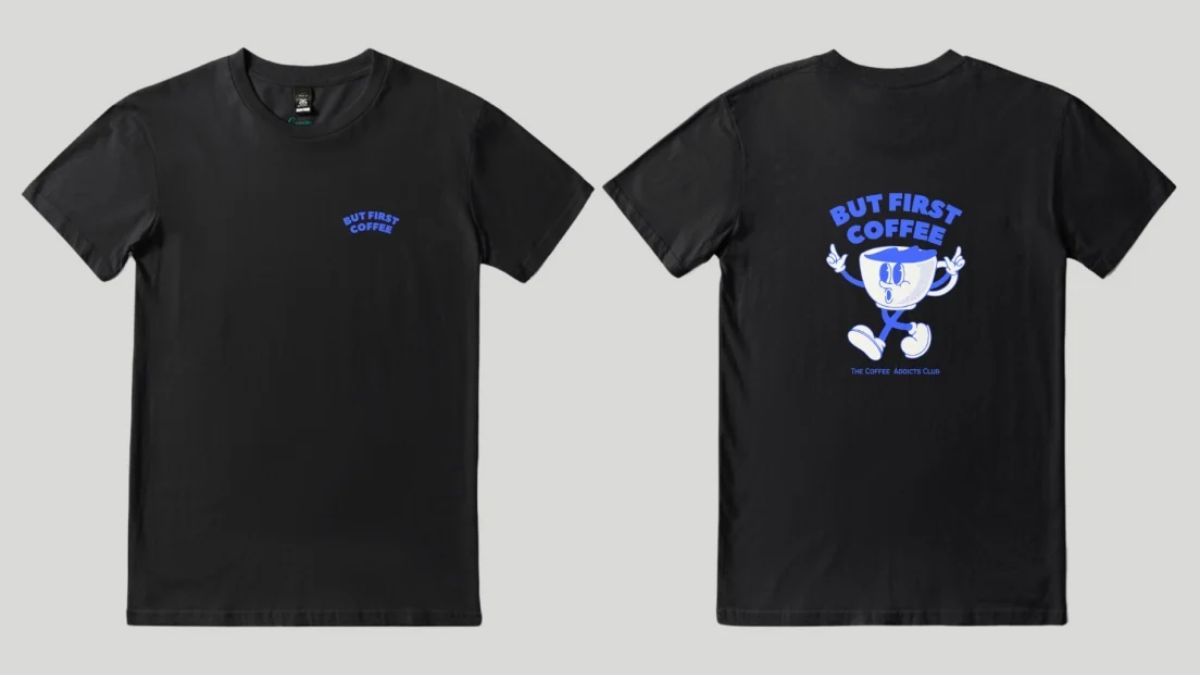
- Simple icons: Books, plants, paw prints, coffee cups, or stars
- Retro sunbursts and rainbows: Popular in vintage-inspired designs
- Line art: Minimalist illustrations feel modern and giftable
- Frames and badges: Circular or arched layouts look like official logos
The licensing warning nobody wants to hear
I learned this the hard way when I almost uploaded a design using an element that wasn’t cleared for merchandise. Big mistake, and one that can get your listings taken down.
- Read the license terms for every asset.
- Prefer graphics that explicitly allow commercial use on products.
- Avoid using an element as the main focus of your design if you’re not sure about the rules.
- Create your own shapes and lettering where possible.
- Never copy another seller’s artwork, even “inspired by” versions that are too close.
If you want fully original, unique art, consider hiring a freelance illustrator or purchasing commercial-use packs from reputable marketplaces.
Step 5: Remove Backgrounds and Create Transparent PNGs
Apparel prints need transparent backgrounds. Otherwise your beautiful design will print inside an ugly white box.
How to export a transparent PNG in Canva
- Finish your design without a background color or image.
- Click Share, then Download.
- Choose PNG as the file type.
- Check Transparent background (available on Canva Pro).
- Download and save the file.
Quick quality check
- Open the file on a checkerboard or colored background to confirm the transparency works.
- Zoom in to check that the edges are clean and sharp.
- Make sure no faint outlines or leftover background pieces remain.
Step 6: Create Design Variations Fast
One of the biggest secrets to scaling POD is reusing your layout and swapping in new phrases and colors. This is how you build a large collection without burning out.
The template system I use
- Design one strong layout you love.
- Save it as a template in a dedicated folder.
- Duplicate it and replace the text or icon.
- Adjust the colors for light and dark shirts.
- Export and repeat.
Using this method, you can produce a dozen related designs in an afternoon. Consistency also helps build a recognizable brand style for your store.
Collection ideas
- Same phrase, different colors and shirt styles
- A series: “Dog Mom,” “Cat Mom,” “Plant Mom,” “Book Mom”
- Matching sets: Family, couples, and group shirts
- Seasonal capsules: Halloween, holiday, and Valentine’s collections
Step 7: Upload Your Designs to Printful and Printify
Once your designs are ready, it’s time to put them on products.
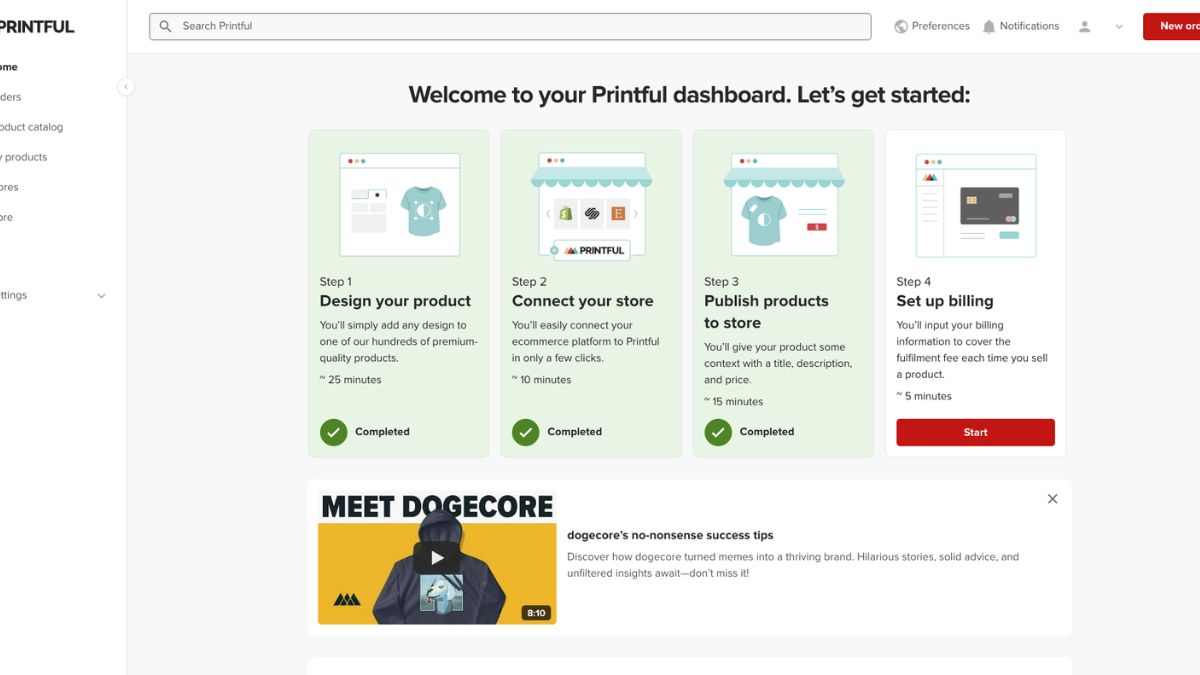
Uploading to Printful
- Log in to Printful and choose a product.
- Upload your PNG in the design tool.
- Position and resize it within the print area.
- Preview mockups on multiple colors.
- Set pricing and push the product to your store.
Printful’s design tool and mockup generator are beginner-friendly, and the preview helps you catch placement or contrast issues early.
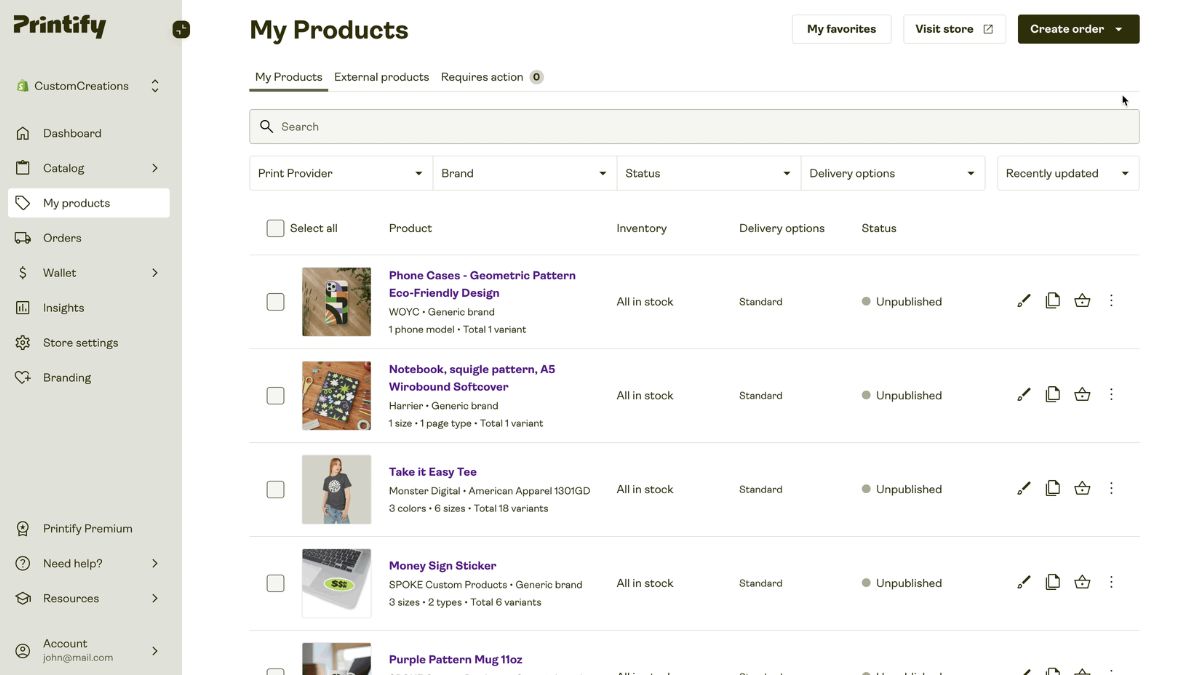
Uploading to Printify
- Log in to Printify and choose a product.
- Select a print provider.
- Upload your file and adjust its placement.
- Choose colors and sizes.
- Generate mockups, set the price, and publish.
Pro tip: Upload once and reuse. Both platforms save your images in a library, so you can apply the same design to shirts, mugs, tote bags, and more without re-uploading.
Step 8: Create Professional Mockups
Great designs deserve great presentation. Mockups help shoppers imagine wearing or using your product.
Mockup options
- Built-in mockup generators: Both Printful and Printify offer them for free.
- Canva mockup templates: Handy for lifestyle scenes.
- Sample photos: Best for authenticity. Order a sample and take your own photos.
Photo tips
- Use natural light.
- Show the shirt on a real person or a clean flat lay.
- Include close-ups of the print.
- Provide a size chart image.
- Show multiple color options in a single image.
Step 9: Test, Track, and Improve
Not every design will win, and that’s totally normal. Treat your designs as experiments.
What to track
- Views and click-through rate: Are people noticing your thumbnail?
- Favorites and saves: Signals interest.
- Conversion rate: Are visitors buying?
- Best-selling phrases and styles: Double down on what works.
How to iterate
- Identify your top sellers.
- Create variations of those designs.
- Test new colors, fonts, and layouts.
- Retire or refresh designs that never gain traction.
Common Design Mistakes to Avoid
- Low-resolution files that print blurry
- Copyrighted or trademarked content
- Too much text or clutter
- Poor contrast against shirt colors
- Ignoring the print area guidelines
- Skipping sample orders
- Copying trending designs too closely
Your First Design Session: A Simple Plan
If you’re new and want a quick win, try this 90-minute session:
- 15 minutes: Pick a niche and brainstorm 10 phrases.
- 45 minutes: Create three designs using the same layout.
- 15 minutes: Export light and dark versions as transparent PNGs.
- 15 minutes: Upload to Printful or Printify and preview mockups.
By the end of the session, you’ll have real products ready to order as samples. Nothing beats momentum!
Start Designing and Selling Your Own Products
You don’t need artistic training to succeed with print on demand. You need a clear niche, a simple design workflow, and the willingness to publish, learn, and improve. Canva gives you the design tools, and your print partners take care of production and shipping, so you can focus on creating products people love.
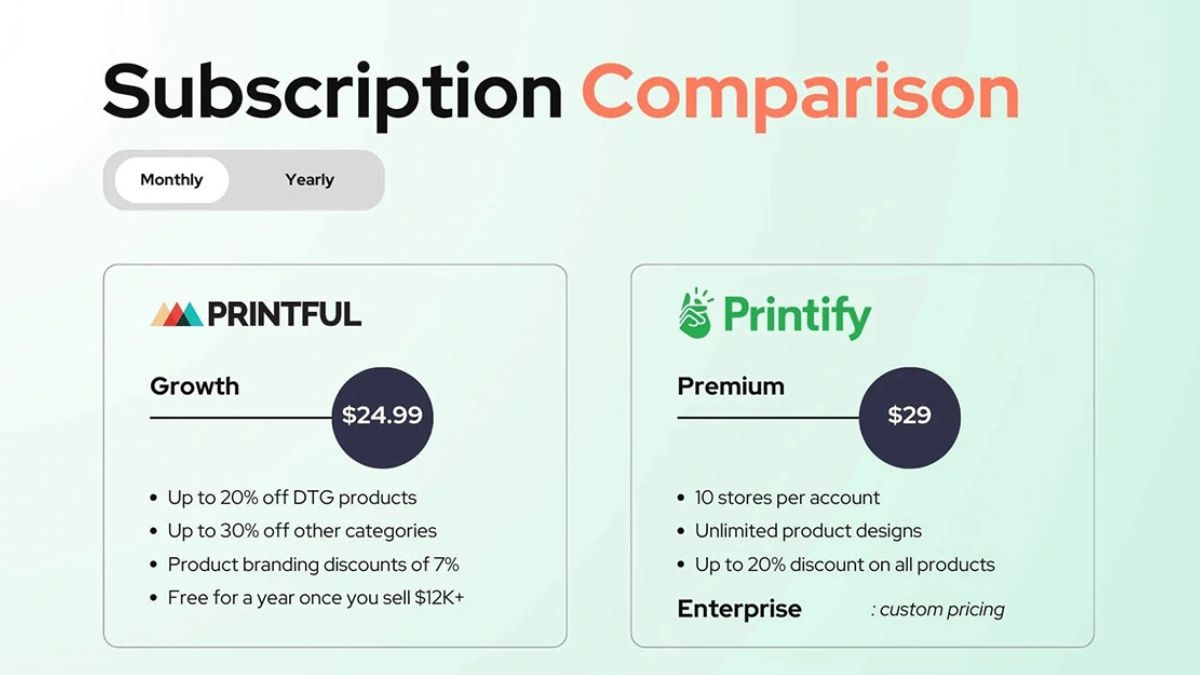
Ready to turn your ideas into products? Sign up for Printful to get polished mockups and premium quality options, and join Printify to explore its wide product catalog and flexible pricing. Both are free to open, so you can upload your first design today. Open Canva, make that first design, and let it out into the world. Your future customers are waiting!


Leave a Reply