


The word “course” used to make me picture a studio, a ring light, a hundred polished videos, and a launch that took six months. Then a friend who knew everything about toddler sleep put together a simple four-lesson guide: a short video for each lesson, a one-page checklist, and a private email thread for questions. She sold it to a few dozen parents. She didn’t have a huge following, a fancy platform, or any expensive gear. She had a specific problem, a clear solution, and the courage to hit publish.
That’s what I mean by a mini course: a small, focused, affordable program that helps people get one result. For stay-at-home moms who’ve figured out how to do something well (budget on one income, plan meals for picky eaters, organize a small home, start a blog), a mini course can be a flexible way to earn. It’s not instant money: you have to create it, find buyers, and support them. But it can be built in the margins of a busy day.
In this guide, I’ll walk you through how to create and sell a mini online course: how to choose a topic, validate demand, build lessons (with help from AI), price it, choose a platform, and find your first students. (Income isn’t guaranteed, and many courses sell little without marketing.)
What Makes a Great Mini Course
- One clear result: “Plan a week of dinners in 30 minutes,” not “Everything about cooking.”
- Short and actionable: often three to seven lessons that people can finish in a weekend or a week.
- Built from real experience: you’ve done it, and you can show your process.
- Easy to consume: short videos, audio, slides, or written lessons plus a checklist or template.
- Affordable and low-risk for the buyer, since they often don’t know you yet.
Here’s the truth: people don’t buy information. They buy a result and the confidence that you can get them there.

Step 1: Choose a Topic You Can Teach
Ask yourself:
- What do friends and family ask me for help with?
- What have I learned the hard way that others would pay to learn faster?
- What result have I achieved that others want?
- What topic can I explain clearly in simple steps?
Good mom-friendly topics include budgeting basics, meal planning, decluttering, homeschool setup, starting a small online shop, building a simple website, breastfeeding or sleep routines (with appropriate caution and expert input where health is involved), or a skill like photography or crochet.
If your topic touches health, finances, legal matters, or children’s safety, be careful with claims, state your limits, and consider expert review.
Step 2: Validate Before You Build
Before spending weeks creating, test interest:
- Search for similar courses and products. Competition shows demand, but find a gap or a more specific audience.
- Ask your audience. Post a question in a community where moms hang out, following the rules, or ask ten people directly.
- Offer a free workshop or short guide and see who shows up.
- Pre-sell. Describe the course and offer an early-bird price to a small group. If nobody wants it, adjust the idea.
If you can’t find five people interested, the idea may need refining.
Step 3: Outline Your Course
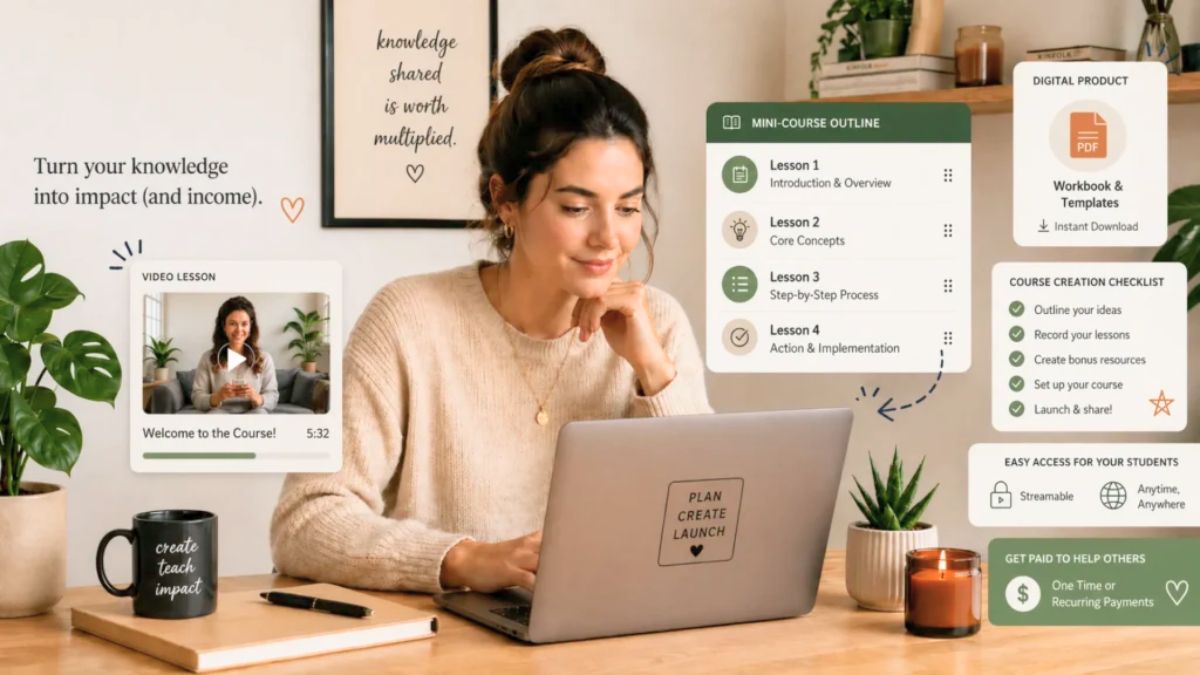
Start with the end result and work backward:
- Write the promise: “By the end, you’ll be able to [result].”
- List the steps someone needs to take to get there.
- Turn each step into a lesson, with one clear takeaway.
- Add a quick win in lesson one, so students feel progress early.
- Add an action item for each lesson: a checklist, worksheet, or small task.
You can use an AI assistant to brainstorm and refine your outline: ask it to suggest missing steps, common beginner mistakes, and questions students may have. Then adjust it based on your real experience.
Step 4: Create Simple, Useful Lessons
You don’t need a studio:
- Short videos recorded on your phone, with good audio and natural light
- Slides with voiceover for step-by-step topics
- Audio lessons if you’re more comfortable without video
- Written lessons with screenshots or photos
- Downloadable resources: checklists, templates, planners, and swipe files
Some AI assistants now include document, slide, and design tools even on free plans, which can help you create worksheets and presentations. Keep the draft-and-approve habit: use AI to draft outlines, scripts, and handouts, then edit them in your own voice, add your real examples, and fact-check everything. Never publish unchecked AI content, and don’t claim results you can’t support.
Step 5: Choose Where to Host
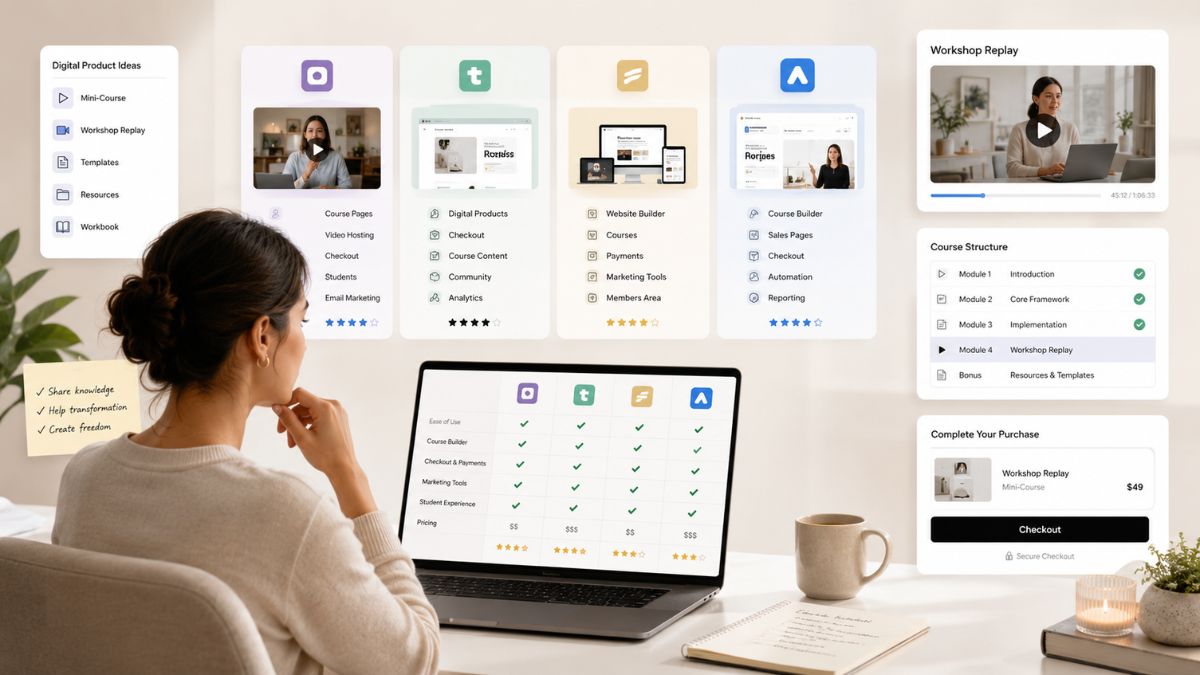
Options include:
- Course platforms that handle video hosting, payments, and student access
- Digital product marketplaces that deliver files and lessons
- Membership or community tools for ongoing support
- Email-based courses that deliver lessons by email
- A private page on your own website for lessons and downloads
Compare fees, ease of use, payment options, and whether you can export your student list. Start simple, since you can move later if you own your email list.
Step 6: Price Your Course
There’s no single right price. Consider:
- The value of the result to the student
- What similar courses cost, and how yours is different
- Your support level: self-paced is usually priced lower than live coaching
- Your audience’s budget
- Your fees and time
Many beginners start at an accessible price to earn early customers and testimonials, then raise it as they refine the course and gather proof. Consider a bundle with a template pack or a live Q&A for a higher-priced option.
Step 7: Write a Simple Sales Page
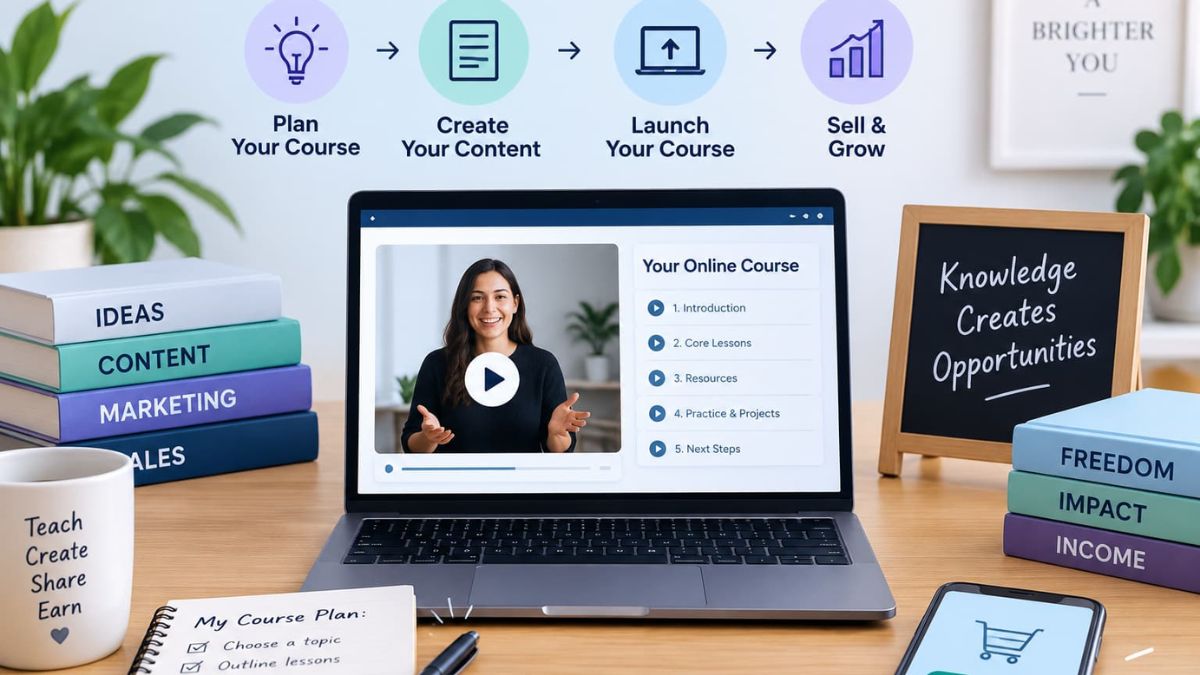
Include:
- A headline stating the result and who it’s for
- The problem in the buyer’s own words
- What’s inside: lessons, templates, and bonuses
- Who it’s for, and who it isn’t for
- Your story and credibility: why you’re qualified to teach it
- Testimonials or early results, if you have them. Never fake them.
- A clear refund policy
- A simple call to action
Avoid income or health claims you can’t support, and follow advertising rules.
Step 8: Find Your First Students
- Your email list is your best channel. Offer a free resource (a checklist or mini lesson) to build it.
- Warm outreach to people who’ve shown interest.
- Short videos and posts that teach one tip from your course.
- Communities and groups where your audience asks questions, following their rules.
- A free live workshop that leads to your course.
- Partnerships with complementary creators or small businesses.
Because some platforms limit link reach, use bio links, stories, videos, and email to guide people to your page, and follow each platform’s rules.
Step 9: Support Your Students
Happy students become your best marketing:
- Welcome them with a clear first step.
- Check in after the first lesson.
- Answer questions promptly, or set clear office hours.
- Ask for feedback and improve the course.
- Collect testimonials with permission.
- Update your lessons as things change.
Step 10: Handle the Business Basics
- Taxes: Course income is generally self-employment income. In the U.S., net earnings of $400 or more trigger self-employment tax, so keep records and set money aside.
- Sales tax or VAT: Rules for digital products vary by location. Some platforms handle part of it for you.
- Privacy: Follow email and privacy rules, and be careful with student data.
- Copyright: Only use music, images, and fonts you have the right to use.
- Refunds and disclaimers: Write clear terms, and state that results vary.
Mistakes to Avoid
- Building before validating.
- Making the course too big.
- Overpromising results.
- Hiding behind perfect production.
- Publishing unchecked AI content.
- Having no email list or marketing plan.
- Not supporting students.
Your 45-Day Mini Course Plan
- Week 1: Choose your topic and validate interest with 10 conversations or a poll.
- Week 2: Outline your lessons and write your promise.
- Weeks 3-4: Create lessons, worksheets, and your sales page.
- Week 5: Pre-sell or run a free workshop.
- Week 6: Launch to your first group, collect feedback, and improve.
Build Your Course Into a Bigger Plan
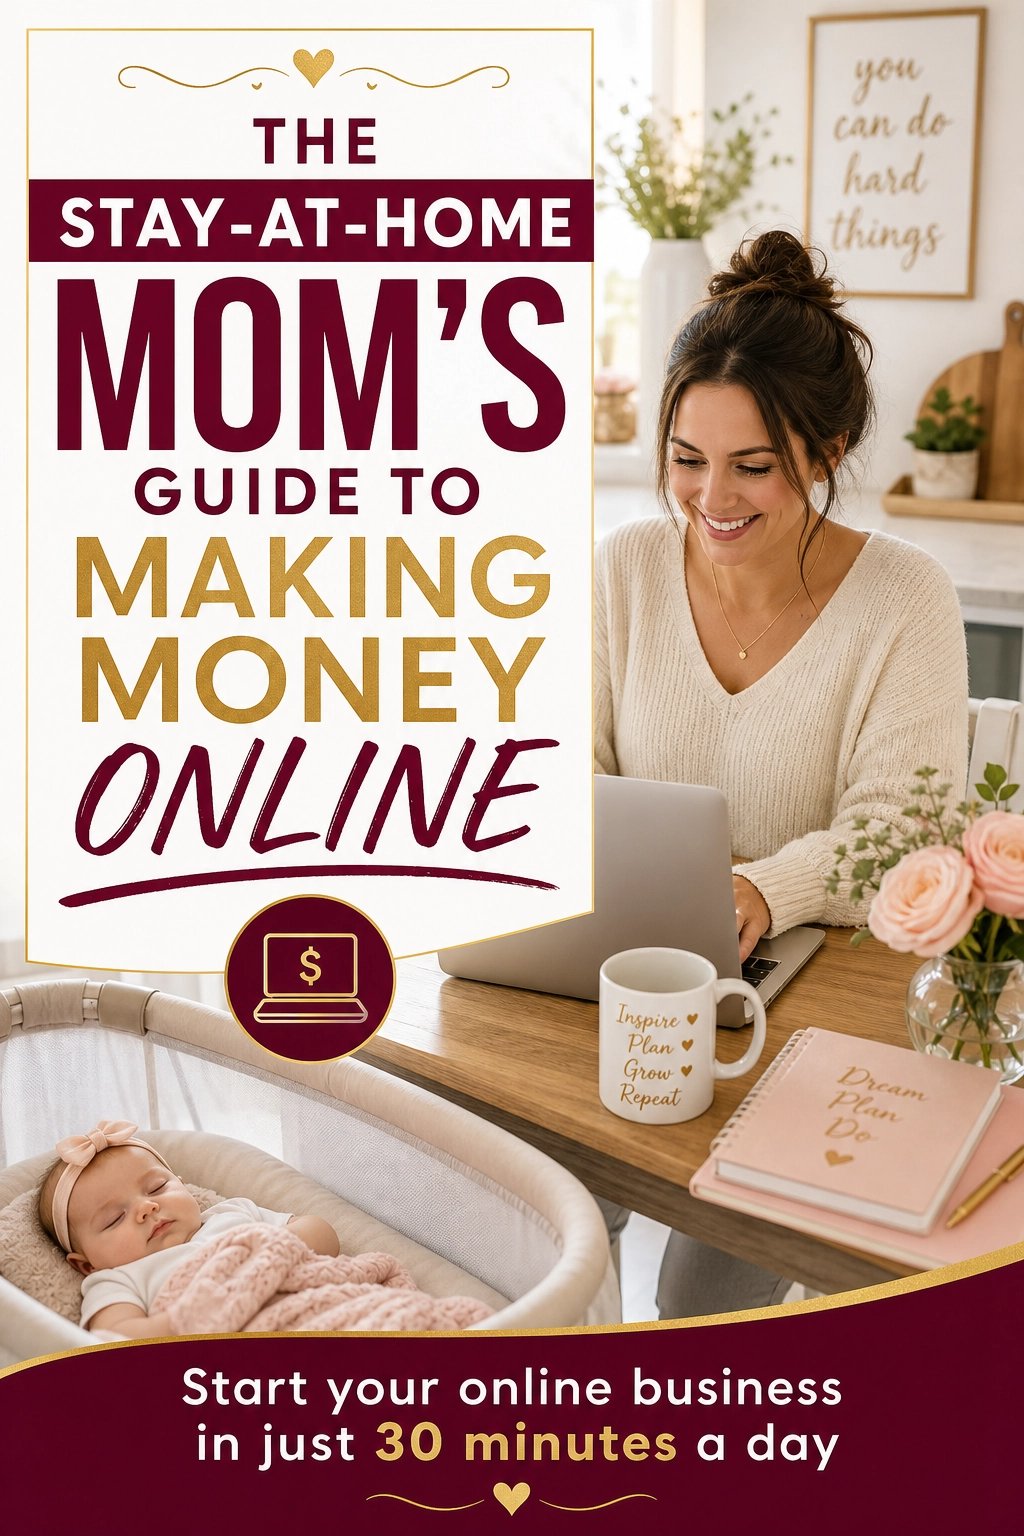
A mini course works best as one part of an online income plan that includes your own audience and other offers. If you’d like a beginner-friendly roadmap made for moms, take a look at my ebook:
The Stay-At-Home Mom’s Guide To Making Money Online
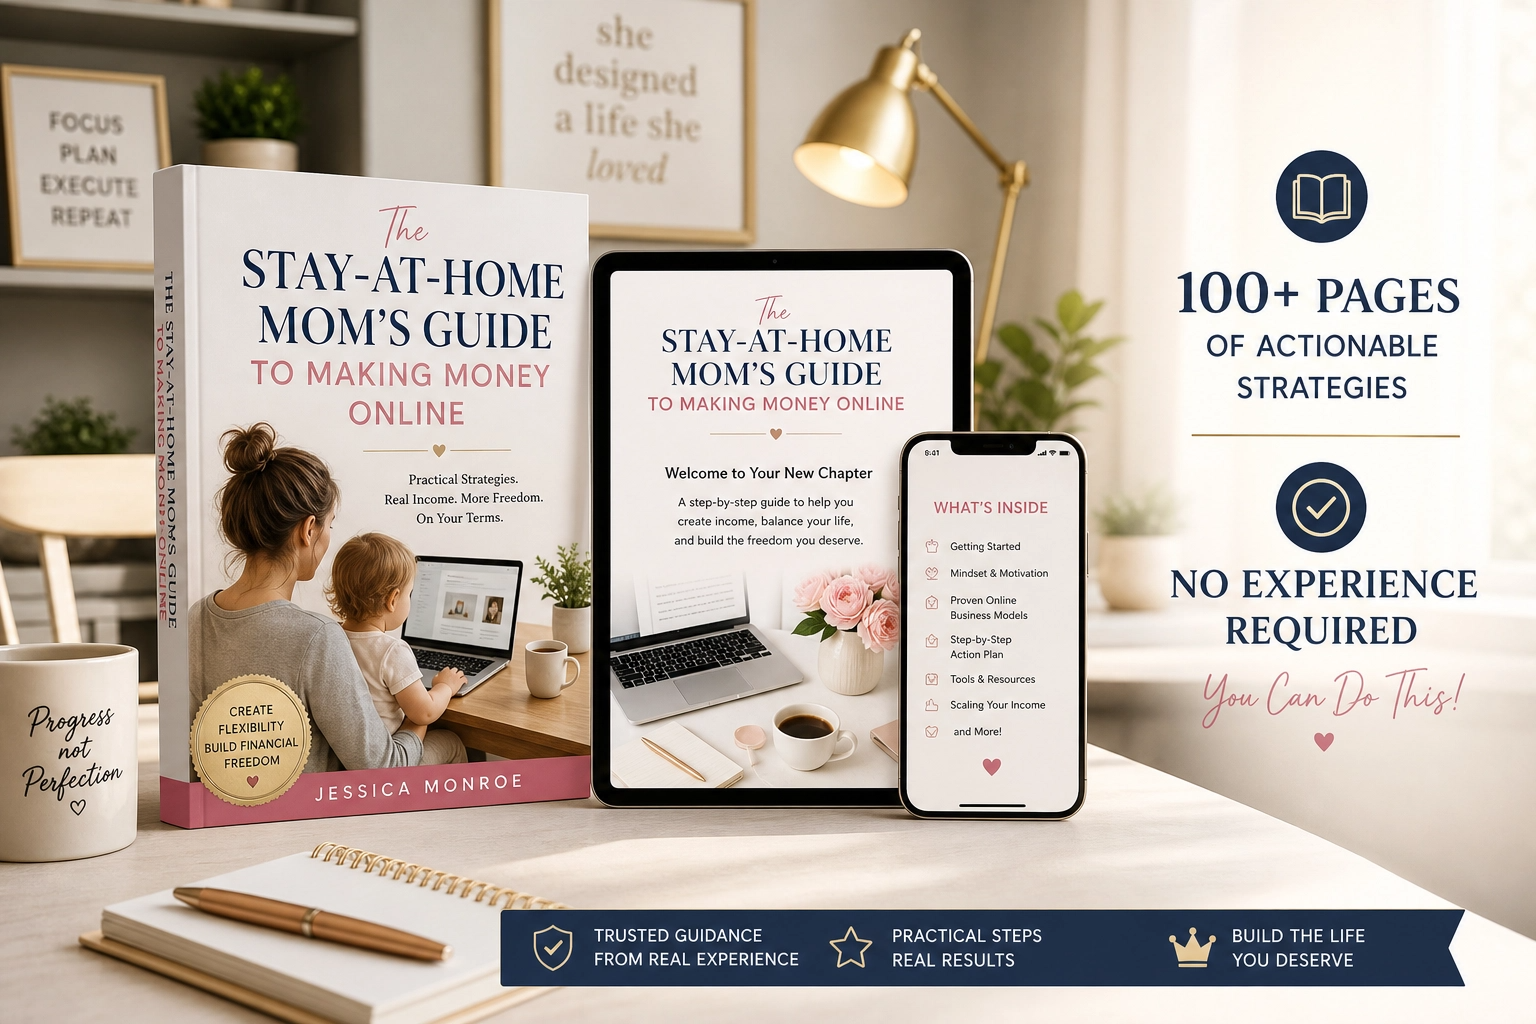
Trust me, it’s easier to create when you know what you’re building toward.
Final Thoughts
A mini course turns what you’ve learned into something that can help other moms. Pick one clear result, validate before you build, keep your lessons simple, price fairly, and support your first students well. You don’t need perfection. You need a real problem, a clear path, and the willingness to start.





Leave a Reply