

Did you know that Shopify powers millions of online stores around the world? That’s a lot of entrepreneurs who decided to stop scrolling and start selling. And a big share of them are running print on demand businesses with no warehouse and no inventory.
I remember the first time I tried to build my own store outside of a marketplace. I stared at the Shopify dashboard for a solid twenty minutes, clicking around, convinced I was going to break something. Sound familiar? Little did I know, the technical setup is honestly the easy part. The real work is choosing a niche, creating great designs, and getting traffic.
But you can’t get to the fun stuff until your store is connected to your print partner. That’s exactly what I’m going to walk you through today.
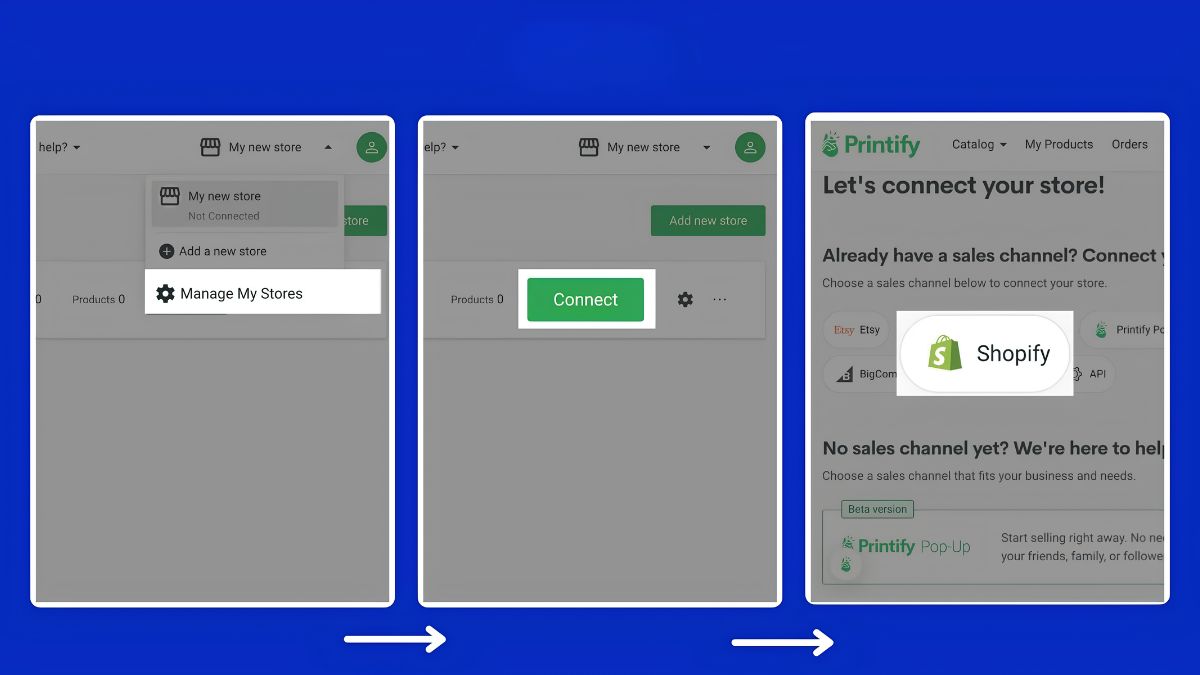
In this comprehensive guide, I’ll show you how to connect Printful and Printify to Shopify in 2026, step by step. We’ll cover setting up your store, installing the apps, creating your first product, adjusting pricing, testing an order, and avoiding the rookie mistakes that cost sellers time and money. (Note: platform menus and layouts get updated from time to time, so your screen may look slightly different from my descriptions. The overall flow stays the same.)
Why Sell Print on Demand on Shopify?
Etsy is fantastic for built-in traffic, but Shopify gives you something Etsy can’t: full ownership of your brand and customer relationships.
The benefits of a Shopify store
- Total design control: Your store looks and feels exactly how you want.
- Customer data: You own your email list and can market to buyers again and again.
- Fewer marketplace restrictions: You set the rules for your brand.
- Scalability: Add products, collections, upsells, and apps as you grow.
- Multiple sales channels: Sell through your website, social media, and more.
The honest tradeoffs
Shopify has a monthly subscription fee, and you’re responsible for driving traffic. Nobody is going to stumble upon your store just because it exists. That’s why I often suggest a hybrid approach: use Etsy to validate designs and generate early sales, then build your Shopify store as your long-term brand home.
Before You Start: What You’ll Need
Let’s gather everything so you can breeze through setup.
- A Shopify account (they typically offer a free trial period, so check their site for the current offer)
- A Printful account and/or a Printify account
- At least one design file (transparent PNG, high resolution)
- A payment method to cover sample orders and production costs
- A niche and brand name (even a simple working name is fine)
If you don’t have your POD accounts yet, here’s where to create them. Both are free to open:
Step 1: Set Up Your Shopify Store Basics
Before connecting anything, get your store’s foundation in place.
- Sign up for Shopify and follow the onboarding prompts.
- Name your store. Choose something simple, brandable, and tied to your niche.
- Choose a theme. Shopify offers free themes that are clean and mobile-friendly. Don’t overthink it. You can change themes later.
- Set your store currency, time zone, and location in Settings.
- Add your business details and confirm your contact email.
- Set up payments through Shopify Payments or PayPal so you can actually get paid.
- Create essential pages: About, Contact, Shipping Policy, Refund Policy, Privacy Policy, and Terms of Service. Shopify offers policy templates you can customize.
Pro tip: Buy a custom domain (like yourbrandname.com) early. It builds trust and helps with branding and SEO.
Step 2: Connect Printful to Shopify
Let’s start with Printful. I like it for premium items, custom branding options, and clean mockups.
Installing the Printful app
- In your Shopify admin, go to the Shopify App Store.
- Search for Printful and click Install (or add the app).
- Authorize the requested permissions.
- You’ll be redirected to Printful. Log in to your account or create a new Printful account if you haven’t already.
- Confirm the connection between your Shopify store and your Printful account.
Once connected, you’ll see your Shopify store listed in your Printful dashboard.
Setting up billing and shipping in Printful
Printful needs a payment method on file so it can charge you for production and shipping whenever a customer places an order.
- In Printful, go to Billing and add a credit card or PayPal.
- Review the shipping settings to see which rates are being offered.
- Confirm your return address and any packing slip branding options.
Here’s what I learned: Add your branding assets, like your logo, early. Printful lets you create custom packing slips that make every order feel more personal and professional.
Creating your first Printful product
- In Printful, open the Product Templates or Add Product section.
- Choose a product like a unisex T-shirt or a mug.
- Upload your design and position it using the design tool.
- Choose colors and sizes.
- Generate mockups.
- Set your retail price, keeping profit margin in mind.
- Add a title and description, then submit to your Shopify store.
The product will sync and appear in your Shopify admin, where you can edit the listing, add it to collections, and publish it.
Step 3: Connect Printify to Shopify
Now let’s connect Printify, which I love for its wide catalog and flexible pricing.
Installing the Printify app
- Go to the Shopify App Store and search for Printify.
- Click Add app and authorize the connection.
- Log in to Printify, or sign up for a free Printify account if you’re new.
- Confirm that your Shopify store is connected.
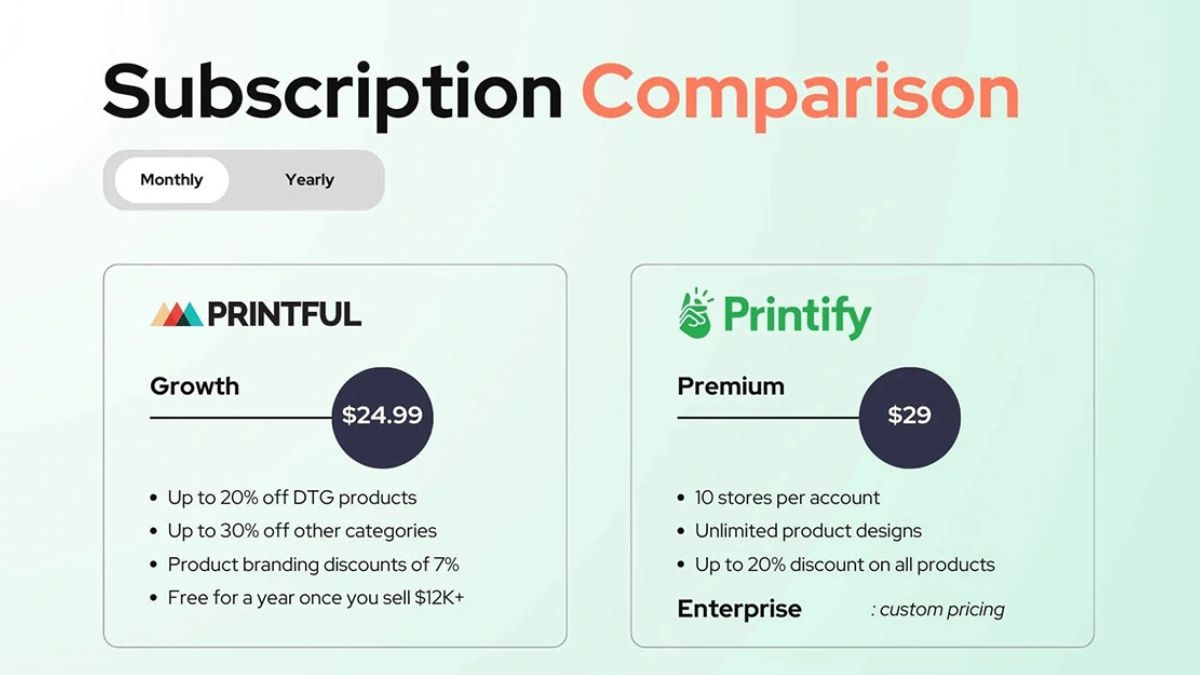
Setting up payment in Printify
Like Printful, Printify charges you when an order is placed. Add a payment method in your account settings so orders can be processed automatically. Some sellers choose to approve orders manually at first, which is a good idea while you’re still testing quality.
Choosing a print provider
Here’s where Printify differs from Printful. For each product, you choose from a list of print providers. Compare:
- Price: Base cost per item
- Production time: How fast they print
- Shipping options and rates: Especially for your main customer regions
- Provider ratings and reviews
- Location: A provider near your customers can reduce delivery times
Pick the provider that offers the best balance of quality, speed, and cost. Order a sample before you commit.
Creating your first Printify product
- Click Add new product in your Printify dashboard.
- Select a product (for example, a Bella+Canvas-style tee).
- Choose a print provider.
- Upload your design and place it on the product.
- Select colors and sizes.
- Set your pricing.
- Publish to your Shopify store.
Step 4: Use Both Platforms Together
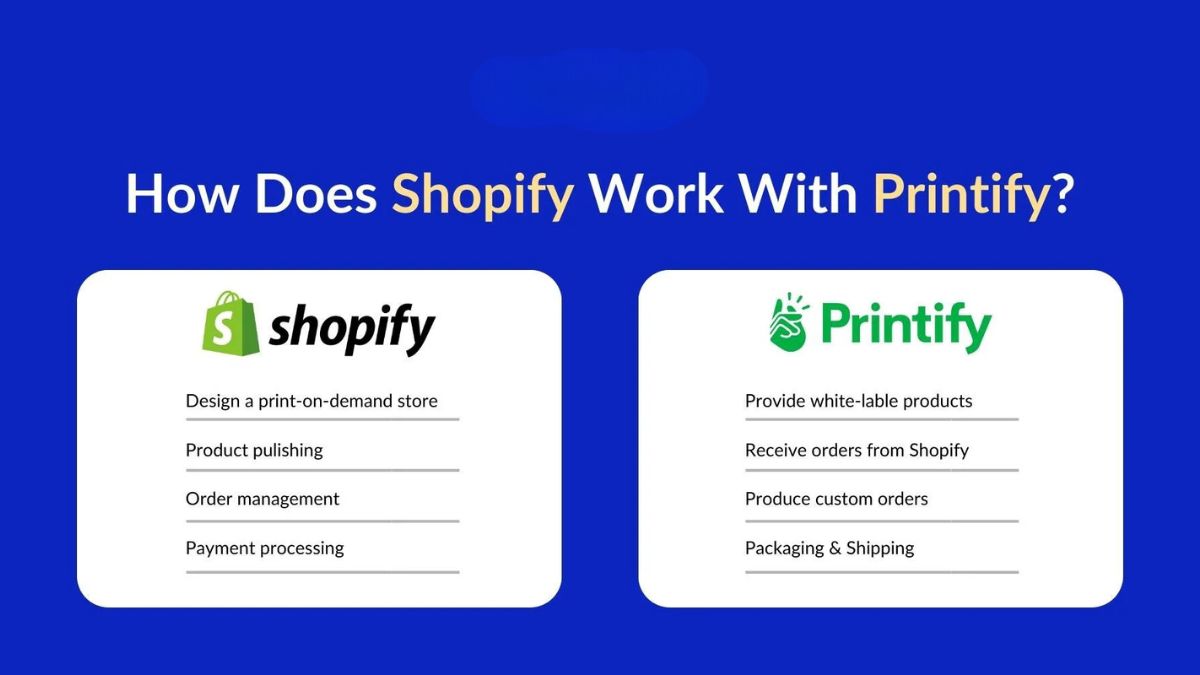
Yes, you can connect both Printful and Printify to the same Shopify store. Many sellers do, because it lets you pick the best partner for each product.
A simple way to organize it:
- Printful: Signature products, embroidered items, and anything that needs premium quality or custom branding.
- Printify: Wider variety, higher-margin basics, and products you want to test quickly.
Both apps will sync their own products into your Shopify store. Just keep your product titles and collections organized so your customers see one seamless store, and you can keep track of which items come from which partner.
Step 5: Optimize Your Product Pages
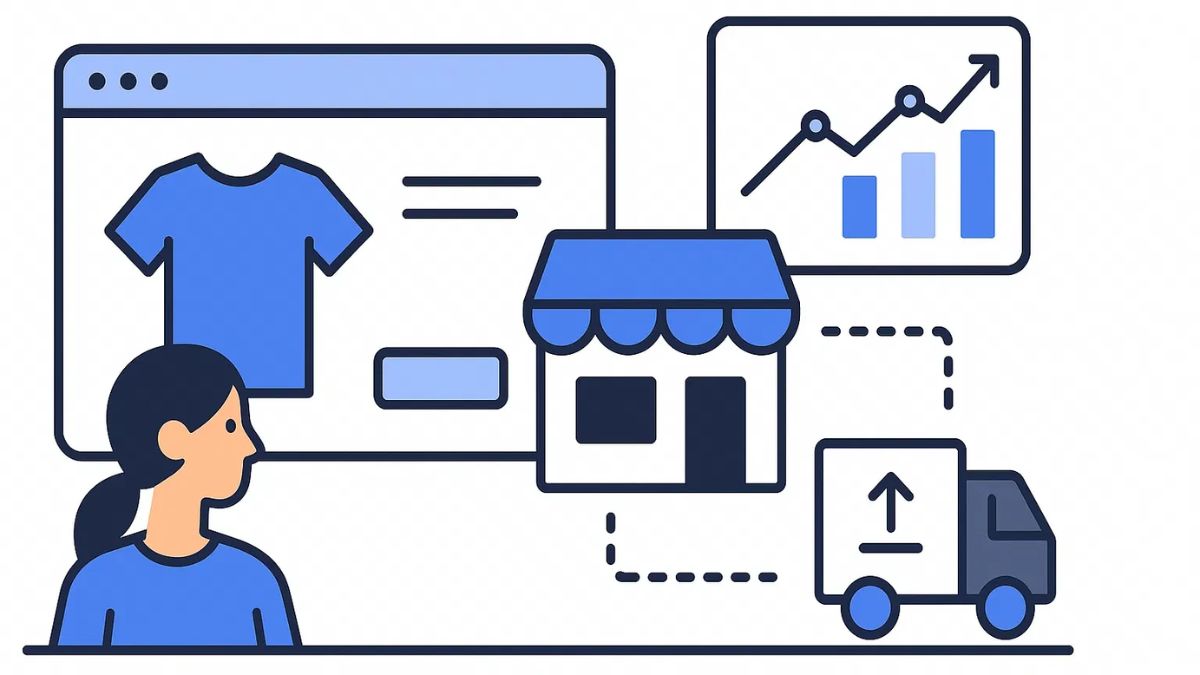
A connected store is only the beginning. Now make your product pages convert.
Product page checklist
- Clear, keyword-rich title: “Retro Book Lover Sweatshirt, Gift for Readers”
- Compelling description: Cover who it’s for, the fit, the material, and care instructions.
- High-quality images: Use mockups plus real photos from your samples when possible.
- Size chart: Reduces returns and customer questions.
- Customer reviews: Add a reviews app once you have orders.
- Trust signals: Show shipping info, return policy, and secure checkout icons.
SEO basics for Shopify
- Edit the page title and meta description for each product.
- Use descriptive image file names and alt text.
- Organize products into collections based on niche keywords.
- Create a blog with helpful content to attract organic traffic.
Step 6: Set Up Shipping Rates and Settings
Shipping affects your conversion rate more than most beginners realize.
- Free shipping: Bake the cost into your product prices and advertise free shipping. Shoppers love it.
- Flat rate shipping: Simple and predictable for customers.
- Calculated rates: Pulled from your POD provider. These can be accurate but sometimes make prices feel high at checkout.
Be clear about production time plus shipping time. POD products are made after ordering, so a typical timeline includes a few days for production plus transit. Put it in your product descriptions and FAQ page so customers aren’t surprised.

Step 7: Place a Test Order
I cannot stress this enough: order your own product before you sell it.
- Place an order in your store using a discount code or by manually creating an order in Shopify.
- Confirm the order syncs correctly with Printful or Printify.
- Wait for delivery and inspect everything: print quality, colors, packaging, and speed.
- Take photos and video for your marketing.
Trust me, catching a sizing issue or a color mismatch on your own order is much cheaper than dealing with dozens of unhappy customers.
Step 8: Launch and Drive Traffic
Your store is set up, and your products are ready. Now go get customers!
Free traffic ideas
- Pinterest: Perfect for gift and décor niches.
- TikTok and Instagram Reels: Show your process, samples, and customer reactions.
- SEO blogging: Write guides and gift lists that link to your products.
- Email marketing: Offer a welcome discount to build your list.
- Community engagement: Join niche groups and forums.
Paid traffic
Once you’ve proven a product converts, consider testing Meta Ads, Pinterest Ads, or Google Shopping. Always start with a small budget and track your results closely.
Troubleshooting Common Connection Problems
Even with a simple setup, hiccups can happen. Here are the most common ones:
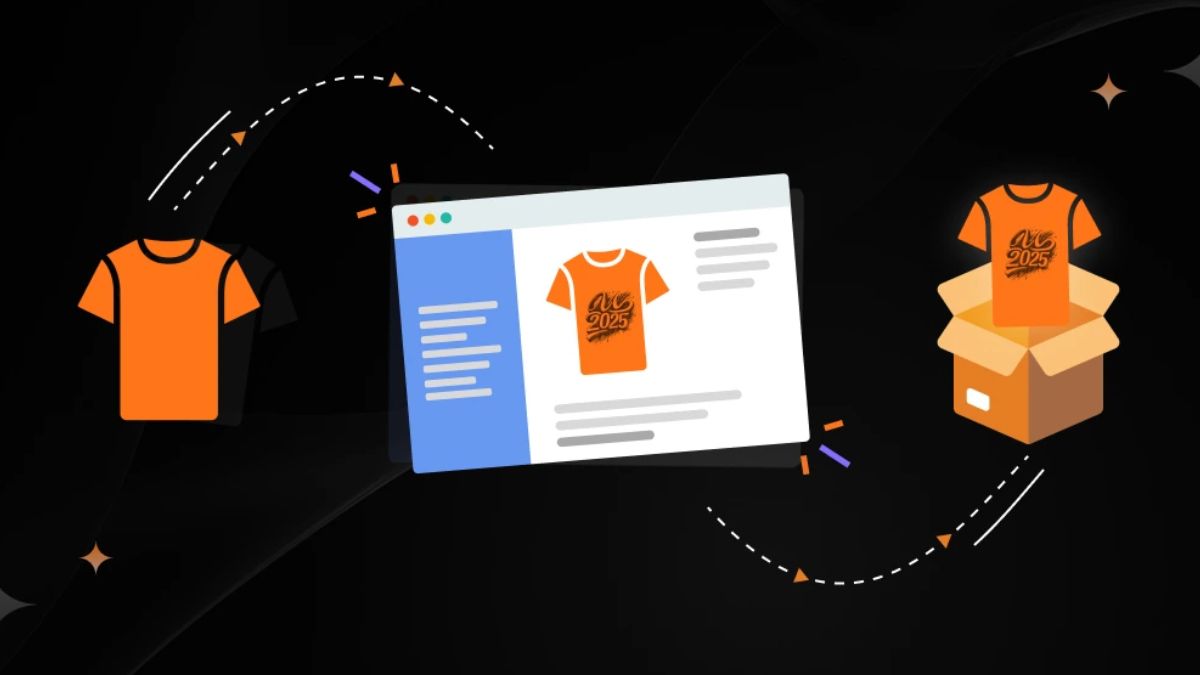
- Products not syncing: Refresh the sync inside the POD dashboard, or disconnect and reconnect the app.
- Orders not reaching the POD partner: Check your payment method and order status in both Shopify and the POD dashboard.
- Incorrect shipping rates: Review your shipping profiles in Shopify and your POD app settings.
- Wrong mockups or missing variants: Re-publish the product or update the mockups in the POD tool.
- Payment failures: Make sure your card on file is valid and has enough available funds.
If you get stuck, both platforms have help centers and support teams. Screenshot the problem and include order numbers when you contact them.
Common Mistakes to Avoid
- Launching without a test order
- Ignoring shipping times in your policies
- Underpricing products
- Using unlicensed or trademarked designs
- Publishing too many random products instead of a focused collection
- Not building an email list from day one

Your Setup Checklist
Here’s a quick recap you can save:
- Create your Shopify store and configure the basics
- Open your Printful account and install the Printful app
- Open your Printify account and install the Printify app
- Add payment methods to both platforms
- Create your first product in each
- Set pricing, shipping, and policies
- Order samples and place a test order
- Launch, promote, and improve
Ready to Build Your Shopify Print on Demand Store?
Connecting your print partners to Shopify is much simpler than it looks, and once it’s done, you have a real business infrastructure that runs in the background while you focus on designs and marketing. You don’t need a warehouse, packaging materials, or a big budget. You need a niche, a handful of strong designs, and two dependable partners.
Don’t let technical fear hold you back like it held me back for weeks. Get started with Printful today for premium quality and branding, and join Printify for catalog variety and margin flexibility. Both are free to open, and both connect to Shopify in minutes. Set aside an afternoon this week, follow the steps above, and take your first big step toward owning your own brand.









Leave a Reply