


The first course I ever made was a disaster. I spent two months recording forty-five videos on a topic I loved, launched it to an audience of almost nobody, and sold exactly two copies, one to my aunt. I was crushed. But I learned the most important lesson in the course business: a great course starts with a validated problem, not a finished product.
If you want to create and sell an online course, you’re building one of the most scalable digital products around. A course can help people get results, build your authority, and earn income repeatedly.
In this guide, I’ll walk you through choosing an idea people will pay for, designing a course that gets results, choosing a platform, pricing it, and launching to your first students.
Why Online Courses Are Worth Building
Here’s why creators love courses:
- Scalable. Build it once, sell it again and again.
- High value. Courses can be priced higher than most digital downloads.
- Authority. A course positions you as an expert.
- Impact. You help people transform skills or situations.
The honest part: Courses require upfront work and audience trust. Without people to sell to, even a brilliant course sits unsold. That’s why I recommend starting small and validating first.
Step 1: Find a Course Idea That Sells
The Sweet Spot Formula
A good course topic sits where three things meet:
- Your knowledge or experience: You can teach it credibly.
- A painful, specific problem: People want it solved.
- Willingness to pay: The result is valuable enough to invest in.
Idea Starters
- Skills you’ve learned the hard way, such as launching an Etsy shop or planning meals on a budget.
- Results you’ve achieved, such as paying off debt or landing freelance clients.
- Your professional expertise, such as project management or customer service.
- Tools you master, like Canva, Notion, or spreadsheets.
Pro tip: Narrow your promise. “Start your first Etsy printable shop in 14 days” is far stronger than “Etsy mastery.”
Step 2: Validate Your Idea Before You Build
My two-sale disaster could have been avoided with validation. Here’s how to test demand:
- Talk to ten people in your target audience and ask about their struggles.
- Run a poll or survey in your community or email list.
- Pre-sell a small version, such as a live workshop or beta cohort.
- Check competitors. Existing courses prove demand. Look for gaps you can fill.
- Collect emails for a waitlist and watch the response.
If people say “I’d buy that!” but don’t pay or sign up, treat it as a warning sign. Money is the strongest validation.
Step 3: Design a Course That Delivers Results
People don’t buy information. They buy transformation.
Start With the Outcome
Write one clear sentence: “By the end of this course, students will be able to ______.”
Structure Your Course
- Break it into modules, each with one major milestone.
- Break each module into short lessons of 5 to 15 minutes.
- Add action steps, such as worksheets, templates, and checklists.
- Include quick wins early so students stay motivated.
- Keep it lean. Cut anything that doesn’t move the student toward the result.
Choose Your Format
- Video lessons: Most popular and engaging.
- Audio or text lessons: Easier to produce and great for busy learners.
- Workbooks and templates: Increase completion and perceived value.
- Live calls or community support: Higher price and stronger results.
An AI assistant can help outline modules, draft worksheets, and brainstorm lesson titles. The Claude Advantage walks through prompt techniques that save time, though your real experience should always shape the content.
Step 4: Create Your Course Content
You don’t need a studio.
Simple Production Setup
- Recording: Use your phone or laptop camera, or record your screen with slides.
- Audio: A decent microphone improves quality enormously.
- Slides and visuals: Canva makes polished slides easy.
- Editing: Keep it simple, trimming mistakes and long pauses.
Tips for Better Lessons
- Start with the key point and avoid long introductions.
- Use examples and demonstrations.
- Keep lessons short and focused.
- Add captions for accessibility.
- Speak like you’re helping one friend.
Step 5: Choose Your Course Platform
Options include:
- Gumroad: Simple setup, good for smaller courses and digital products.
- Teachable, Thinkific, Kajabi: Full-featured course platforms with student management.
- Podia or similar all-in-one tools.
- Your own site with a membership plugin.
Fees and features change, so compare current pricing and choose the simplest platform that meets your needs. I recommend starting simple. You can always migrate later.
Step 6: Price Your Course
Pricing depends on the result, audience, and level of support.
- Mini-courses and workshops: often $19–$99.
- Core self-paced courses: often $97–$497.
- Courses with coaching or community: often $297–$1,000+.
Pricing tips:
- Price by the outcome, not by hours of video.
- Offer early-bird or founding-member pricing to your first students.
- Consider payment plans for higher prices.
- Include a clear guarantee if it fits your business.
- Raise prices as you add testimonials and improve results.
Step 7: Launch to Your First Students
Launching isn’t a single post. It’s a short campaign.
A Simple Launch Plan
- Pre-launch (1–2 weeks): Share helpful content, tell your story, and build excitement.
- Open cart (5–7 days): Share the offer through emails, social posts, and personal outreach.
- Show proof: Share testimonials and sneak peeks.
- Answer objections: Address concerns about time, price, and results.
- Close cart or deadline: Create a genuine reason to act now.
- Follow up: Thank buyers and ask for feedback.
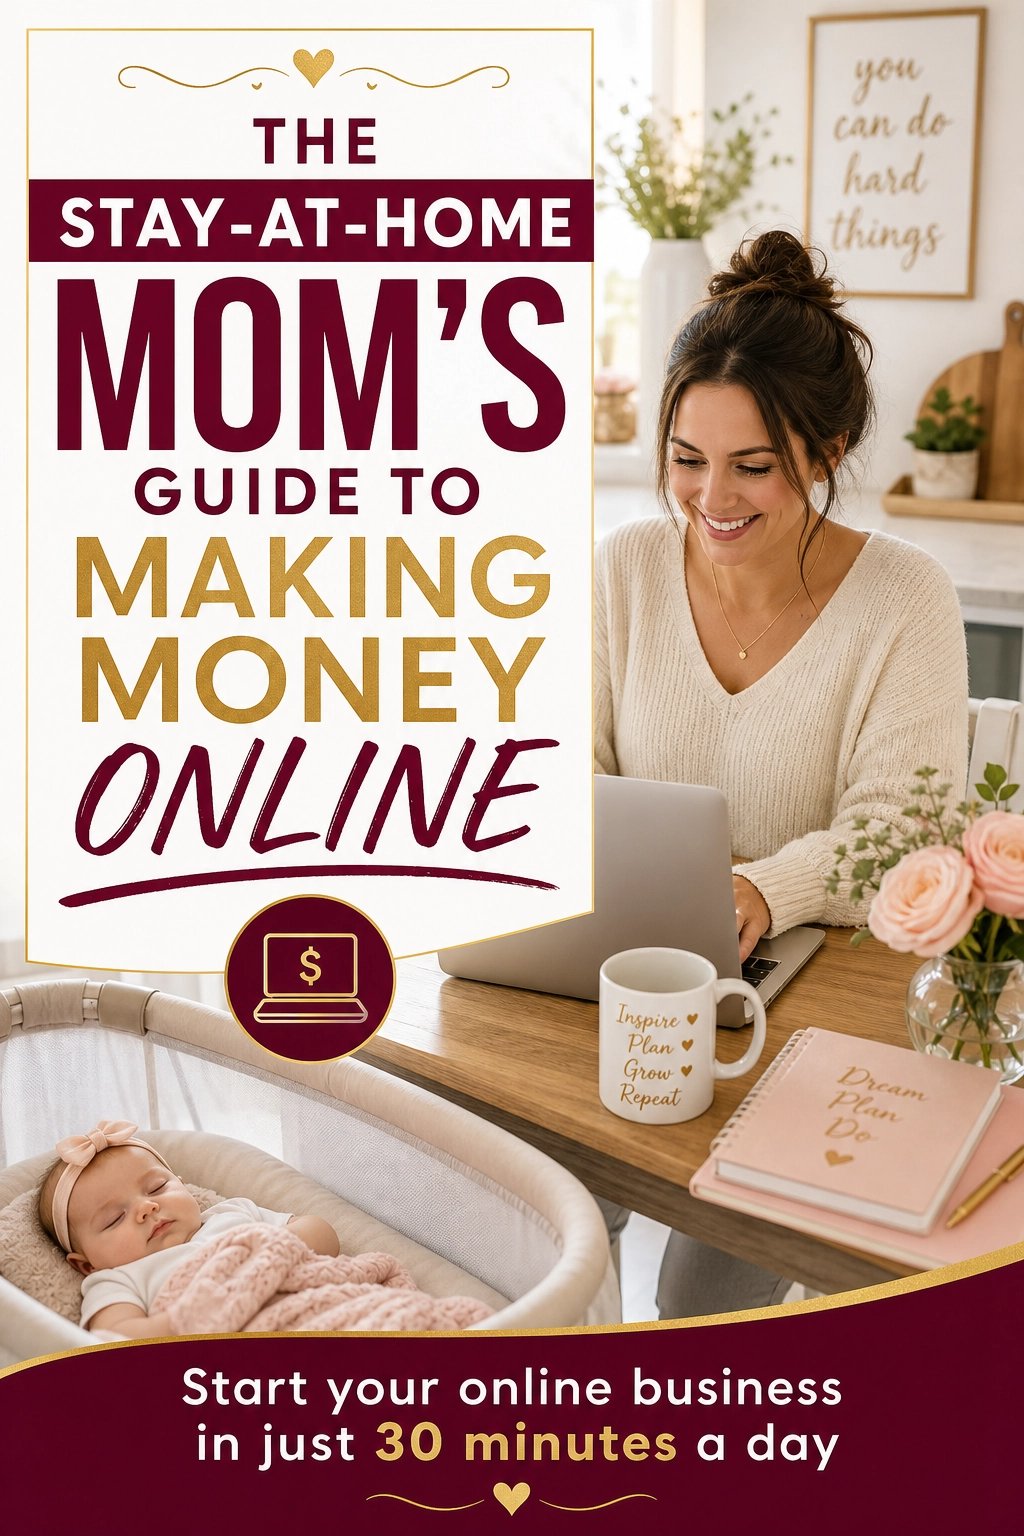
To attract the right buyers, The Digital Marketing Playbook walks through marketing fundamentals in beginner-friendly language. If you’re a mom building around family life, The Stay-At-Home Mom’s Guide to Making Money Online gives you flexible models to follow.
Step 8: Support Students and Improve
Happy students lead to testimonials and referrals.
- Welcome students warmly with a clear first step.
- Check in with encouraging emails.
- Answer questions quickly.
- Collect feedback and update lessons.
- Celebrate student wins with permission.
Your reputation drives future sales. The Personal Brand Blueprint can help you build the trust that sells your next course.
A Sample Course Outline You Can Adapt
Not sure what a finished structure looks like? Here’s an example outline for a mini-course called “Launch Your First Digital Product in 14 Days”:
- Module 1: Choose Your Idea (Days 1–3). Lessons on spotting problems, researching demand, and picking a product type. Action step: complete a one-page idea worksheet.
- Module 2: Create Your Product (Days 4–8). Lessons on outlining, designing in Canva, and testing. Action step: finish a first draft.
- Module 3: Set Up Your Shop (Days 9–11). Lessons on choosing a platform, writing a listing, and pricing. Action step: publish your listing.
- Module 4: Get Your First Sales (Days 12–14). Lessons on sharing your product, collecting reviews, and following up. Action step: send ten personal invitations.
Notice how each module has a clear milestone and a concrete action. Students finish courses that make progress feel tangible.
How to Raise Completion Rates
A course only builds your reputation if students actually finish it. Here’s what helps:
- Keep lessons short. Most learners prefer five to ten minutes.
- Drip content over time instead of releasing everything at once, if it suits your topic.
- Send encouragement emails after key milestones.
- Offer templates and checklists that make action easy.
- Create a community space where students can ask questions and share wins.
Higher completion means more testimonials, fewer refunds, and more referrals, all of which make your next launch easier.
Legal and Money Basics
- Create original content and respect copyright.
- Write clear terms, refund policies, and disclaimers.
- Avoid income or result guarantees you can’t back up.
- Track income and save for taxes. Consult a qualified professional.
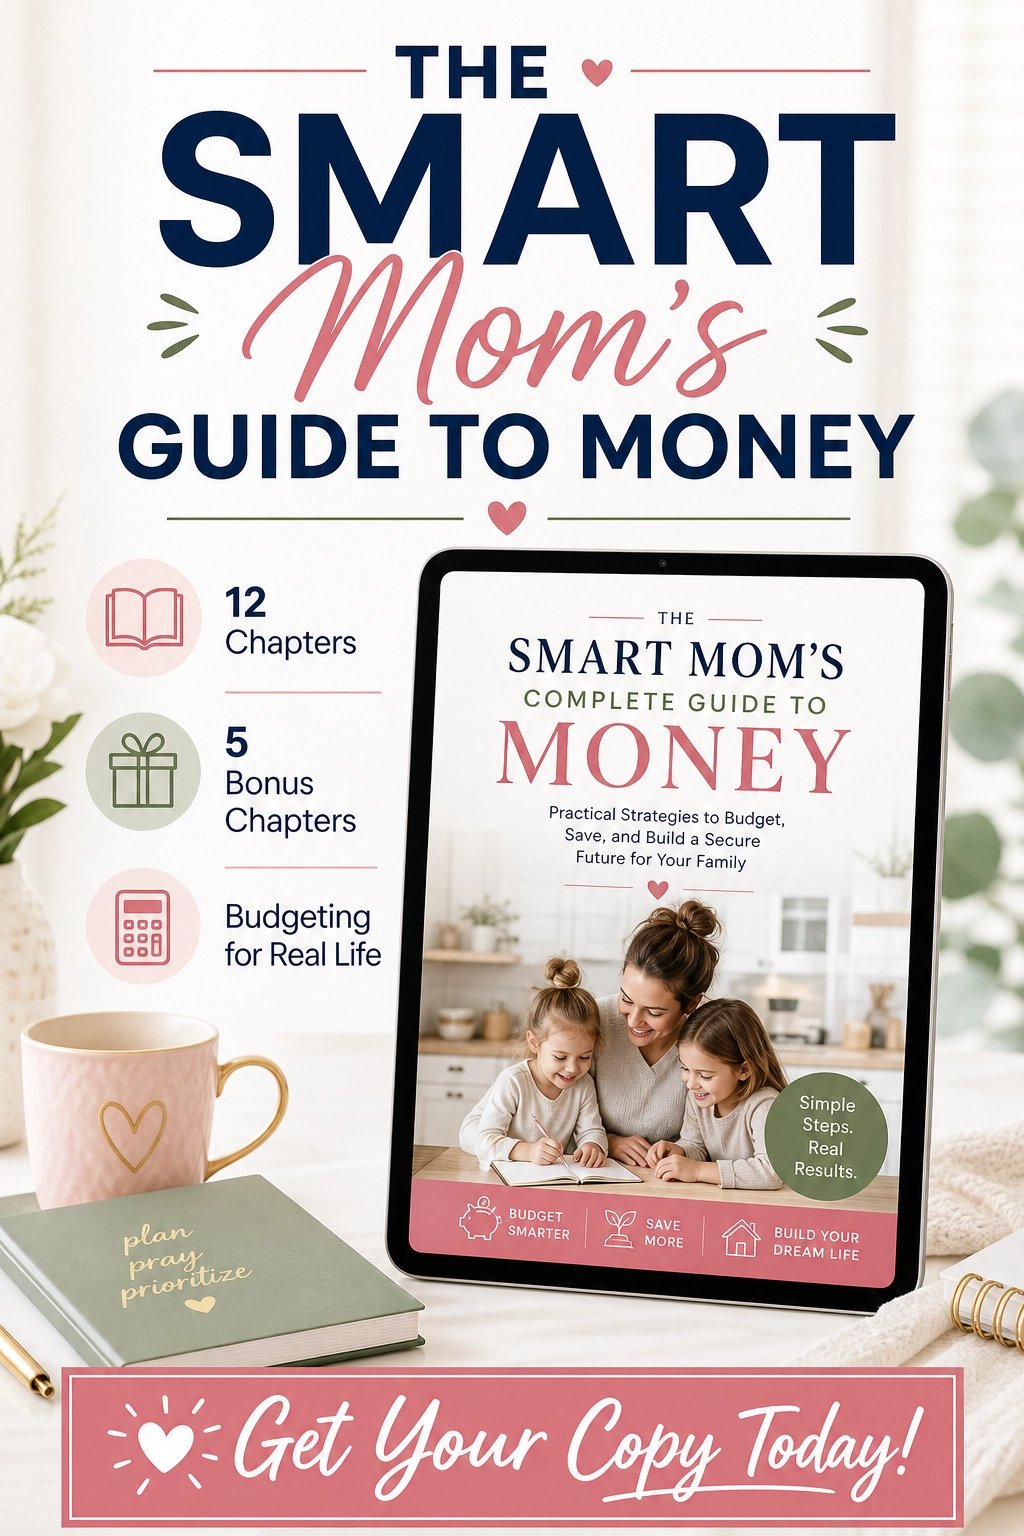
For simple financial structure, The Smart Mom’s Complete Guide to Money is a friendly starting point.
Mistakes to Avoid
- Building before validating. Test demand first.
- Making it too big. A focused course finishes better.
- Ignoring marketing. Great courses need visibility.
- Perfectionism. Launch a beta and improve.
- Forgetting support. Students need guidance to finish.
Quick Answers About Online Courses
Do I need a big audience? No, but you need some audience or a plan to reach people. A small, engaged email list can be enough for a first launch.
How long does it take to create a course? A focused mini-course can take two to six weeks. Larger courses take longer.
How much can I earn? It varies greatly with audience, price, and marketing. Start small and build.
Am I qualified to teach? If you’re a step or two ahead of your students and can help them get a result, yes.
Your First Course Starts With One Conversation
Learning to create and sell an online course is about solving a real problem for real people. Validate your idea, design a clear path to results, keep production simple, and launch with care.
This week, talk to five people in your audience about their biggest struggle. Trust me, those conversations are worth more than a month of video editing, and they may spark your best course idea. Let’s get building!







Leave a Reply