


The scariest part of creating something to sell is spending weeks on it and then hearing silence. I know that feeling. I once built a whole guide for an audience that turned out not to want it. What I wish I’d done instead was something much simpler: teach it live, once, to a small group, and see who showed up.
That’s the beauty of a paid workshop or webinar. You pick a topic, set a date, teach for an hour or two, answer questions, and get paid for your time and knowledge. If people love it, you have proof to turn it into a course, a program, or a recurring class. If they don’t, you’ve learned something valuable with very little risk. For moms working in the gaps of family life, a single scheduled session is also far easier to manage than a long program.
Live teaching also fits what audiences want right now. Surveys show people trust real people and practical, specific advice, and short-form video and social platforms are filled with tips that leave viewers wanting more depth. Email lists remain one of the most reliable ways to invite people into a paid session, especially as platforms limit link reach and change their rules.
In this guide, I’ll explain how to host paid workshops and webinars as a mom: choosing a topic, validating demand, planning the session, pricing, promoting honestly, and following up. (Income varies and isn’t guaranteed.)
Workshop vs. Webinar vs. Course
- Workshop: hands-on, interactive, and focused on completing something during the session, such as a budget plan or content calendar.
- Webinar: more presentation-style, often with Q&A.
- Mini course: pre-recorded lessons students complete on their own (see our guide on mini courses).
You can start with a workshop and later turn the recording and materials into a course.

Step 1: Choose a Topic With a Clear Result
Good workshop topics solve one specific problem in a short time:
- “Plan a month of dinners in 90 minutes”
- “Set up your first freelance profile”
- “Create a simple weekly budget system”
- “Build a media kit for brand deals”
- “Organize your digital photos and files”
- “Make your first batch of social media posts”
Write the promise: “By the end, you’ll have [specific outcome].”
Step 2: Validate Demand Before You Build
- Ask your audience or people you know what they struggle with.
- Offer a free mini-session and note the questions.
- Pre-sell with a simple page and a small early-bird price.
- Count real interest: replies, waitlist signups, and payments. A handful of paying attendees is a good start.
If you can’t find five interested people, refine the topic or the audience.
Step 3: Plan the Session
A simple 90-minute structure:
- Welcome (5 minutes): who you are, what they’ll achieve, and how the session works.
- Teaching (20 minutes): the core framework, step by step.
- Hands-on exercise (30 minutes): attendees apply the idea while you guide.
- Examples (10 minutes): show how it looks in real life.
- Q&A (20 minutes): answer questions.
- Next steps (5 minutes): recap and an invitation to what’s next.
Create a one-page worksheet or template for attendees. Keep slides simple and focus on doing.

Step 4: Choose Your Tools
- A video meeting or webinar tool you’re comfortable with
- A simple registration and payment page
- An email tool for reminders and follow-ups
- A slide or document tool for visuals and handouts. Some AI assistants now include document, slide, and design tools even on free plans, which can help you create worksheets and decks. Always edit and fact-check anything you create.
- A backup plan for tech trouble, such as a second device and a recorded version
Do a practice run with a friend.
Step 5: Price Your Session
- Research what similar workshops charge.
- Price based on the value of the result and the time you invest.
- Consider early-bird and standard pricing to encourage sign-ups.
- Offer a recording as a bonus, or sell it separately.
- Set a clear refund policy.
Don’t underprice because you’re new. A fair price signals seriousness and helps attendees commit.
Step 6: Promote Honestly
- Email your list with a clear invitation and the specific result.
- Share helpful posts and short videos teaching a small piece of the topic.
- Invite friends and community members where promotion is allowed.
- Collaborate with other creators or small businesses who serve the same audience.
- Be honest about outcomes. Don’t promise income, health results, or guaranteed success.
- Avoid fake scarcity. Real deadlines are fine, but don’t invent them.
- Use platform tools to disclose partnerships and sponsored content.
Because some platforms limit link posts, rely on bio links, stories, comments, and email.

Step 7: Deliver a Great Session
- Start on time and set expectations.
- Keep energy and pace steady.
- Invite questions in chat.
- Give attendees a real win before the end.
- Share the worksheet and recording promptly.
- Be kind and flexible if someone is lost or tech fails.
Step 8: Follow Up
- Send a thank-you email with the recording, resources, and next steps.
- Ask for feedback with two or three simple questions.
- Request testimonials from happy attendees (with permission to use them).
- Invite them to your next offer: another workshop, a program, or a one-on-one session.
- Add attendees to your email list only if they agreed to receive emails.
Step 9: Handle the Business Basics
- Taxes: in the U.S., net self-employment earnings of $400 or more trigger self-employment tax.
- Privacy: collect only what you need, store it securely, and follow email consent rules.
- Copyright: use only images, music, and templates you have the right to use.
- Sales tax or VAT: rules for digital events vary by location. Check requirements or ask a professional.
- Recording consent: tell attendees you’re recording, and follow local rules.

Mistakes to Avoid
- Choosing a topic that’s too broad.
- Skipping a practice run.
- Overloading the session with slides.
- Underpricing.
- Promising unrealistic results.
- Forgetting to collect testimonials.
- Not following up.
Your 30-Day Launch Plan
- Week 1: Choose your topic, promise, and date. Ask five people about their challenges.
- Week 2: Build your outline, worksheet, and registration page.
- Week 3: Promote to your list and community, and do a practice run.
- Week 4: Host your session, follow up, and decide what to build next.

Build Your Online Income on a Roadmap
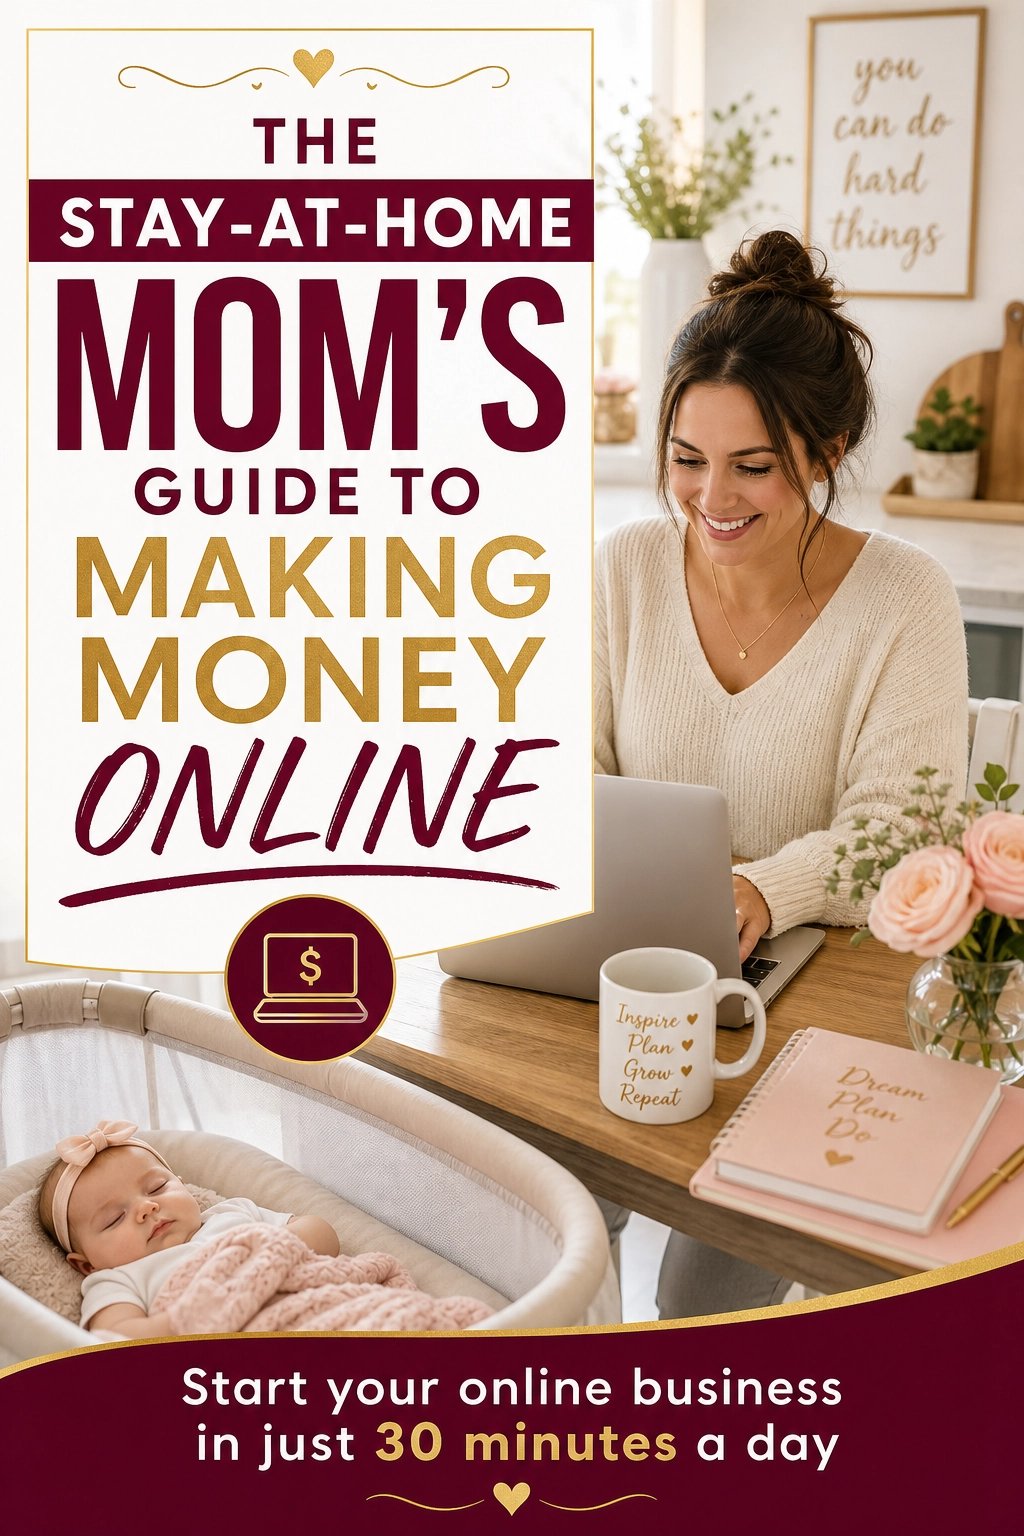
If you’d like a beginner-friendly roadmap for making money online as a stay-at-home mom, take a look at my ebook:
The Stay-At-Home Mom’s Guide To Making Money Online
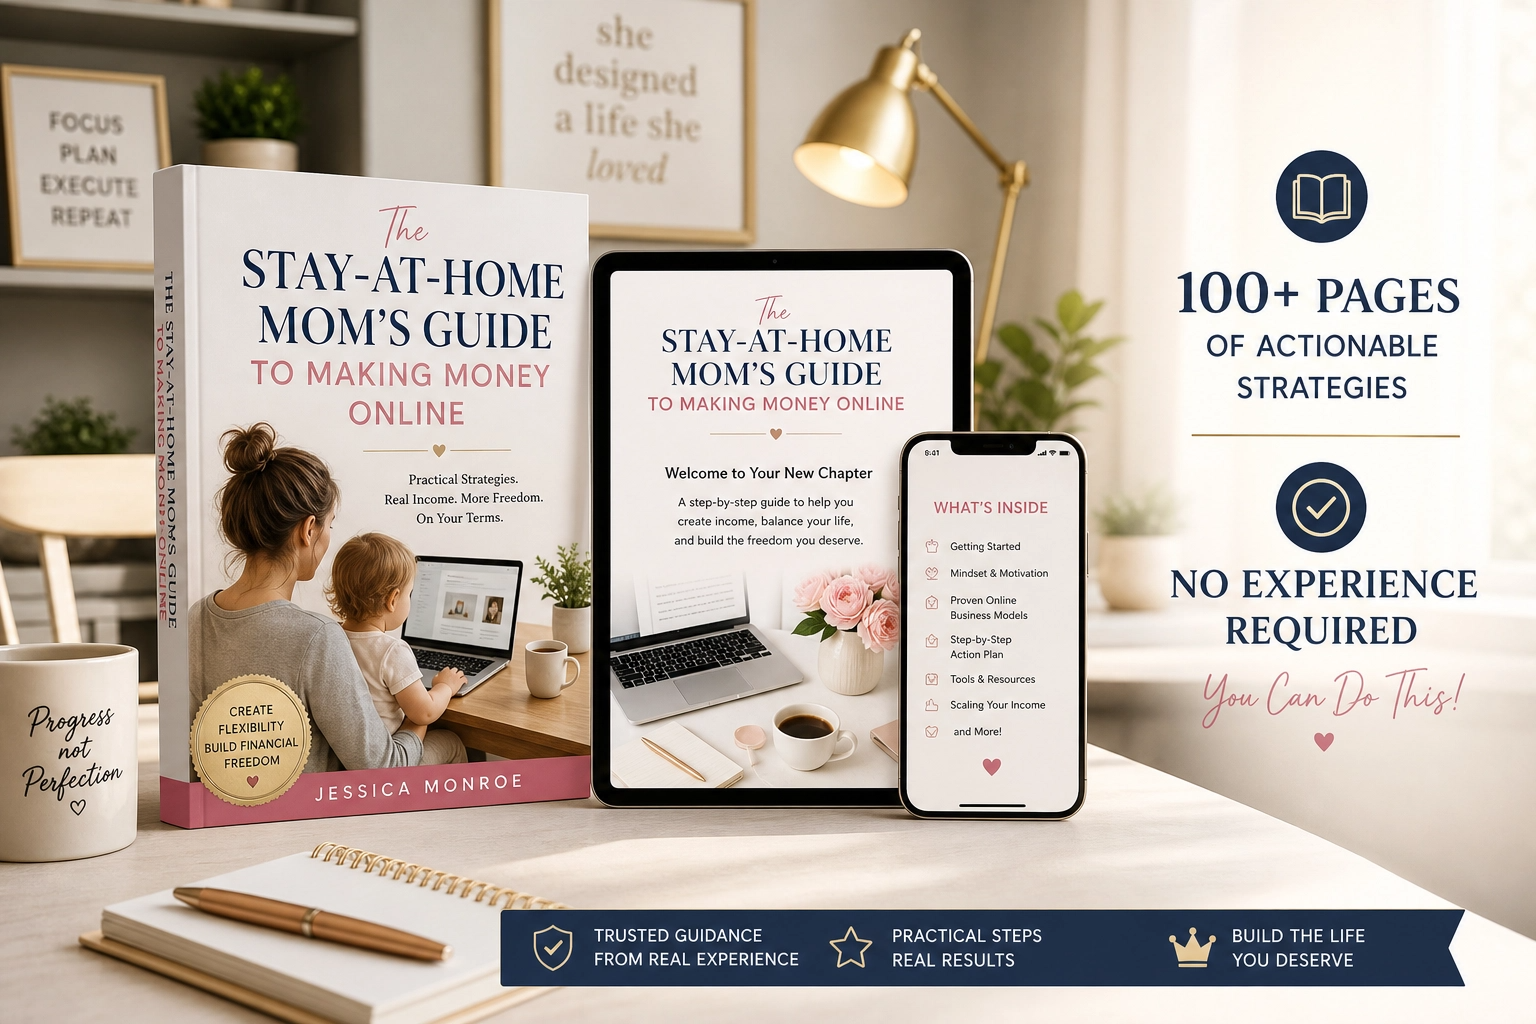
Trust me, teaching one useful hour can lead to your next big idea.
Final Thoughts
A paid workshop or webinar is one of the easiest ways to test an idea, earn from your knowledge, and learn what your audience wants, all with little upfront cost. Choose a clear result, validate demand, teach something practical, follow up kindly, and let what you learn guide your next step.






Leave a Reply