

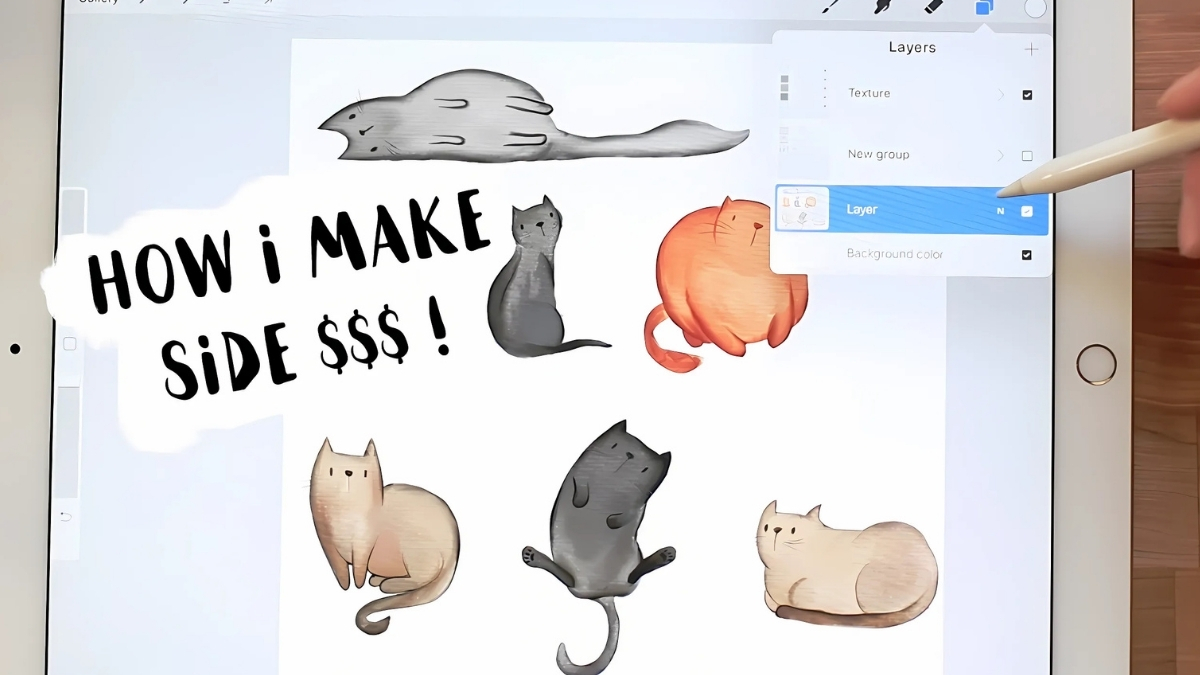
Let me share a little secret: some of the most reliable digital products online are also some of the least glamorous. Clip art isn’t flashy, but teachers, crafters, planner makers, bloggers, and small business owners buy it constantly, because everyone needs graphics and most people can’t (or don’t want to) draw their own.
When I first started exploring digital products, I completely overlooked clip art. I figured it was a relic from the days of clunky word processors. Boy, was I wrong. Once I looked at what was actually selling, I realized modern clip art has evolved into polished watercolor sets, kawaii character packs, seasonal bundles, and themed digital papers. Buyers use them on worksheets, social posts, stickers, planners, and product mockups.
In this guide, I’ll walk you through how to make money selling clipart online in 2026: how the market works, how to create sets people actually want, where to sell, how to price, and how to avoid the licensing mistakes that trip up beginners.
Why Clip Art Is a Smart Digital Product
Here’s what I love about clip art as a business:
- Repeat buyers: Once a customer likes your style, they come back for more themes.
- Endless themes: Seasons, hobbies, professions, animals, food, holidays.
- Easy to bundle: Ten small sets can become one big value bundle.
- Broad audience: Teachers, bloggers, crafters, Etsy sellers, and small brands.
- Passive delivery: Files are delivered automatically after purchase.
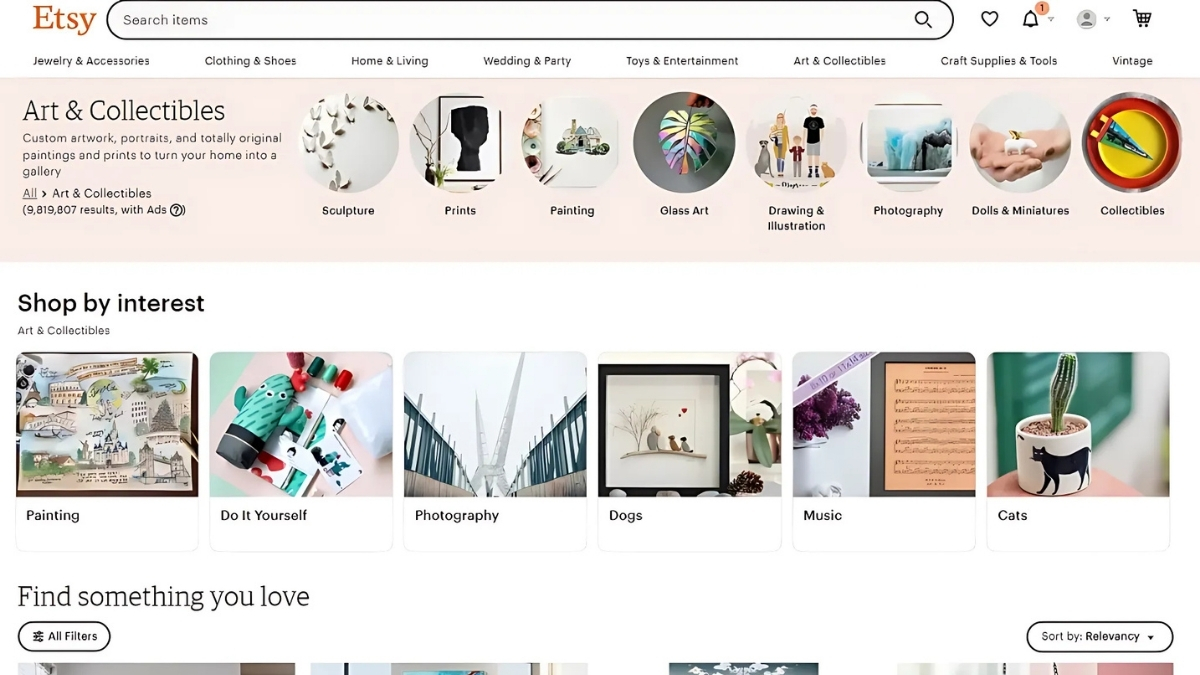
The realistic side: The market is competitive, and quality matters. A set of blurry, mismatched images won’t go far. But a cohesive, well-presented pack with a clear audience can do well. Results vary a lot from seller to seller, so treat any income figure you read online (including on blogs like this one) as a general possibility, not a promise.
Step 1: Study What’s Already Working
Before you create anything, look at successful shops. This isn’t about copying. It’s about understanding what buyers expect.
A good place to start is browsing the full Omnimart24h clip art collection. As you scroll, notice:
- How sets are themed (single subject vs. mixed collections)
- How many items each pack includes
- Which file formats are offered
- How the product images show the clip art in action
- How titles and descriptions are written

For example, the Geometric Watercolor Shapes digital paper set is positioned clearly for teachers and students, and the description spells out specific use cases like classroom displays, worksheets, and presentations. That kind of audience-first thinking makes a listing far more persuasive than “here are some pretty shapes.”

Similarly, the woman holding a plane ticket clipart shows how a single, emotionally clear concept (travel excitement) can become a product. The listing describes what buyers receive (multiple PNG, EPS, and SVG files), which is exactly the kind of clarity that reduces buyer questions.
Step 2: Choose a Style and Niche
Your art style is your brand. Pick one and stay consistent for your first several sets.
Popular styles right now:
- Soft watercolor
- Kawaii and cute characters
- Boho and neutral aesthetics
- Retro and nostalgic graphics
- Flat vector icons
- Hand-drawn doodles
Profitable niches to consider:
- Education: classroom themes, school supplies, science, seasons
- Small business: icons for coffee shops, salons, fitness, and crafts
- Holidays: Christmas, Easter, Halloween, Valentine’s Day
- Lifestyle: travel, self-care, planners, wellness
- Pets and animals: always popular
An example of a niche with instant emotional pull is the kawaii pet category. The cat drinking from a bowl of milk kawaii clipart shows how cute characters combined with a clear style label can appeal to a very specific crowd.

Pro tip: Pick a niche where you can create at least ten related sets. That gives you a roadmap for the next several months.
Clipart of Cat drinking from a cat bowl full of milk, Kawaii Aesthetic, Anime Art Style
Step 3: Create Your Clip Art
You have a few ways to produce clip art. Choose what fits your skills and time.
Option A: Draw It Yourself
If you draw, use Procreate, Adobe Illustrator, or Affinity Designer. Export as transparent PNGs, and consider vector files (SVG or EPS) for extra value.
Option B: Use AI-Assisted Tools Carefully
Many creators experiment with AI image tools. If you go this route, check the terms of each tool regarding commercial use, and check the rules of any marketplace you sell on. Some platforms require disclosure of AI-generated content, and some restrict it. Policies change, so read them before you list.
Option C: Hire an Illustrator
Working with a freelance illustrator lets you scale faster. Get a written agreement about rights and usage.
Quality Checklist
- Clean edges and transparent backgrounds
- High resolution (at least 300 DPI for printing)
- Consistent style, color palette, and line weight across the set
- Enough variety in a pack (for example, 10 to 20 pieces)
- Preview images that show the art on real projects
Step 4: Understand Licensing (Don’t Skip This!)
This is the part I wish someone had explained to me earlier. Licensing protects both you and your buyers.
Decide what buyers can do:
- Personal use: for personal projects, not for sale
- Small commercial use: allowed in products sold in limited quantities
- Extended commercial use: broader rights, often priced higher
Write your terms clearly and include them in every listing and download.
And when you’re a buyer: always read the license on any clip art you buy before putting it into products you plan to sell. If you use packs from other creators, including anything from the Omnimart24h shop, check that product’s page for its specific usage terms so you stay on the right side of the rules.
Step 5: Package and Present Your Product
Presentation can make or break a sale, because buyers can’t touch clip art. They only see your images.
Your Preview Images Should Include:
- A cover image showing the best pieces at a glance
- A close-up proving the quality
- A “what’s included” image listing file types and counts
- Mockups showing the clip art in real use (worksheets, cards, social posts, planners)
- A license or usage summary graphic
Your File Delivery Should Include:
- Clearly named folders (PNG, SVG, etc.)
- A short readme or terms document
- A thank-you note with your shop name

Step 6: Choose Where to Sell
Marketplaces:
- Etsy: huge audience for digital downloads
- Creative Market: curated marketplace for designers
- Teachers Pay Teachers: perfect if your clip art targets educators
- Gumroad: simple platform for independent creators
Your own site:
- WooCommerce, Shopify, or another store gives you control and better margins but requires you to drive traffic.
I started with a marketplace and added my own shop later. That gave me proof of what sold before I invested in building a site.
Step 7: Price Your Clip Art
Pricing depends on set size, quality, and licensing.
- Small sets (5 to 10 items) usually sit at a lower price point
- Medium packs (15 to 30 items) can command more
- Mega bundles offer the best value for buyers and boost your average order
Browsing shops like Omnimart24h shows you real-world price ranges for different pack types, which helps you position your work sensibly. Start competitively, gather reviews, and raise prices gradually.
Step 8: Market Your Clip Art
- Pinterest: Pin your mockups. Clip art is highly visual, so it does well here.
- Instagram and TikTok: Show quick “watch me use this clip art” videos.
- Email list: Give away a small free set in exchange for email addresses.
- Facebook groups: Join teacher and crafter communities and be genuinely helpful, not spammy.
- Blog content: Write tutorials that feature your products naturally.
Mistakes to Avoid
- Inconsistent style: buyers want cohesive sets
- Vague listings: always state file types, quantities, and usage rights
- Copying popular characters or brands: this is a fast way to get shut down
- Tiny previews: buyers should see clear, large images
- Quitting early: most creators need dozens of listings before momentum builds

Time to Start Creating
Selling clip art online is a practical, flexible way to build income in 2026 if you approach it like a real business. Study successful shops, choose a niche and style you can maintain, create high-quality cohesive sets, protect yourself with clear licensing, and market consistently. Don’t wait for perfect. Publish your first small set, learn from the response, and improve with every release. By staying consistent, you’ll build a library of products that work for you around the clock.





Leave a Reply