


Let me ask you a quick question. If two freelancers sent you a proposal, and one wrote from sarah.designs.2019@gmail.com while the other wrote from hello@sarahchendesign.com, which one would you trust with your budget?
Be honest. Most of us would pick the second one, and we’d do it in a heartbeat.
That tiny detail, your email address, quietly shapes how clients, customers, and partners see you. A professional business email tells the world you’re serious, established, and worth their time. And the best part? It’s far easier and cheaper to set up than most people think.
In this guide, I’ll show you exactly how to create a custom email address with your own domain, connect it to your phone and inbox apps, and set it up so your messages land in the inbox instead of the spam folder.
Why You Need a Professional Business Email
If you run a blog, freelance business, online store, or any kind of brand, a domain-based email address does far more than look nice.
1. It builds instant credibility. A branded email address signals professionalism. It removes doubt and makes prospects more comfortable sharing information or making purchases.
2. It strengthens your brand. Every email you send becomes free brand exposure. Your domain shows up in every inbox, reinforcing who you are.
3. It improves trust and response rates. People are more likely to open and respond to emails that look legitimate. Free webmail addresses used for business can sometimes look like scams or throwaway accounts.
4. It separates business from personal. Keeping work emails in their own inbox helps you stay organized and protects your personal account from clutter.
5. You own it. Your email is tied to your domain. If you change services, you can take your address with you. No more being stuck with an address that belongs to someone else’s platform.
6. It scales with your business. You can create addresses for team members, departments, and roles (support@, sales@, billing@) as you grow.
What You Need to Get Started
To create a business email with your own domain, you need only two things:
- A domain name (like yourbrand.com)
- An email hosting service
Many people already have a domain but don’t realize they can attach email to it. If you don’t have a domain yet, no problem, you can register one in the same step as your hosting.

Your Options for Business Email
Before we get into the setup, it helps to know the main routes:
- Email included with your web hosting. Many hosts include email accounts with their plans. This is usually the most budget-friendly option for small sites.
- Dedicated business email plans. Services built specifically for email, often offering more storage, advanced features, and larger mailboxes.
- Premium productivity suites. Full workspace tools with email, calendars, and collaboration features, usually at a higher price per user.
For freelancers, bloggers, and small businesses just getting started, email that comes with your hosting is often the smartest and most economical choice. You can always upgrade to a dedicated email plan later if you need more.
Why Hostinger Is a Smart Choice for Business Email
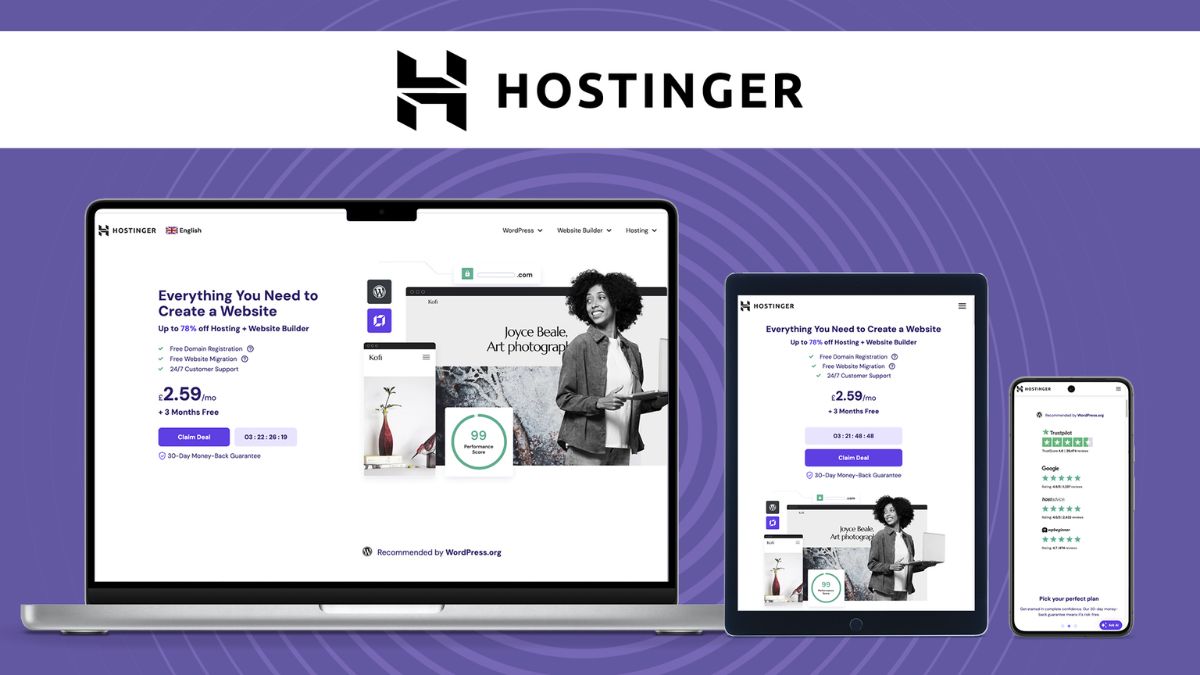
Hostinger makes it simple to get a professional email address without complicated setups or extra subscriptions:
- Free email on eligible hosting plans, so you can launch your website and your business email together
- Dedicated business email plans available if you need more capacity later
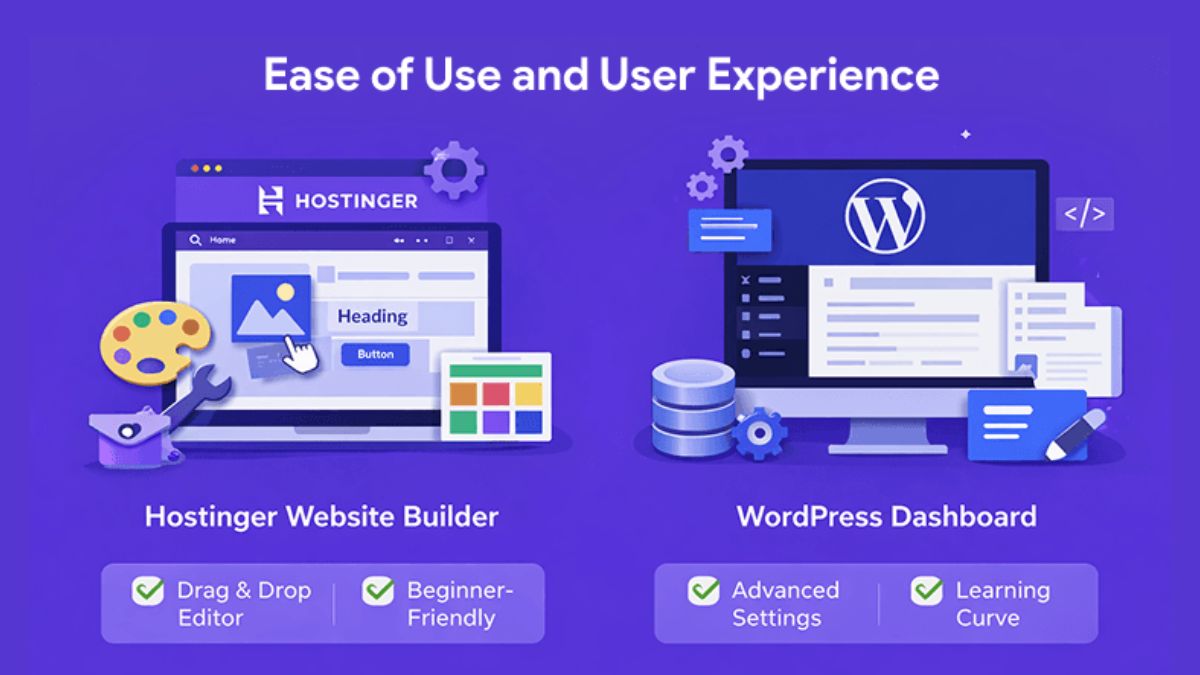
- A clean, beginner-friendly control panel (hPanel) where you can create and manage mailboxes in a few clicks
- Webmail access so you can check your inbox from any browser
- Free domain on eligible plans, which means you can set up your brand’s name and email address in one go
- Free SSL and solid security features for your website
- 24/7 live chat support to help with setup questions
- 30-day money-back guarantee on hosting plans
Because your website and email live in the same dashboard, you spend less time juggling accounts and more time running your business.
👉 Get started with Hostinger and claim your professional email address.
Step-by-Step: Create Your Business Email With Hostinger
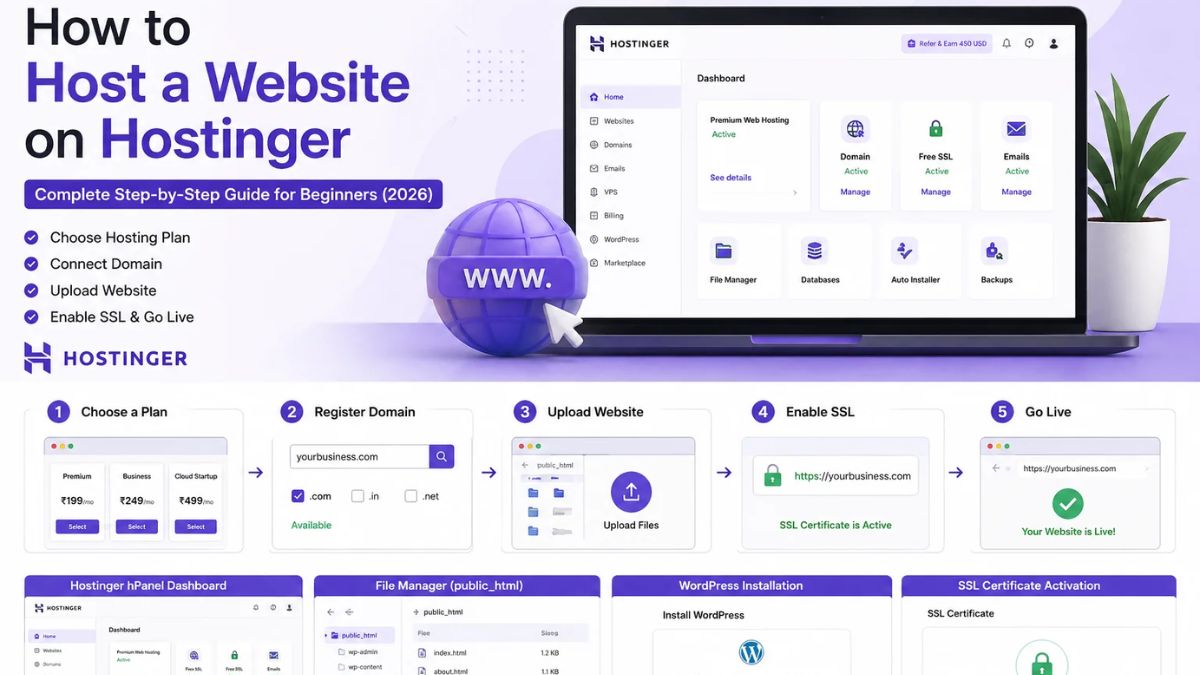
Step 1: Sign Up and Choose Your Plan
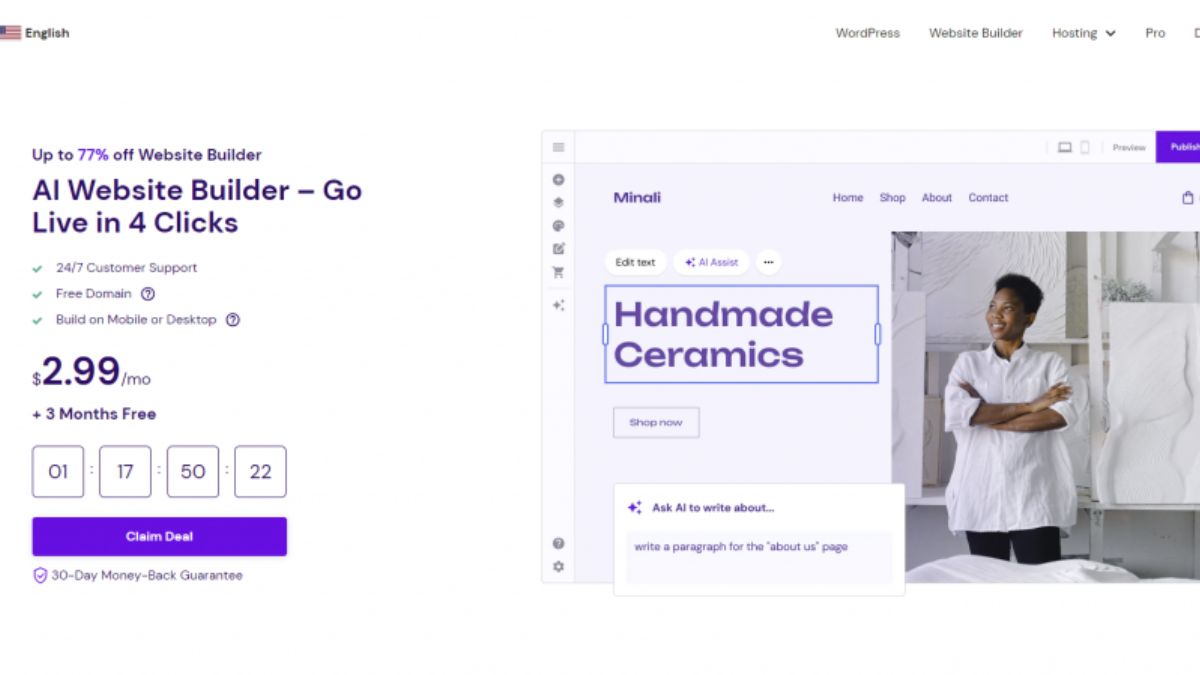
Go to Hostinger and select a plan that includes email. Entry-level shared hosting is enough for many small websites, while higher tiers include more mailboxes and resources. Choose your billing term (longer terms typically give you the best rate), and complete checkout.
Step 2: Register or Connect Your Domain
If your plan includes a free domain, claim it now and pick a name that’s memorable and professional. If you already own a domain elsewhere, you can connect it by updating your nameservers or DNS records. Hostinger provides the exact values in your dashboard, and live chat can help if you’re unsure.
Step 3: Open the Email Section in hPanel
Once your account is ready, log in to hPanel and navigate to the Emails section for your domain. This is where you create and manage all of your mailboxes.
Step 4: Create Your Mailbox
Click to create a new email account and enter:
- Your desired address (for example, hello@yourbrand.com)
- A strong password
Save your changes, and your new mailbox is ready to use.
Pick a smart address format:
- firstname@yourbrand.com feels personal and friendly.
- hello@ or contact@ works well as a general inbox.
- support@, sales@, and billing@ help organize a growing business.
- Avoid confusing addresses with numbers, underscores, or nicknames.
Step 5: Access Your Inbox
You have several ways to read and send emails:
- Webmail: Log in via browser to check your inbox from any device.
- Desktop or mobile email apps: Connect your account to apps like Outlook, Apple Mail, or Thunderbird.
- Gmail: You can also link your new address to your Gmail account so you can send and receive from one familiar interface.
How to Connect Your Business Email to Your Devices
To use your address inside an email app, you’ll typically need your IMAP/POP and SMTP settings. Hostinger lists these in your email settings within hPanel, including the incoming server, outgoing server, ports, and encryption type.
On your phone:
- Open your mail app and choose to add a new account.
- Select “Other” or “Manual setup.”
- Enter your full email address and password.
- Add the incoming and outgoing server details from your hosting dashboard.
- Save and let the app test the connection.

In Gmail (send and receive):
- In Gmail, go to Settings and open the Accounts section.
- Add your custom email as a sending address and follow the prompts using your SMTP details.
- Set up mail retrieval so incoming messages appear in your Gmail inbox.
Use IMAP whenever possible, since it syncs your mail across all devices so you don’t end up with messages scattered in different places.
Set Up SPF, DKIM and DMARC (So Your Emails Don’t Go to Spam)
This is the step most beginners skip, and it’s one of the most important. Email authentication records prove to receiving servers that your messages are legitimate. Without them, your emails are more likely to land in spam or get rejected.
Here’s what they do in plain English:
- SPF (Sender Policy Framework): Lists which servers are allowed to send email on behalf of your domain.
- DKIM (DomainKeys Identified Mail): Adds a digital signature to your emails so recipients can confirm they weren’t tampered with.
- DMARC: Tells receiving servers what to do if a message fails authentication, and gives you reports on your domain’s email activity.
When you use your host’s email service, many of these records are configured automatically or through guided steps. Check your DNS settings in hPanel to confirm they’re present, and add any that are missing. If you send newsletters or bulk email through a third-party tool, follow that tool’s instructions to add its records as well.
Pro tip: After setup, send a test email to a few different providers (Gmail, Outlook, Yahoo) and check that it lands in the inbox. You can also use free online tools to test your email authentication and spam score.

Create a Professional Email Signature
Your signature is a small but mighty branding opportunity. Include:
- Your full name and title
- Your business name
- Your website link
- One or two social links or a booking link
- A professional headshot or logo (keep file sizes small)
Skip flashy quotes, heavy graphics, and long disclaimers. Clean and simple wins.
Email Best Practices for Small Businesses
Once your address is live, get the most out of it:
- Use a clear subject line that tells the reader what to expect.
- Reply promptly. Fast responses build trust.
- Use strong passwords and turn on two-factor authentication where available.
- Don’t use your business email for spammy or mass outreach without proper tools and consent, as this can hurt your domain reputation.
- Set up auto-replies when you’re away.
- Back up important messages and keep your inbox organized with folders and labels.
- Create role-based addresses as you grow so you can share responsibilities without sharing passwords.

Common Business Email Mistakes to Avoid
- Using a free webmail address for your brand. It weakens your credibility.
- Skipping email authentication. This leads to spam-folder problems.
- Choosing a hard-to-spell address. Simple wins.
- Sharing one password between team members. Create separate mailboxes.
- Using unreliable hosting. Downtime can interrupt your email and website simultaneously. Choose a dependable provider like Hostinger.
- Forgetting to renew your domain. An expired domain means an expired email address.
- Ignoring storage limits. Clean out old messages or upgrade when needed.
Frequently Asked Questions
Can I get a business email for free? Many hosting plans, including eligible Hostinger plans, include free email accounts, so you don’t need a separate paid email service to get started.
Do I need a website to have a business email? Not necessarily, but pairing email with a website is the most common and cost-effective approach, and it keeps everything in one dashboard.
Can I use my domain email with Gmail? Yes. You can add your custom address to Gmail to send and receive from one inbox.
What’s the difference between hosting email and a dedicated email plan? Hosting email is bundled with your web hosting and is great for small needs. Dedicated email plans typically offer more storage and features and are better for growing teams.
Will my emails go to spam? Not if you set up SPF, DKIM, and DMARC correctly and follow good sending practices.
Can I create multiple email addresses? Yes, the number depends on your plan. Higher-tier Hostinger plans generally include more mailboxes.
Ready to Look as Professional as You Are?
Your email address is one of the first things clients see. It takes just a few minutes to swap a forgettable free address for a professional one that reflects your brand, and the impact on trust is immediate.
Secure your domain, set up your mailbox, connect it to your devices, and configure your authentication records. That’s all it takes to upgrade how the world sees your business.
👉 Get your professional email with Hostinger today.
With free email on eligible plans, 24/7 live chat support, and a 30-day money-back guarantee, you can upgrade your image with very little risk. Your business deserves an address that matches your ambition. Go claim it.









Leave a Reply