


Picture this: it’s Saturday morning, you’ve got a cup of coffee in hand, and by the time you finish your afternoon snack, you have a beautiful, professional website that’s live on the internet.
Sounds too good to be true? It isn’t. Building a website used to require expensive developers and months of waiting. Today, with WordPress and a good hosting provider, you can do it yourself in a few hours, even if you’ve never touched a line of code.
In this complete tutorial, I’ll show you how to build a WordPress website from scratch, step by step. Whether you’re launching a blog, a business site, a portfolio, or an online store, the process is the same. Let’s start building.
What You Need Before You Begin
Before we jump in, gather these basics:
- An idea and a goal. What is your website for? Who is it for?
- A domain name idea. Your web address, like yourbrand.com.
- Web hosting. The service that stores and serves your website.
- A few hours. Really, that’s all.
That’s the entire shopping list. No coding skills, no design degree, no huge budget.
Why WordPress?
WordPress is a free, open-source content management system that powers a massive portion of the web. Here’s why it’s the smart choice:
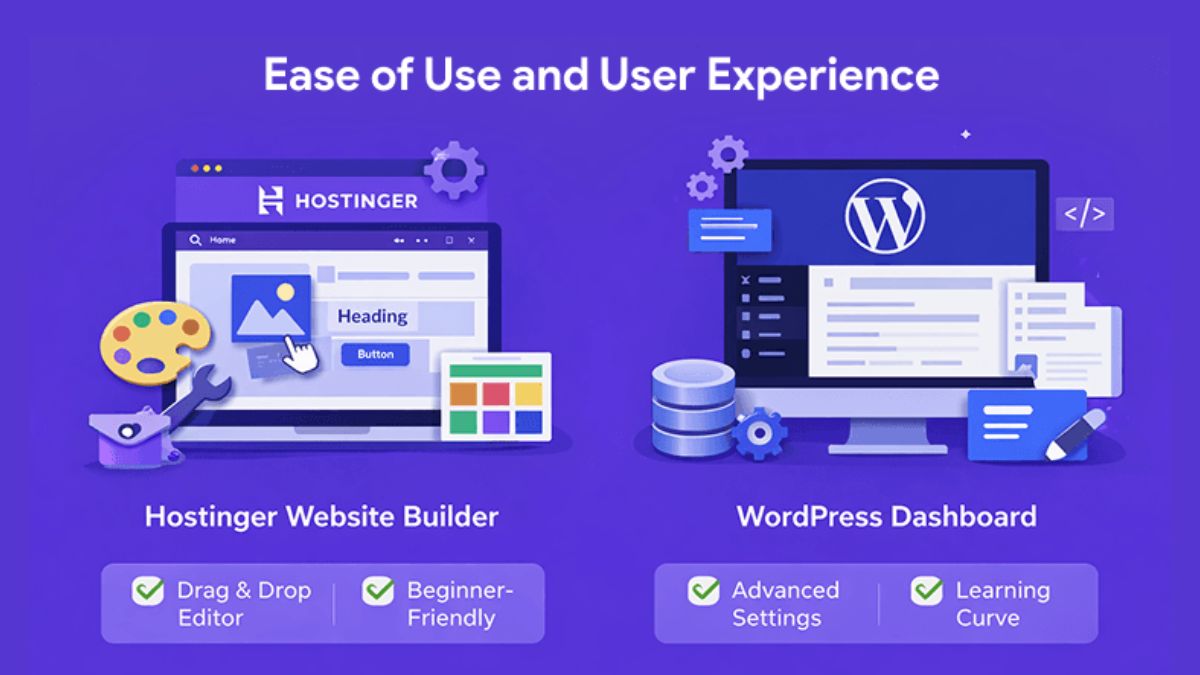
- Beginner-friendly. You manage everything from a visual dashboard.
- Flexible. It works for blogs, business sites, portfolios, memberships, and stores.
- SEO-ready. Clean code and powerful plugins help you rank in Google.
- Huge library of themes and plugins. Thousands of free and premium options.
- You own it. No platform can shut down your site or change the rules on you.
Note that there are two versions: WordPress.com (a hosted service with limitations) and WordPress.org (the free, self-hosted software). In this guide we’re using the self-hosted version, which gives you full freedom and control.
Step 1: Choose Your Domain Name
Your domain is your online identity. A great domain is:
- Short and easy to remember
- Simple to spell and pronounce
- Free of hyphens and confusing numbers
- Relevant to your brand or niche
- Ideally a .com, though other extensions like .co, .net, or .org can work
Brainstorm several options in case your first choice is taken. If you’re building a personal brand, using your own name is often a smart long-term move.
The convenient part: many hosting plans, including Hostinger’s eligible plans, include a free domain for the first year, so you can grab your hosting and domain together.
Step 2: Get Your Web Hosting Set Up
Hosting is where your website lives. Choosing a reliable host is one of the most important decisions you’ll make, because it affects speed, security, and uptime.
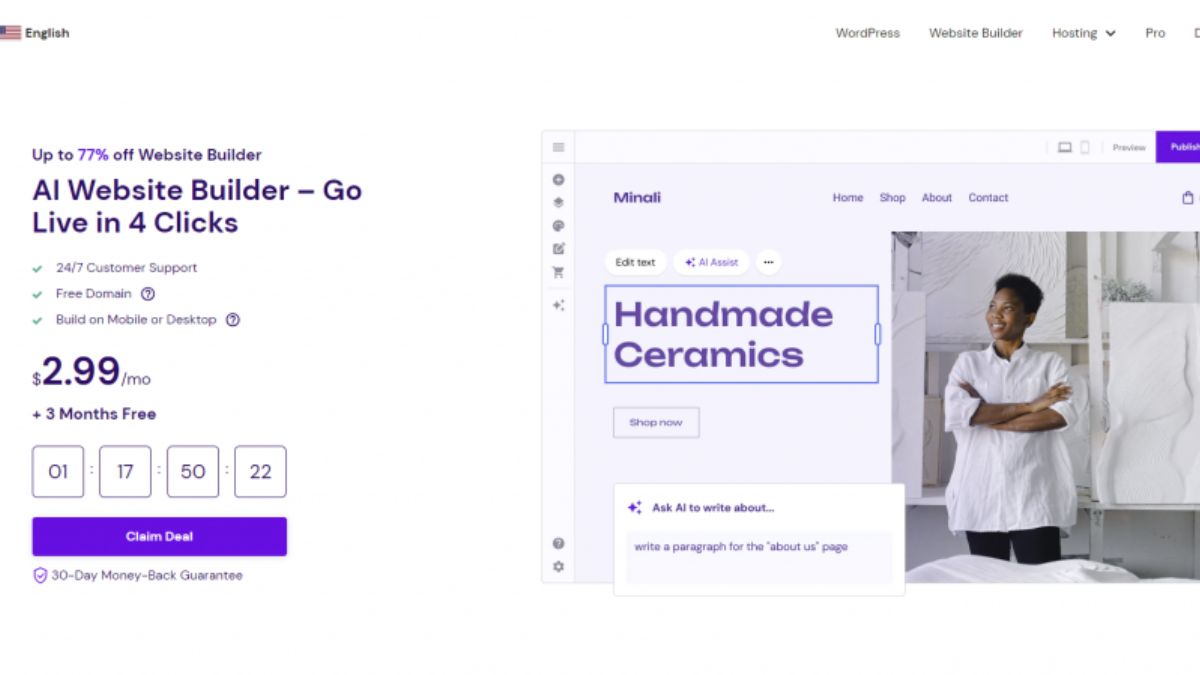
For this tutorial, I’m using Hostinger because it’s beginner-friendly, affordable, and packed with features that make WordPress easy:
- One-click WordPress installation
- A simple, clean control panel called hPanel
- LiteSpeed-powered performance and caching
- Free SSL certificate
- Free domain on eligible plans
- Free website migration
- 24/7 live chat support
- 30-day money-back guarantee
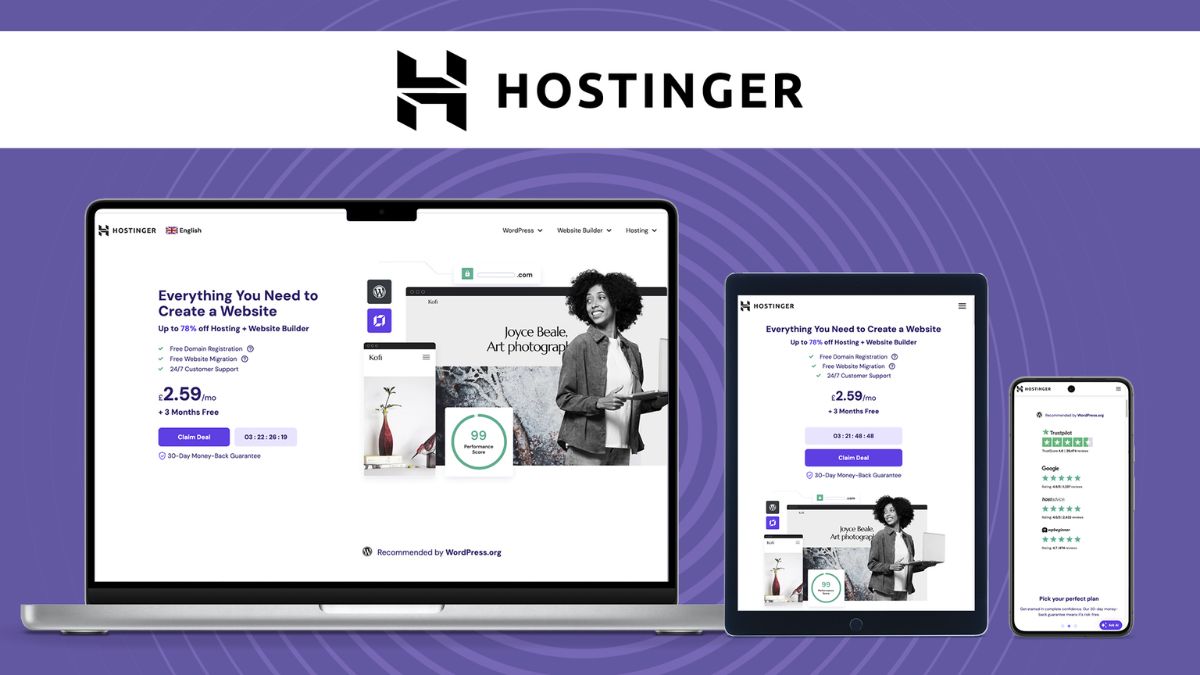
To sign up:
- Go to Hostinger.
- Select a hosting plan. An entry-level shared plan is perfect for most new WordPress sites.
- Choose your billing term. Longer terms usually offer the lowest monthly price.
- Create your account and complete your purchase.
Within minutes, your hosting account will be ready to use.
👉 Claim your Hostinger hosting plan and follow along with this tutorial.
Step 3: Connect Your Domain
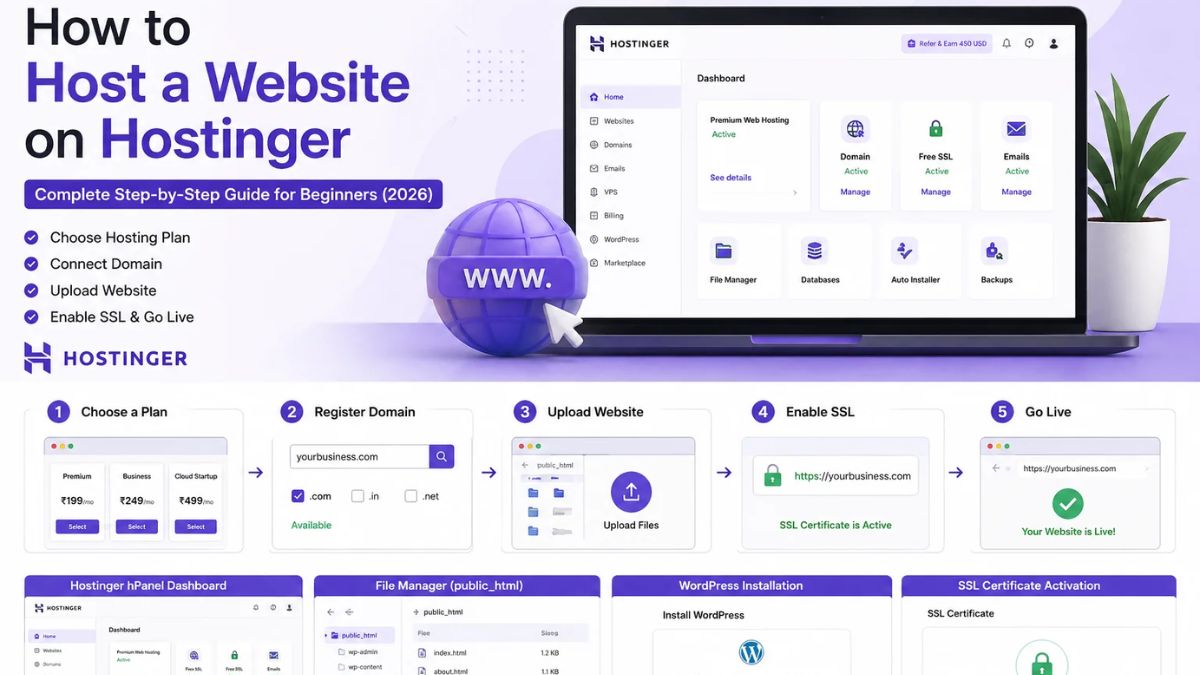
If you registered your domain through Hostinger, this step is mostly automatic. If your domain is registered elsewhere, you’ll need to point it to your hosting by updating the nameservers. Hostinger provides the exact nameservers you need inside your dashboard, and the support team can walk you through it in live chat if you get stuck.
Domain changes can take a little while to fully spread across the internet (called DNS propagation), so don’t panic if your site doesn’t show up instantly. In many cases, it’s quick.
Step 4: Install WordPress
This is where the magic happens, and it’s easier than you’d expect.
- Log in to your Hostinger dashboard.
- Follow the onboarding wizard and choose WordPress as your platform.
- Enter your website title, your admin email, and create a strong admin username and password.
- Select your domain.
- Click to install.
In a short time, WordPress is installed and ready. To log in, go to yourdomain.com/wp-admin and enter your credentials.
Congratulations. You officially have a WordPress website. Now let’s make it look great.

Step 5: Understand the WordPress Dashboard
When you first log in, the dashboard can look busy. Here’s what you need to know about the left-hand menu:
- Posts: Where you create blog articles.
- Media: Your library of images and files.
- Pages: For static content like About, Contact, and Services.
- Appearance: Where you change themes, menus, and design.
- Plugins: Add-ons that extend your site’s features.
- Users: Manage accounts and permissions.
- Settings: Configure your site’s core options.
Spend ten minutes clicking around. You can’t break anything by exploring, and familiarity will make everything else smoother.
Step 6: Choose and Install a Theme
Your theme controls the design and layout of your site. Go to Appearance > Themes > Add New to browse thousands of options.
What to look for in a theme:
- Lightweight and fast. Heavy themes slow down your pages.
- Mobile-responsive. Most visitors will browse on their phones.
- Regularly updated. This ensures security and compatibility.
- Good reviews. Check ratings and recent feedback.
- Flexible customization. You should be able to adjust colors, fonts, and layouts easily.
Beginner favorites include Astra, Kadence, GeneratePress, and Blocksy. All offer free versions and starter templates you can import with a click, saving you hours of design work.
Once you’ve picked a theme, use the Customizer or the Site Editor to update your logo, color palette, fonts, and header layout. Keep your design clean, consistent, and on-brand.

Step 7: Create Your Essential Pages
Every professional website needs a core set of pages. Create these under Pages > Add New:
- Home: Your first impression. Clearly explain who you are, what you offer, and what visitors should do next.
- About: Build trust by sharing your story, mission, and credentials.
- Services or Products: Describe what you sell and the value it provides.
- Blog: A page that displays your latest articles (set this under Settings > Reading).
- Contact: Include a simple form so visitors can reach you.
- Privacy Policy and Terms: Legally important, especially if you collect data or use affiliate links.
Then build your navigation menu under Appearance > Menus, keeping it simple with five to seven main links.
Step 8: Install Essential Plugins
Plugins add functionality to WordPress. The trick is to install only what you truly need, because too many plugins can slow your site and create security risks.
A solid starter plugin stack:
- SEO plugin: Rank Math or Yoast SEO to optimize your pages and posts.
- Caching/performance: Hostinger includes LiteSpeed Cache tools, which pair beautifully with WordPress for faster load times.
- Security: A reputable security plugin for firewall and login protection.
- Backups: Hostinger provides automatic backups, and you can add a plugin for extra flexibility.
- Contact form: WPForms or Contact Form 7.
- Image optimization: Compress images so your pages stay fast.
- Analytics: Connect Google Analytics or Site Kit to track your visitors.
Install them from Plugins > Add New, activate, and configure the basics. Then resist the urge to add more “just in case.”

Step 9: Optimize Your Site for SEO From Day One
Building a beautiful site means little if no one can find it. Set up SEO now while your site is still small.
Quick SEO checklist:
- Set your permalink structure to “Post name” under Settings > Permalinks for clean URLs.
- Confirm your SSL certificate is active so your site loads on https.
- Add your site to Google Search Console and submit your sitemap.
- Write unique title tags and meta descriptions for key pages.
- Use descriptive alt text on images.
- Keep your site speed fast with caching and compressed images.
- Make sure your site is mobile-friendly.
Because Hostinger includes free SSL and performance tools like LiteSpeed caching, several of these technical basics are handled for you right out of the box.
Step 10: Add Content and Launch
Now, fill your site with valuable content. Focus on quality over quantity, and always think about what your visitor needs.
Before you hit “publish,” run through this pre-launch checklist:
All pages proofread and free of placeholder text
Links tested and working
Contact form tested
Site checked on mobile and desktop
Images compressed with alt text added
SEO plugin configured
Analytics installed
Backups enabled
“Discourage search engines” unchecked under Settings > Reading (this is a common beginner slip-up!)
When everything looks good, you’re live. Share your new website with friends, family, and social media followers to get your first visitors.
Step 11: Maintain and Grow Your Website
A website is a living asset, not a one-time project. Build these habits:
- Update WordPress, themes, and plugins regularly. Updates fix bugs and security holes.
- Back up your site. Hostinger’s backup features help, but know how to restore.
- Publish fresh content consistently. Search engines reward active sites.
- Monitor performance. Watch your analytics and Search Console for opportunities.
- Improve continuously. Test headlines, update old content, and refine your design over time.
As your traffic grows, you can upgrade your Hostinger plan to a higher shared tier or move to cloud hosting for more power, without changing providers.
Common Mistakes to Avoid
- Picking the cheapest, lowest-quality host. A slow or unreliable site hurts everything else you do. Starting with a trusted provider like Hostinger saves you headaches later.
- Installing too many plugins. Stick to the essentials.
- Using heavy themes. Simple and fast wins.
- Forgetting mobile design. Always preview on a phone.
- Skipping backups and updates. Prevention is easier than recovery.
- Weak passwords. Use a password manager and enable two-factor authentication where possible.
- Neglecting SEO. Build good habits from the start.
How Much Does It Cost to Build a WordPress Website?
WordPress itself is free. Your primary costs are:
- Hosting: Affordable with providers like Hostinger, especially on longer terms.
- Domain: Often free for the first year on eligible plans, then a small annual renewal.
- Optional premium themes or plugins: Not required to get started.
Compared with hiring a developer, which can run into thousands, building it yourself is dramatically cheaper. And because you own the site, you keep full control over your money and your data.

Frequently Asked Questions
Can I really build a WordPress website with no coding experience? Yes. Modern themes, page builders, and guided hosting setups let you build a professional website using only your mouse and keyboard.
How long does it take to build a WordPress website? A basic site can be live in a single afternoon. A larger site with lots of content will take longer, but the setup process itself is quick.
Which hosting is best for WordPress beginners? Look for one-click installation, fast performance, free SSL, and helpful support. Hostinger checks all of those boxes at an affordable price.
Do I need to buy a domain separately? Not necessarily. Many plans, including eligible Hostinger plans, include a free domain for the first year.
Can I switch themes later? Yes, though it’s easier to choose well early. Always back up your site before switching.
What if I get stuck? Hostinger offers 24/7 live chat support, and WordPress has a huge community with tutorials for nearly every situation.
Ready to Build Your Website?
You now have a complete roadmap: choose a domain, secure hosting, install WordPress, pick a theme, add your pages and plugins, optimize for SEO, and launch. Nothing on this list requires special talent, just a willingness to begin.
The first step is getting your hosting in place, and that takes about five minutes.
👉 Get started with Hostinger now and build your WordPress website today.
With a 30-day money-back guarantee, an easy dashboard, and support available around the clock, you have everything you need to launch with confidence. Your website is waiting to be built. Go make it happen.







Leave a Reply