

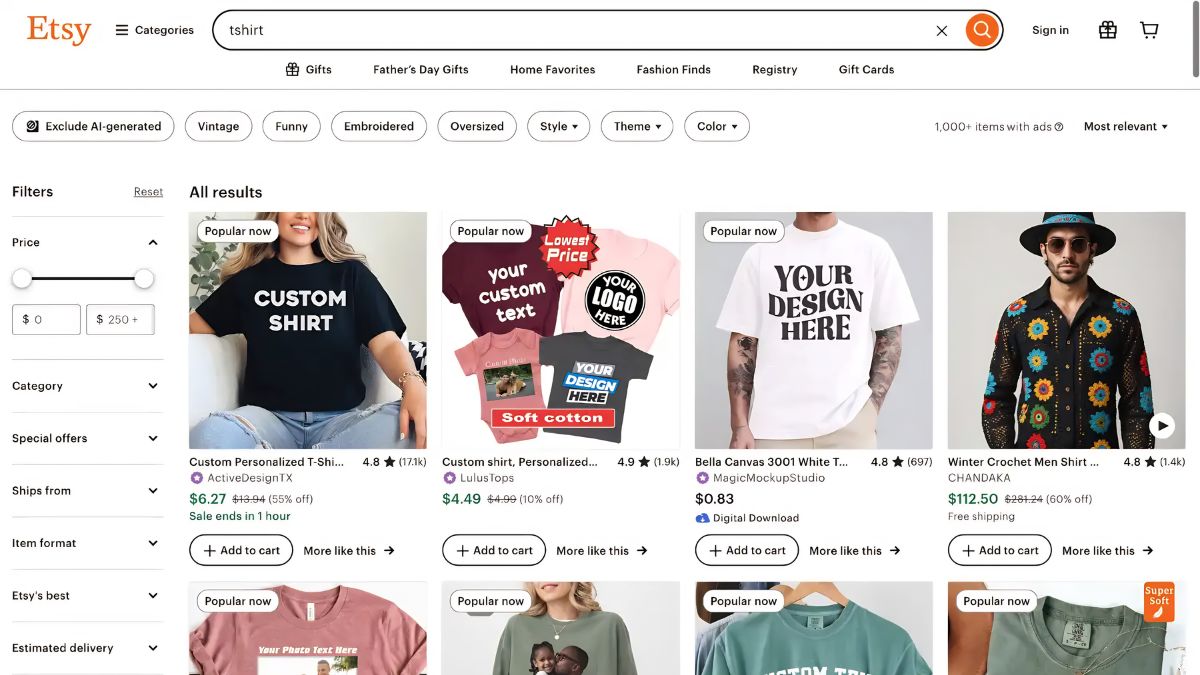
Etsy has tens of millions of active buyers worldwide, and personalized, giftable, and niche apparel is one of the categories that shoppers search for every single day. Think about that for a second. Millions of people are typing phrases like “teacher appreciation shirt,” “dog mom sweatshirt,” and “funny nurse tee” into a search bar right now, ready to spend money.
I remember opening my first Etsy shop and feeling that mix of excitement and terror. Excitement because the potential felt huge. Terror because I had no clue what I was doing! My first listing had blurry photos, a vague title, and a price that barely covered my costs. Crickets. Not one view for nearly two weeks.
Fast forward to today, and I’ve learned what actually moves the needle on Etsy. It’s not luck, and it’s definitely not a secret. It’s a repeatable process: find a niche, create designs buyers want, use reliable print partners, and optimize every listing for Etsy search.
In this comprehensive guide, I’ll walk you through exactly how to sell print on demand T-shirts on Etsy in 2026, from opening your shop to getting your first sales and building something sustainable. Let’s dive in!
Why Etsy Is Perfect for Print on Demand T-Shirts
Before we get into the how, let’s talk about the why.
- Built-in traffic: Etsy buyers are already in shopping mode, so you don’t have to build an audience from scratch.
- Gift-driven purchases: Shoppers love personalized and niche items, especially for birthdays, holidays, and milestones.
- Low barrier to entry: You can open a shop quickly and list products without buying inventory.
- Seamless POD integrations: Print on demand partners connect directly to your shop and sync orders automatically.
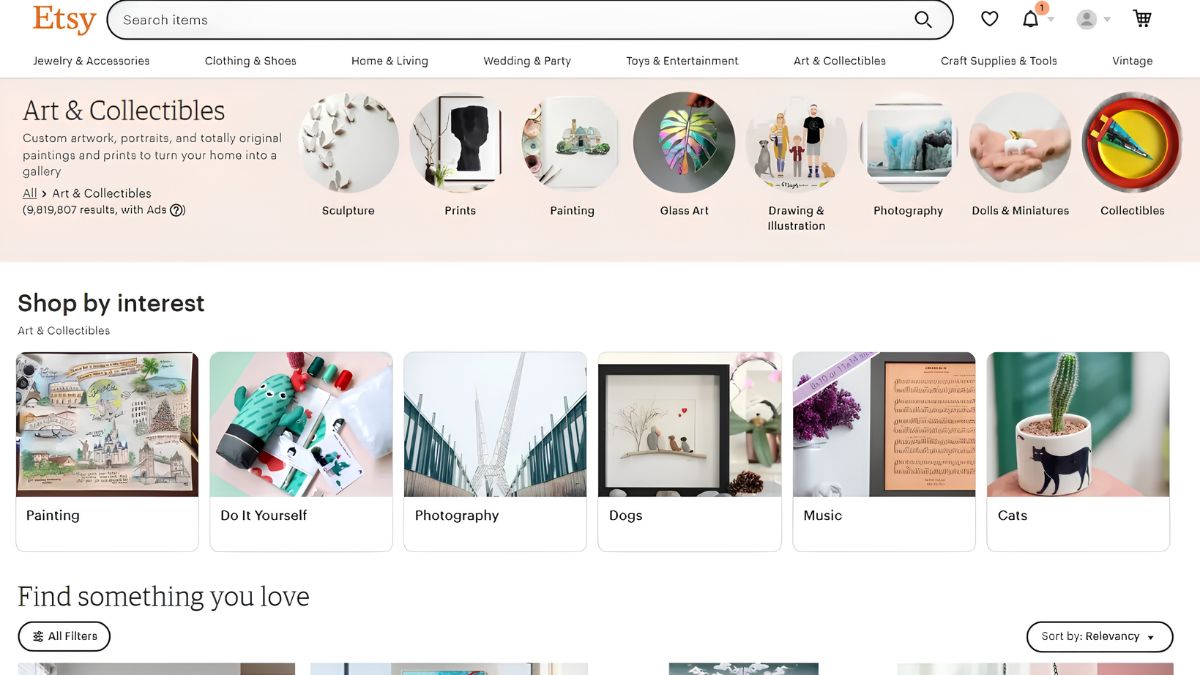
The tradeoffs
Being honest here: Etsy is competitive, and fees add up. You’ll pay listing fees, transaction fees, and payment processing fees. Etsy also has policies about handmade, designed-by, and print on demand items, so make sure you understand the current rules. Etsy requires sellers to disclose when they use a production partner, and you’ll need to be transparent about that in your shop settings.
Pro tip: Always review Etsy’s current Seller Policy and Creativity Standards before listing. Policies change, and staying compliant protects your shop.
Step 1: Choose a Specific T-Shirt Niche
Big mistake I made: I opened a shop called something like “Fun Tees Co.” and listed random designs. Etsy’s search rewards specificity, and shoppers do too.
Niche ideas with year-round demand
- Teachers (by grade, subject, or personality)
- Nurses, midwives, and healthcare workers
- Dog, cat, and horse lovers
- Book club and reading fans
- Fitness niches such as pickleball, running, and yoga
- Gardeners and plant parents
- Camping and hiking enthusiasts
- Mental health and positivity messages
- Family reunion and group event shirts
How to validate a niche
- Search your niche on Etsy and study the top results.
- Note the price ranges, review counts, and design styles.
- Look at the “related searches” at the bottom of the page.
- Check Pinterest and TikTok to see if there’s active interest.
- Ask yourself: can I create at least 20 unique designs for this audience?
Here’s what I learned: A tight niche with passionate buyers beats a huge, generic category every time.
Step 2: Open Your Etsy Shop the Right Way
Setting up your shop takes a little planning, but you can do it in an afternoon.
- Create your Etsy account and choose “Sell on Etsy.”
- Choose a shop name that’s memorable, easy to spell, and ideally hints at your niche.
- Set your shop preferences: country, currency, and language.
- Set up payment and billing: Etsy will ask for bank and identity verification details.
- Add your shop policies on shipping, returns, and production partners.
- Design your shop banner and logo. Canva makes this quick and free.
Take your time with your “About” section. Etsy shoppers love a story, so tell them who you are and why you make shirts for your niche. Authenticity builds trust.

Step 3: Pick Your Print on Demand Partner
Your print partner is the engine behind your shop. They print, pack, and ship, so choosing wisely protects your reviews.
Printful
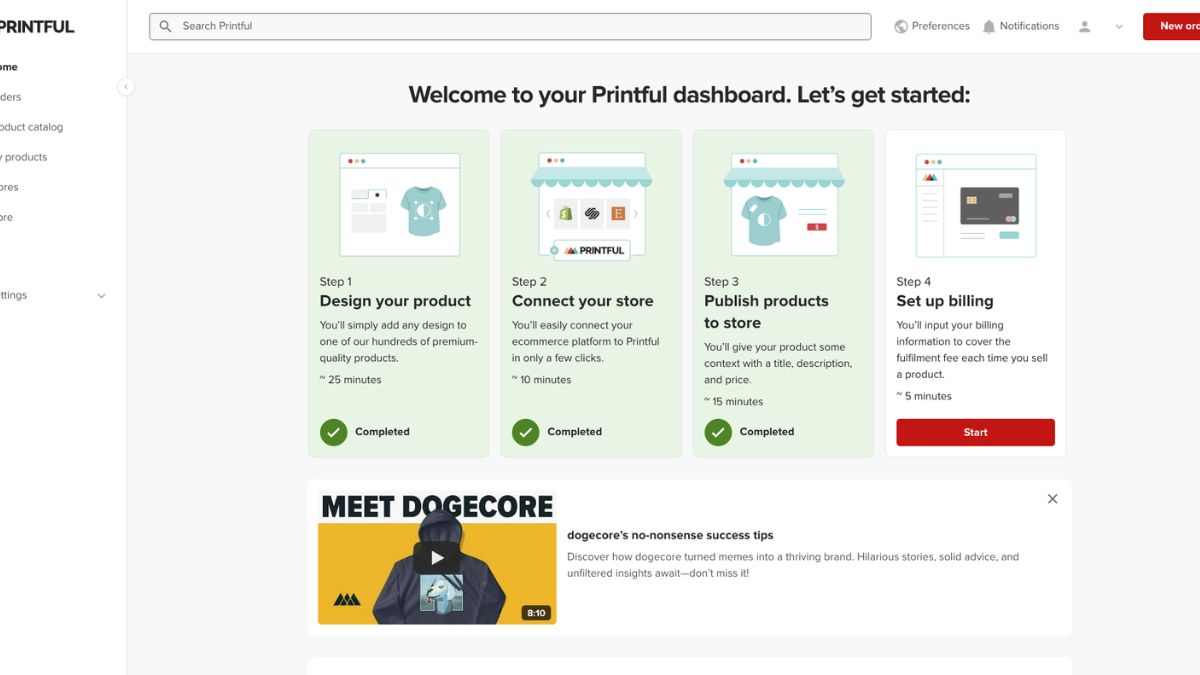
Printful is a great option if you value consistent quality and a professional customer experience. It integrates directly with Etsy, syncing your products and orders. You can also add custom branding like packing slips and inner labels on eligible items, which helps your shop feel like a real brand and not a generic store.
Printify
Printify offers a large catalog and a network of print providers, letting you compare prices and shipping speeds. For basic T-shirts, its lower base costs can help you earn better margins, especially if you pick a provider near your main customer base.
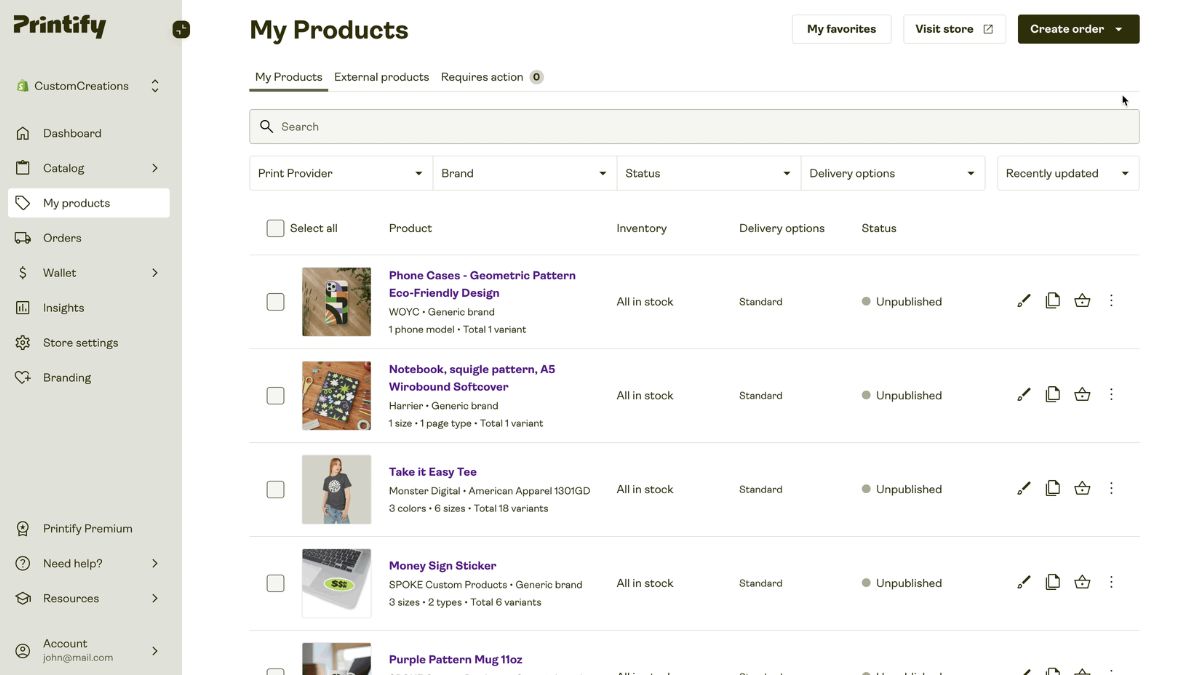
My approach: I test the same design on both platforms, order samples, and choose based on quality and profit. You can sign up for Printful and sign up for Printify for free, so there’s no risk in trying both.
Step 4: Connect Your POD Account to Etsy
Here’s the general process (the exact clicks may vary slightly as platforms update):
- Log in to your Printful or Printify dashboard.
- Go to the Stores or Integrations section.
- Choose Etsy as your sales channel.
- Authorize the connection by logging in to Etsy and approving access.
- Confirm your store is connected and syncing.
Once connected, any product you create in your POD dashboard can be pushed directly to Etsy as a draft or live listing. Orders placed on Etsy flow automatically to your print partner for production.
Pro tip: Push products as drafts first. This lets you polish the title, tags, photos, and description on Etsy before anything goes live.
Step 5: Create T-Shirt Designs That Sell
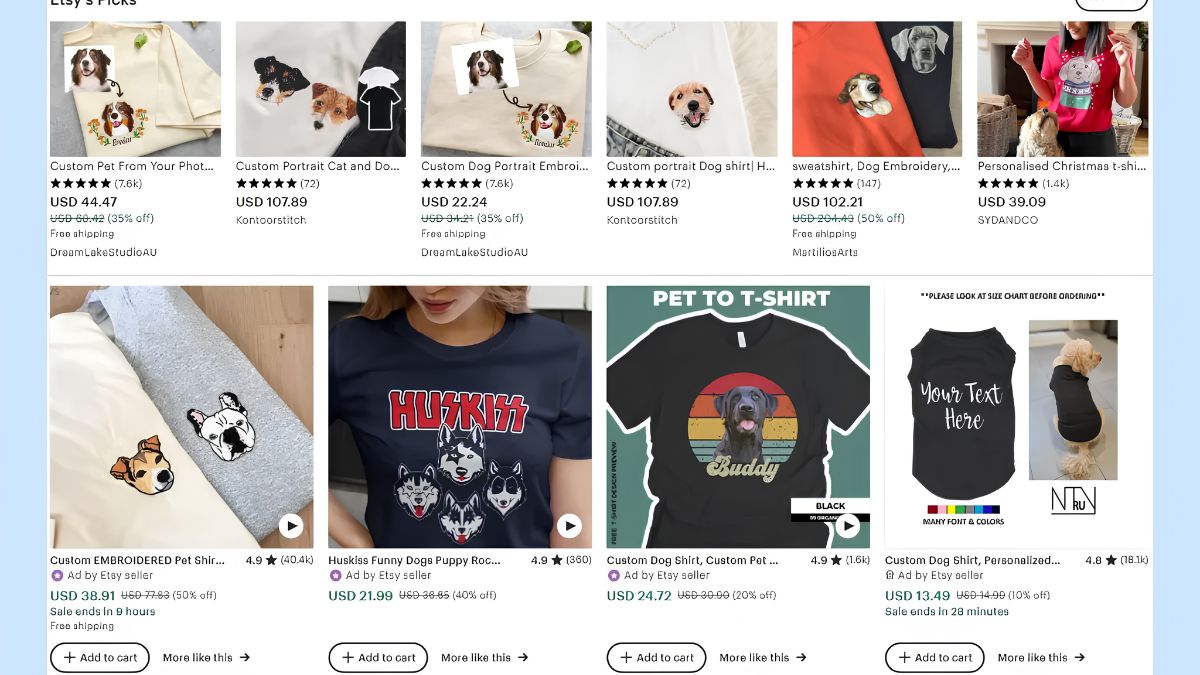
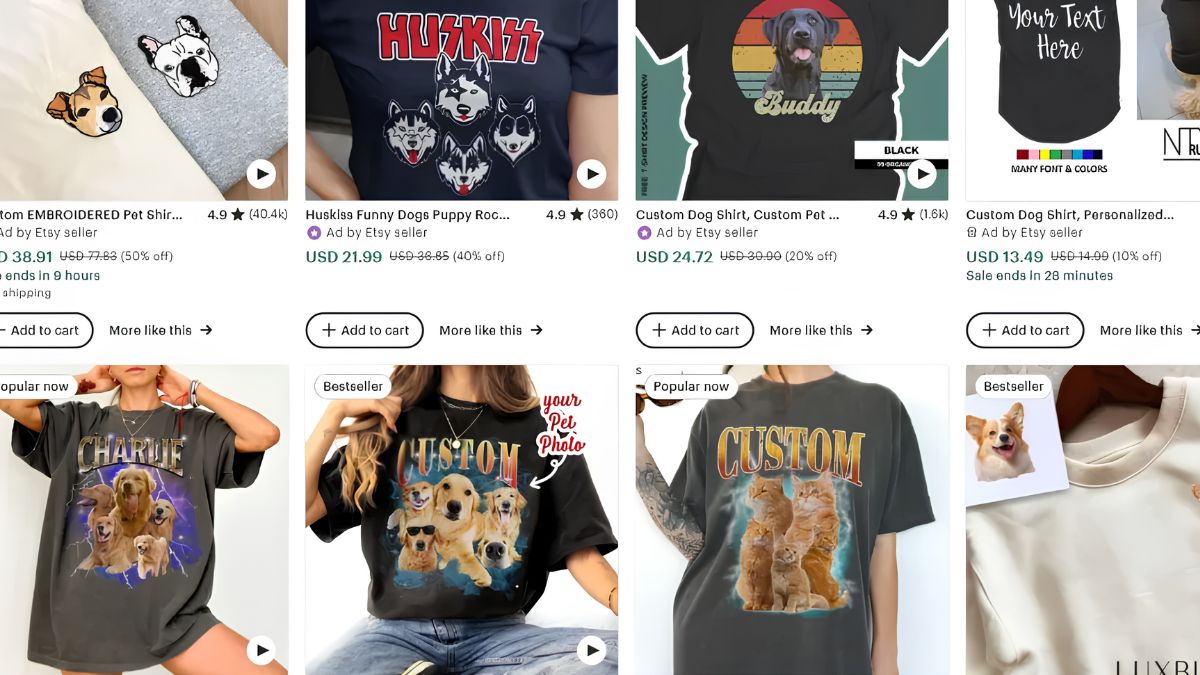
Now for the fun part. Great shirts usually fall into a few proven categories:
High-performing design styles
- Typography: Bold, readable phrases such as “Book Lover Club” or “Plant Mom Energy.”
- Retro and vintage styles: Distressed fonts, sunset colors, and 70s-inspired graphics.
- Minimalist line art: Simple illustrations that feel modern and giftable.
- Personalization-friendly designs: Titles like “Custom Name Teacher Shirt.”
- Group and matching shirts: Family, bridal party, or team designs.
Technical requirements
- Export as a transparent PNG.
- Design at 300 DPI and the maximum print area size recommended by your POD partner.
- Keep text large and legible.
- Test your design on both light and dark shirt colors, and provide alternate versions if needed.
Avoid legal trouble
Never use trademarked characters, brand logos, celebrity names, song lyrics, or phrases you don’t have rights to. Etsy takes intellectual property complaints seriously, and a suspended shop can cost you months of work.
Canva is my go-to tool for creating designs quickly. You don’t need to be a professional. Some of the best-selling tees are simple and clean.
Step 6: Choose Shirt Styles and Colors Strategically
Not all shirts are equal. Offering the right blank can change your conversion rate.
- Popular styles: Unisex soft-blend tees, relaxed-fit tees, and comfort-style heavyweight tees are consistently popular.
- Colors that sell: Neutrals such as black, white, sand, and heather grey, plus a few seasonal favorites.
- Sizes: Offer a full range, including plus sizes, since inclusive sizing can help you reach more buyers.
Don’t overload your listings with too many color variations at first. A curated selection of 6 to 10 colors is easier to photograph and easier for buyers to choose from.
Step 7: Create Eye-Catching Mockups and Photos
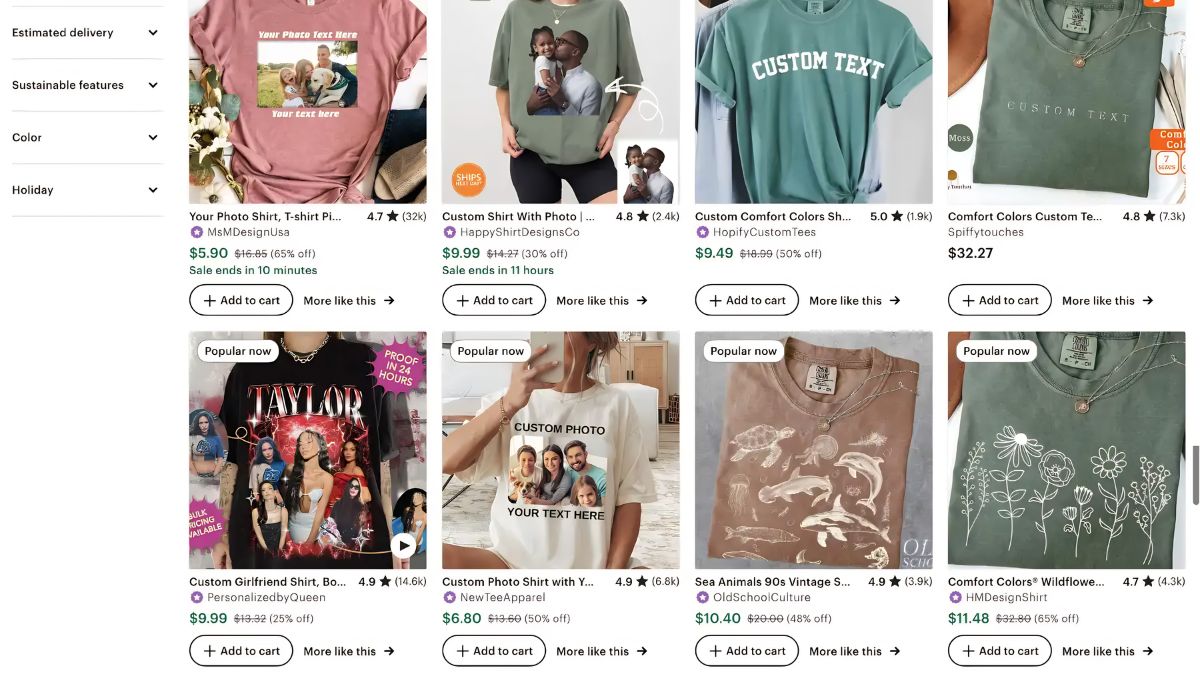
On Etsy, photos are everything. Your thumbnail is competing against hundreds of others in a scrolling grid.
Photo checklist
- Main image: Clean, bright, and instantly clear about what the shirt says.
- Lifestyle mockups: Show the shirt on a model or in a real setting.
- Size chart: Reduces returns and questions.
- Color options: Show available colors in one image.
- Close-up: Highlights print quality and fabric texture.
- Video (if possible): Etsy allows short listing videos, which can boost engagement.
Both Printful and Printify offer mockup generators, and Canva has mockup templates too. If you can afford it, order a sample shirt and photograph it yourself. Real photos add authenticity that generic mockups can’t match.
Step 8: Write Etsy SEO-Optimized Listings
This is where most beginners drop the ball. Etsy is a search engine, and your listing text is how it decides who sees your shirt.
Title formula
Lead with your main keyword, then add descriptive phrases:
“Funny Nurse Shirt, Gift for Nurse, Nursing School Graduation Tee, Comfortable Unisex T-Shirt”
Front-load the words shoppers use most.
Tags
Etsy gives you 13 tags. Use all of them. Mix broad and long-tail phrases like “nurse gift,” “nurse graduation shirt,” and “funny nursing tee.”
Description
- Start with the most important details and keywords.
- Explain the fit, fabric, and sizing.
- Mention care instructions.
- Add production and shipping timelines.
- Include a friendly note to build connection.
Attributes and categories
Fill in every attribute Etsy offers, such as occasion, holiday, and style. These help your listing appear in filtered searches.
Pro tip: Use Etsy’s search autocomplete and tools like eRank or Marmalead to discover keywords with real demand and manageable competition.

Step 9: Price Your T-Shirts for Profit
Here’s the framework I use:
Price = Production cost + Etsy fees + shipping (if included) + marketing budget + profit
Say your base cost is around $12 to $14. After Etsy fees, you’d want a retail price in the high $20s or more to keep a healthy margin. Selling at $18 might get views, but it leaves almost nothing for growth.
Pricing tips
- Price for quality and niche value, not just the cheapest option.
- Offer free shipping by building the cost into the price, since Etsy favors listings with free shipping in certain markets.
- Use sales and coupons strategically, not constantly.
- Create bundles like “2 for $X” or “matching family set.”
Step 10: Get Your First Sales
Alright, your shop is live, and you have a few listings. Now what?
Etsy-native strategies
- Publish consistently. Add new listings weekly to keep your shop active.
- Refine your tags and titles. Check your stats for which keywords bring views.
- Encourage reviews. Include a friendly thank-you note and follow up.
- Respond to messages quickly. Etsy tracks responsiveness.
- Consider Etsy Ads. Start small only after a listing shows it converts.
External traffic
- Pinterest: Create pins for each listing with keyword-rich descriptions. Pinterest can send steady traffic over time.
- TikTok and Instagram: Share design process videos, unboxings, and customer photos.
- Facebook groups and communities: Engage genuinely within your niche and share your shop when appropriate.
- Email list: Collect subscribers through giveaways or discounts.
Trust me on this: sellers who combine Etsy SEO with a little outside traffic usually grow faster than those who rely on Etsy alone.

Step 11: Plan for Seasonal Trends
Etsy is highly seasonal, and smart sellers plan months ahead.
- Q4 (holidays): Start uploading designs in August and September.
- Valentine’s Day and Mother’s Day: Begin early in the year.
- Back to school: Prepare teacher shirts by June or July.
- Summer: Camping, beach, and travel designs perform well.
- Graduation season: Create grad-themed shirts in early spring.
Keep a content calendar with important dates and design deadlines so you’re never scrambling.
Common Mistakes to Avoid
- Selling in an overly broad niche
- Using low-quality mockups
- Ignoring Etsy SEO
- Skipping sample orders
- Not reading Etsy’s policies
- Underpricing and burning out
- Expecting overnight results
Your First 30 Days on Etsy: A Simple Plan
Days 1 to 5: Choose a niche, research keywords, and open your Etsy shop.
Days 6 to 10: Create 10 designs and set up your accounts with Printful and Printify.
Days 11 to 15: Order samples, take photos, and prepare listings.
Days 16 to 25: Publish listings and start promoting on Pinterest and social media.
Days 26 to 30: Review your stats, tweak titles and tags, and add new designs.
Ready to Start Selling T-Shirts on Etsy?
Selling print on demand T-shirts on Etsy is one of the most beginner-friendly ways to start an online business in 2026. You don’t need inventory or expensive equipment. You need a focused niche, appealing designs, strong SEO, and reliable partners who deliver a product your customers will love.
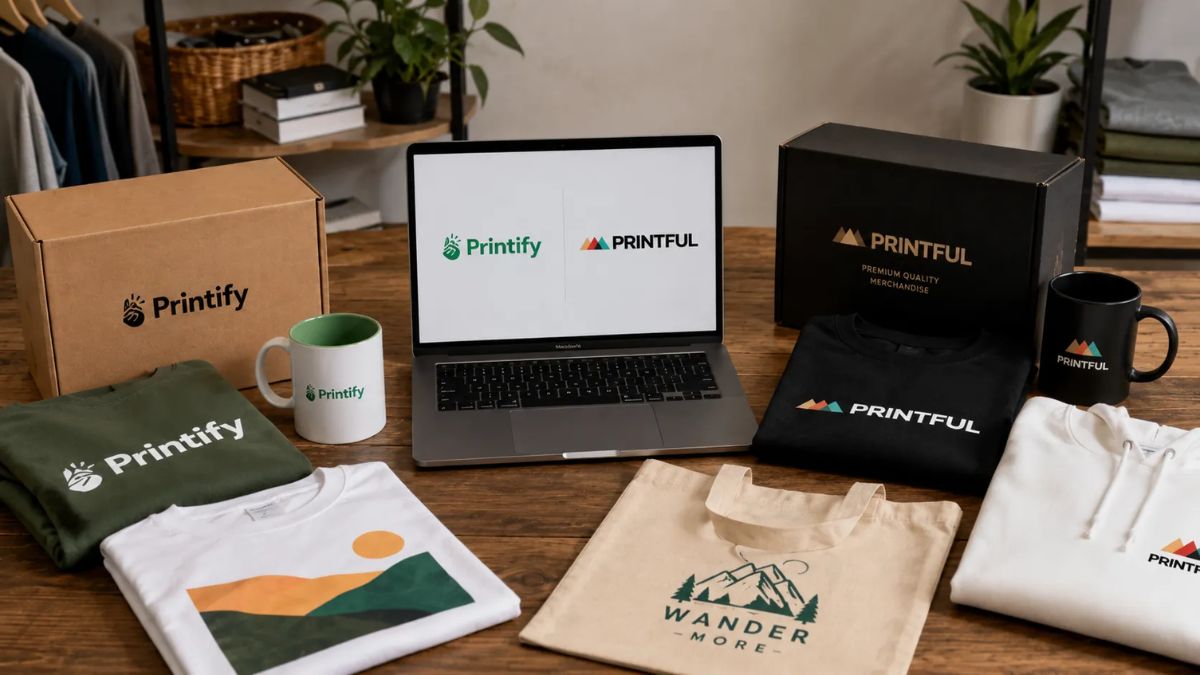
That’s why I recommend getting set up with both Printful for quality and branding, and Printify for variety and pricing flexibility. Both are free to start, and both connect to Etsy in minutes. Choose your niche today, upload your first design this week, and give your shop the momentum it deserves. Your first Etsy sale could be closer than you think!






Leave a Reply