

Did you know that solo app builders — not big dev teams, just one person with an idea — are now generating anywhere from $500 to $10,000+ a month from simple apps? I used to think building an app required a computer science degree, a team of engineers, and a mountain of startup capital. Turns out, none of that was true.
Two years ago, I built my first app in a weekend using a no-code tool and an AI assistant to help me write the few lines of logic I couldn’t figure out myself. It was a simple budgeting tracker — nothing fancy. Within four months, it was pulling in $680 a month from a small group of paying subscribers. That number kept climbing, and it completely changed how I thought about “tech income.”
If you’ve ever had an app idea and immediately talked yourself out of it because “I’m not a developer,” this guide is for you. In this comprehensive breakdown, I’ll walk you through exactly how ordinary people (no coding degree required) are making real money building apps— from your first idea to your first payout.
Why App Building Is More Accessible Than Ever
Let me break this down simply: building an app used to mean months of learning to code, or paying a developer thousands of dollars upfront. That world is gone.
Here’s what changed everything for me:
- No-code and low-code platforms let you build fully functional apps by dragging and dropping, not writing thousands of lines of code
- AI coding assistants can now write, debug, and explain code for you in plain English — I use one almost daily
- App marketplaces (Apple App Store, Google Play, Shopify App Store, browser extension stores) give you instant distribution to millions of potential users
- Subscription models mean you don’t need millions of downloads — just a few hundred paying users can replace a full-time income
Big mistake I made early on: I assumed I needed a “big idea” — the next Instagram or Uber. I don’t know why I thought that. My most profitable app to date is a simple habit tracker that solves one small, specific problem really well. Small, useful apps consistently outearn “big vision” apps that never ship.
Pro tip: The best app idea isn’t the most creative one — it’s the one that solves a problem you already understand deeply, ideally one you’ve experienced yourself.

Step 1: Choose Your App-Building Path
You don’t need to know how to code to get started. Here are the four main paths, ranked from easiest to most technical:
- No-code app builders (Glide, Adalo, Bubble, FlutterFlow) — build fully functional apps visually, no coding required
- AI-assisted coding — use an AI coding assistant to write and debug real code, even if you’re a beginner
- Hire a developer for the build, you handle the business — you own the idea, marketing, and revenue; someone else builds it
- Learn to code yourself — the most time-intensive path, but gives you the most long-term control and flexibility
Here’s what I learned the hard way: don’t pick the coding path just because it feels more “legit.” The goal isn’t to become a developer — it’s to get a working product in front of real users as fast as possible. I built and launched three different apps using no-code tools and AI assistance before I ever wrote a single line of code myself.
Pro tip: If you’re not sure where to start, AI-assisted building is often the sweet spot — it gives you way more flexibility than pure no-code tools, without requiring years of coding experience. If you want a full walkthrough of exactly how to use AI to build and launch real products (with 50+ ready-to-use prompts), that’s precisely what The Claude Advantage covers — it’s become one of my go-to resources for anyone building without a technical background.
Step 2: Validate Your App Idea Before You Build
Little did I know when I started that most failed apps don’t fail because of bad code — they fail because nobody actually wanted them in the first place. Building first and validating later is the single most expensive mistake you can make.
Here’s how I validate every app idea now, before writing a single feature:
- Survey your existing audience — email list, social followers, or even friends in the target niche
- Build a simple landing page — describe the app and collect email signups before it exists
- Check app store reviews of competitors — read one-star reviews to find exactly what’s missing in existing solutions
- Run a manual/concierge version first — solve the problem by hand for a few people before automating it
If you can get 20–30 people to say “yes, I’d pay for that” before you build anything, you’re in a much stronger position than 90% of app builders who skip this step entirely.
Step 3: Build a Minimum Viable Product (MVP)
Once you’ve validated demand, resist the urge to build every feature you’ve ever dreamed of. Your first version should do one thing well — nothing more.
My MVP checklist:
- One core feature that solves the main problem
- Simple, clean design — you can polish this later
- A way to collect payment (even if it’s just a simple subscription toggle)
- A feedback mechanism — in-app surveys or a simple email link work fine
Here’s the truth nobody tells you: your first version is going to feel embarrassingly simple. That’s exactly how it should be. My first paid app had exactly three screens and one feature. It still made money, because it solved a real problem.
Pro tip: Set yourself a hard deadline — two to four weeks max — to launch your MVP. Perfectionism is the number one thing that kills app projects before they ever generate a dollar.
Step 4: Choose Your Monetization Model
This is where a lot of people leave money on the table by picking the wrong pricing strategy. Here are the main models, and when each one makes sense:
- Freemium — free core features, paid upgrade for advanced functionality; great for building a large user base fast
- Subscription — recurring monthly or annual fee; my personal favorite because it creates predictable, compounding revenue
- One-time purchase — simple and easy to understand, but caps your revenue per user
- In-app purchases — works well for apps with consumable features (credits, templates, extra content)
- Ad-supported — free to use, monetized through in-app ads; needs high user volume to be worthwhile
Girl, was I wrong thinking a one-time purchase model would be easier to manage. I switched my budgeting app to a subscription model about six months in, and monthly revenue nearly doubled — same number of users, completely different income trajectory.
Here’s what I learned the hard way: subscriptions feel scarier to launch because you’re asking for ongoing commitment, but they build a far more stable, scalable business than one-time sales ever will.

Step 5: Launch and Get Your First Users
An app with zero users makes zero dollars, no matter how good it is. This step trips up more builders than the actual building process.
My go-to launch strategies:
- Leverage your existing audience first — email list, social following, or blog readers get first access
- Product Hunt and niche communities — great for an initial burst of visibility and feedback
- App Store Optimization (ASO) — optimize your app title, description, and keywords the same way you’d optimize a blog post for SEO
- Content marketing — write blog posts or create videos around the problem your app solves, then funnel readers to a download
- Influencer or micro-influencer partnerships — a review from someone with even a small, engaged audience can drive real signups
Fast forward to today, and content marketing is still my number one driver of new app users — the same content-to-commerce principle that works for digital products works beautifully for apps too.
Step 6: Iterate, Improve, and Scale
Once your app is live and generating some income, the real growth work begins.
Things I track and act on every month:
- User retention — are people still using the app 30 days after downloading?
- Churn rate — for subscription apps, this tells you exactly where to focus improvements
- Feature requests — your most engaged users will tell you exactly what to build next
- Reviews and ratings — respond to every single one; it builds trust and often surfaces bugs you’d otherwise miss
Pro tip: Don’t chase every feature request. Prioritize the ones that align with your app’s core purpose — feature bloat is one of the fastest ways to confuse users and tank your ratings.
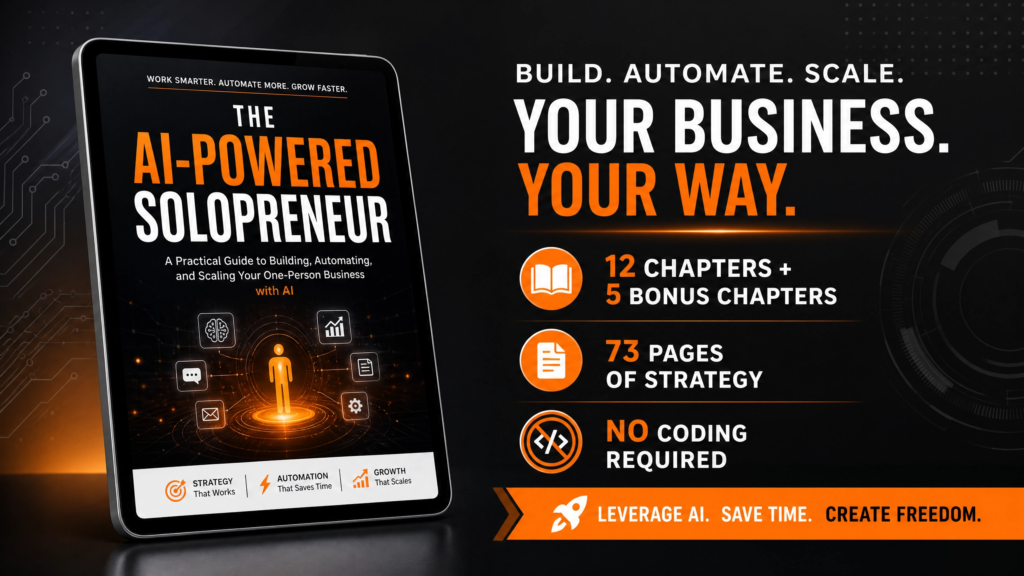
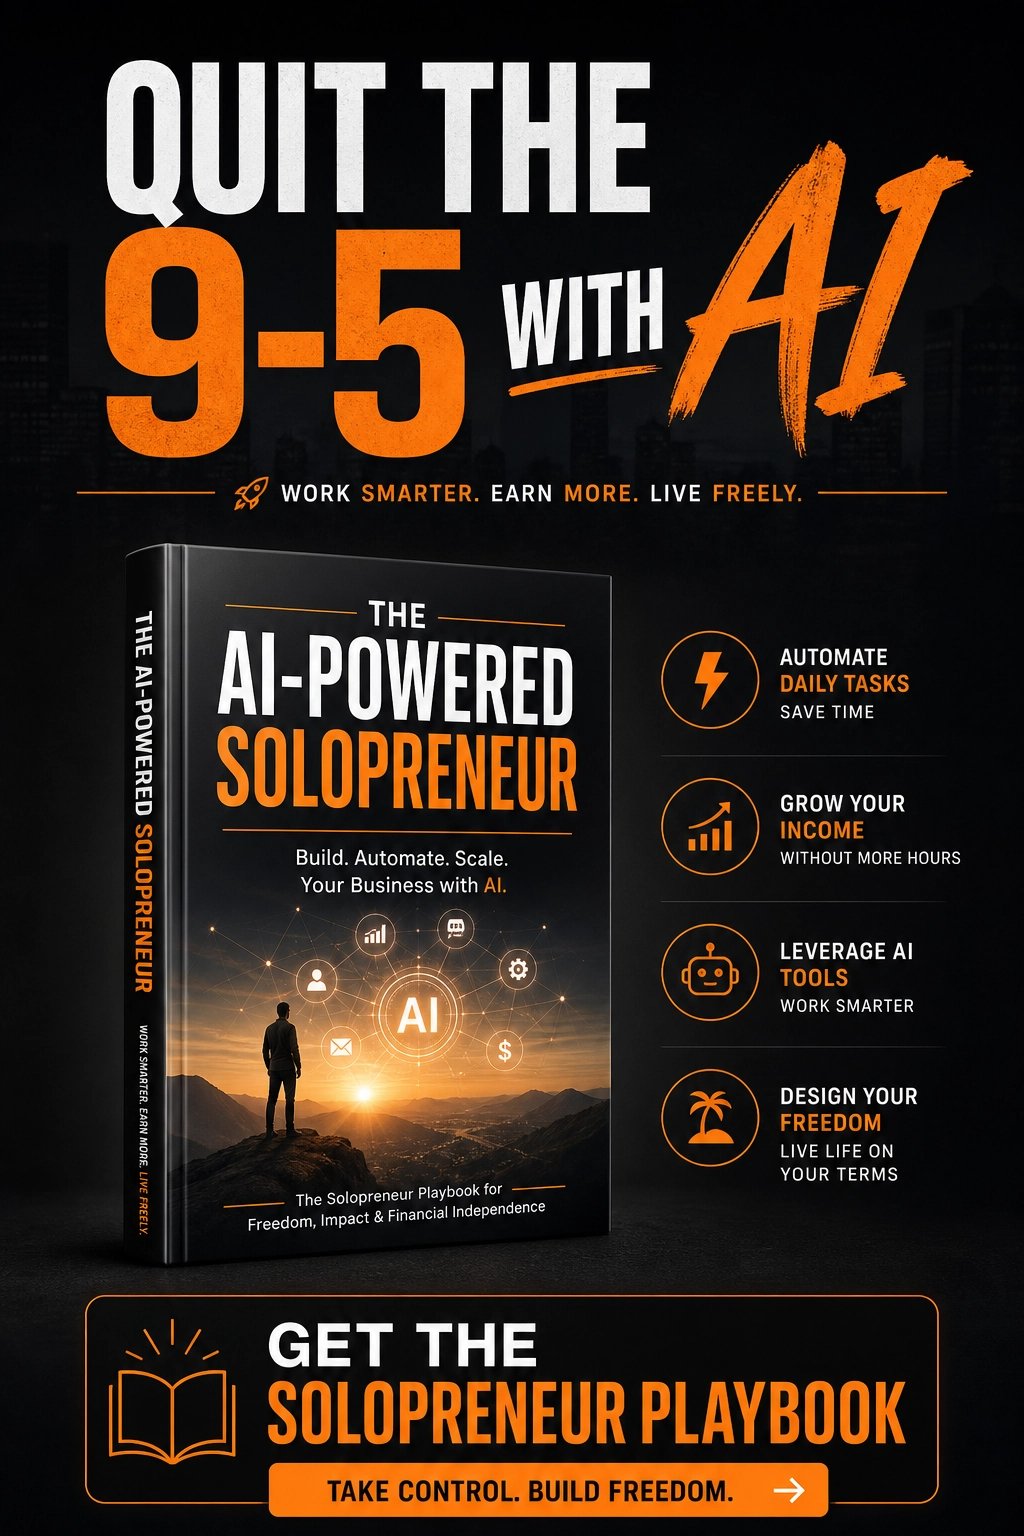
If you’re exploring app building as one piece of a bigger AI-powered income strategy — alongside content, digital products, and other online income streams — I’d genuinely recommend The AI-Powered Solopreneur, which breaks down seven different income models you can build with AI tools, no code needed. It’s a great companion resource once your app is up and running and you’re ready to diversify.
BUY NOW!
Common Mistakes to Avoid
Before you start building, let me save you some of the pain I went through:
- Building for months before showing anyone — get feedback early and often
- Trying to compete with billion-dollar apps — niche down into a specific, underserved problem instead
- Ignoring app store reviews — they’re free market research; use them
- Picking the wrong monetization model — match your pricing to how your users actually get value
- Underpricing out of fear — a $4.99/month subscription with 500 users beats a free app with 50,000 downloads and zero revenue

Your App-Building Action Plan
Making real money building apps isn’t about being a genius coder — it’s about solving a real problem and getting it in front of the right people. Here’s your roadmap one more time:
- Choose a building path that matches your skill level (no-code or AI-assisted is a great start)
- Validate your idea before writing a single feature
- Build a focused MVP with one core feature
- Choose a monetization model that fits how users get value from your app
- Launch to your existing audience first, then expand
- Track your numbers and iterate based on real user feedback
I know building an app can feel intimidating from the outside — I felt exactly the same way before I started. But the tools available have completely leveled the playing field. You don’t need a computer science degree or a six-figure development budget. You need a real problem worth solving, a simple first version, and the willingness to actually ship it. Trust me, the hardest part isn’t the technical side anymore — it’s just getting started.








Leave a Reply