How to Set Up a Creative Market Shop in 2025: A Complete Guide for Digital Creators
Did you know that Creative Market has paid out over $100 million to independent creators since its launch? Whether you’re a graphic designer, photographer, or font creator, setting up your Creative Market shop could be your gateway to joining thousands of successful digital creators. I’ve helped numerous artists establish their presence on this platform, and in this comprehensive guide, I’ll walk you through everything you need to know to launch your shop successfully. From initial setup to optimization strategies, let’s turn your creative assets into a thriving digital business!
Understanding Creative Market Shop Requirements
First things first – let’s talk about quality standards. I remember when one of my design students tried uploading their first font package without any kerning pairs or basic character sets. Yikes! Creative Market has pretty strict requirements, and for good reason. They’re looking for professional-grade digital products that are completely original and commercially viable. Your files need to be pristine, well-organized, and ready for immediate use by customers.
Speaking of files, let’s break down what you can actually sell. Creative Market accepts:
- Graphics and Templates (AI, EPS, PSD, etc.)
- Fonts (OTF, TTF, WOFF)
- Photos (high-res JPG, PNG, RAW)
- Themes and Templates (HTML, WordPress, Shopify)
- 3D Assets
- Add-ons and Actions
Here’s something that caught me off guard when I first started advising creators – you need to have at least 3 products ready to submit before you can even open your shop. And these aren’t just any products – they need to meet Creative Market’s technical specifications. Each product category has its own requirements, but across the board, you’re looking at providing high-resolution files, well-organized layers (where applicable), and clear documentation.
Now, let’s talk money, because that’s probably what you’re really curious about! Creative Market’s commission structure is actually pretty straightforward, though it took me a while to figure out the best approach for my clients. They operate on a 70/30 split – you keep 70% of each sale, which is pretty decent compared to some other marketplaces I’ve worked with. Payment wise, they process payouts via PayPal once you hit $50 in earnings, and they do this twice per month.
One decision that always trips up new shop owners is the exclusivity question. Here’s the deal: Creative Market offers both exclusive and non-exclusive options. If you choose to sell your products exclusively on their platform, you’ll get featured more prominently in search results and potentially get included in more promotional opportunities. But – and this is a big but – you’ll be limiting your potential income streams. I usually recommend starting non-exclusive until you get a feel for how well your products perform on the platform.
A quick pro tip that saved one of my clients a lot of time: before you even start uploading products, download a few top-selling items in your category and study their presentation, documentation, and overall quality. It’ll give you a solid benchmark for what Creative Market expects.
The technical side of becoming a shop owner isn’t too complicated, but there are some non-negotiables:
- A valid PayPal account for receiving payments
- High-quality preview images (at least 1200px wide)
- Detailed product descriptions
- Proper licensing documentation
- Clean, organized source files
Remember when I mentioned my student’s font package? Well, after properly formatting everything and meeting these requirements, their shop approval went through in just two days. It’s all about attention to detail and following the guidelines to a T.
I know this might seem like a lot to take in, but trust me – once you get these fundamentals squared away, maintaining your shop becomes second nature. The key is starting right and building on that foundation.
Setting Up Your Creative Market Shop Profile
You know what’s funny? My first client spent three whole days just brainstorming their shop name, and honestly, that wasn’t overkill. Your shop name is your brand’s first impression, and it needs to hit just right. We ended up picking something that reflected their design style (minimalist geometric patterns) while still being memorable and easy to spell. Pro tip: before finalizing your name, check if the corresponding social media handles are available – you’ll thank me later when you’re building your broader brand presence!
Let’s walk through the actual setup process:
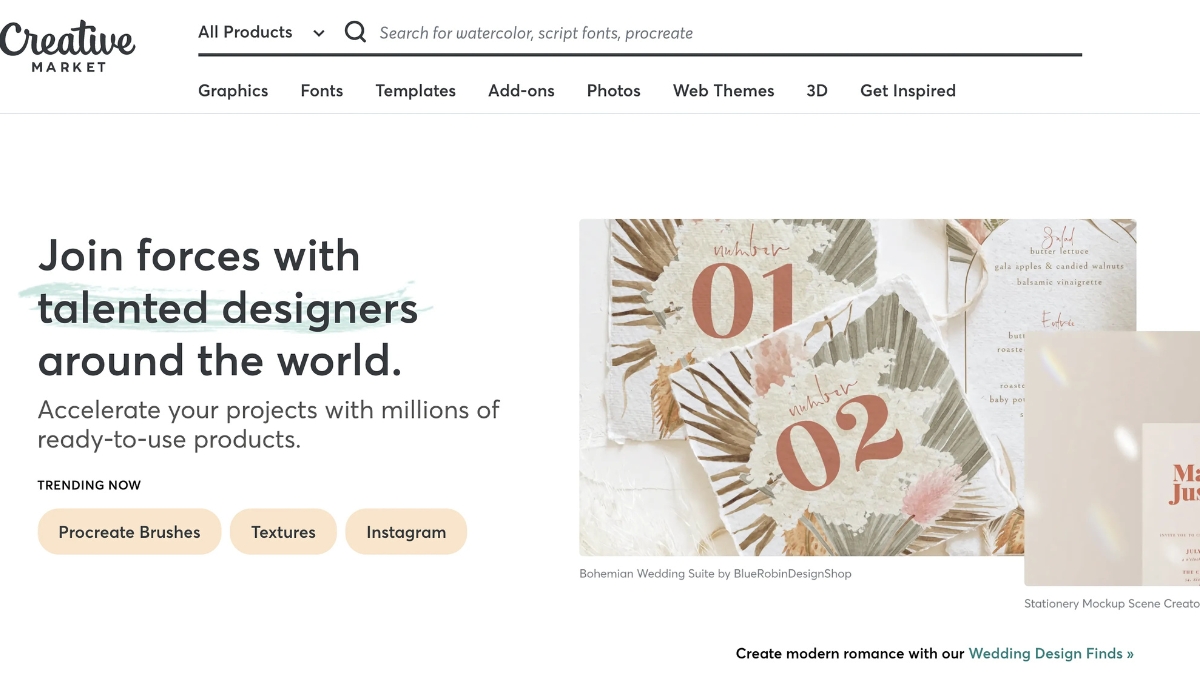
- Head to creativemarket.com/sell and click “Open a Shop”
- Fill out the basic info (name, email, location)
- Verify your email address
- Set up your PayPal connection
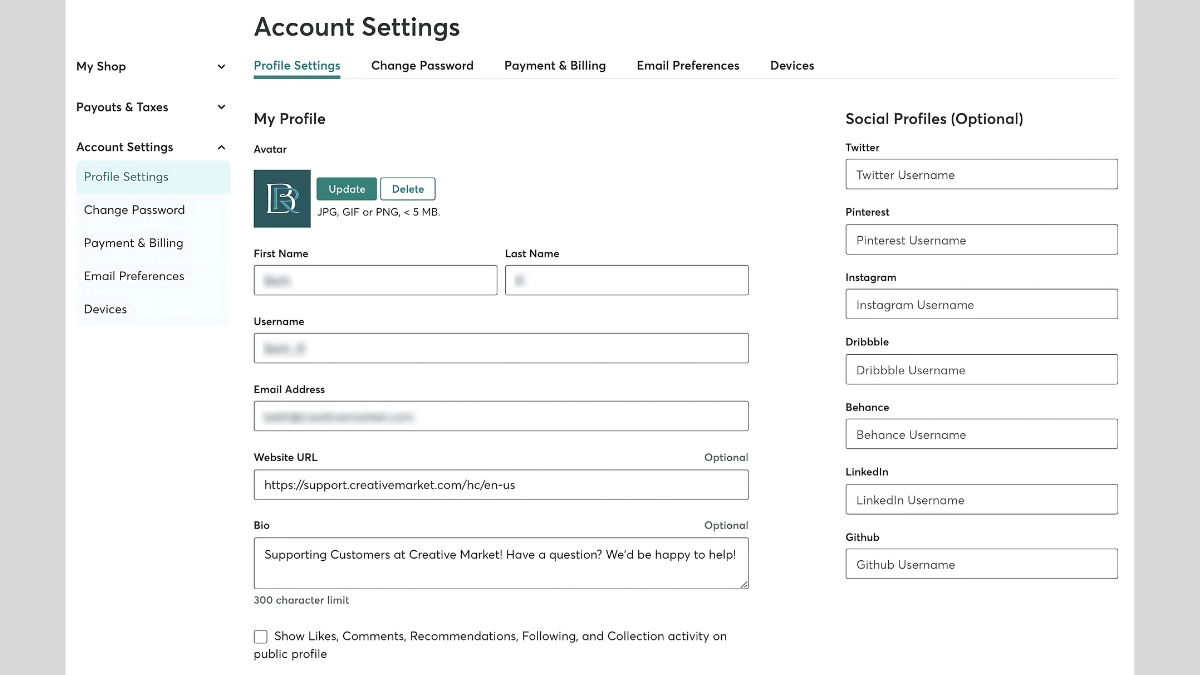
- Upload your profile details
Now, about that shop description – this is where I see a lot of creators stumble. They either write a novel or just drop a few generic lines. The sweet spot? About 2-3 paragraphs that tell your story and highlight your expertise. One of my most successful clients structured their description like this: “Creating clean, modern templates since 2018. Specializing in minimal wedding invitations and brand collections that help small businesses shine. Featured in Design Weekly and trusted by over 2,000 happy customers.”
The profile and banner images are absolutely crucial – they’re like your shop’s storefront window. I had this one client who saw their sales double after we upgraded their banner from a basic text overlay to a carefully curated showcase of their best work. Your banner should be at least 1600×400 pixels, and please, please use a professional headshot for your profile picture! Nothing says “amateur hour” like a cropped vacation photo.
Organizing your shop categories is like arranging your store’s departments. I typically recommend starting with 3-4 main categories and expanding as your inventory grows. For example, if you’re selling social media templates, you might break it down into:
- Instagram Templates
- Pinterest Graphics
- Facebook Cover Sets
- Social Media Bundles
Here’s something most guides won’t tell you: the order of your categories matters. Put your strongest products in the first category – that’s where most visitors will look first. I’ve seen conversion rates improve by up to 25% just by reorganizing category placement!
When writing your shop’s “About” section, get specific about your expertise and process. Instead of saying “I make beautiful templates,” try something like “I create Canva templates that help coaches save 5+ hours every week on their social media content.” See the difference? The second version speaks directly to your customer’s needs.
One mistake I made early on was underestimating the importance of consistency across all profile elements. Your shop name, banner design, product style, and description should all tell the same story. Think of it like your shop’s DNA – it should be recognizable no matter which part someone looks at first.
A little-known trick for standing out: use your banner image to display your latest work or seasonal collections. It’s like having a dynamic storefront that keeps regular visitors engaged. Just make sure to update it at least every quarter to keep things fresh.
Remember, your shop profile isn’t set in stone. Test different descriptions, update your categories as you grow, and keep refining your brand presence. The most successful shops I’ve helped set up are those that evolved with their audience while maintaining their core brand identity.
Oh, and one last thing – don’t forget to add your social media links to your profile! It’s amazing how many people miss this simple way to build their broader creative community. Just make sure those accounts are active and showcase your work before linking them.
Preparing Your Digital Products for Sale
I remember working with this amazing font designer who couldn’t figure out why her sales were sluggish. Her fonts were gorgeous, but her preview images looked like they were made in Microsoft Paint! After revamping her presentation with proper mockups and lifestyle photos, her sales tripled in just two months. It’s all about helping customers envision how they’ll use your products.
Here’s my tried-and-true process for product photography and mockups:
- Start with a clean, high-resolution hero image (at least 2400px wide)
- Create 3-4 lifestyle mockups showing real-world applications
- Include detailed close-ups of important features
- Add a clear preview of what’s included in the package
- Use consistent lighting and styling across all preview images
When it comes to file organization, I learned this the hard way – nothing frustrates customers more than a messy file structure! Here’s what works best: /Main Files /Source Files /Ready to Use /Documentation /Installation Guide /License /Bonus Items /Preview Files
Speaking of documentation, please don’t skip this! I once had a client who got swamped with support tickets simply because they hadn’t included basic installation instructions. A good documentation file should explain every single thing included in your package and how to use it.
Now, let’s talk product descriptions and titles. This isn’t just about being creative – it’s about being findable and selling your product’s benefits. Instead of “Modern Business Card Template,” try “Minimal Business Card Template with Editable Canva & Photoshop Files | Black & Gold Design.” See how the second one includes key details and search terms?
For descriptions, I use this framework:
- Hook sentence highlighting the main benefit
- Bullet points listing key features
- Detailed list of included files
- Use cases and ideal customers
- Technical requirements
- Installation/usage instructions

Pricing is where most creators get stuck. Here’s my research process:
- Find 5-10 similar products in your category
- Note their prices and included features
- Check their sales numbers (visible on Creative Market)
- Look at their reviews and what customers value
- Position your price based on your unique value proposition
One of my clients was seriously underpricing their social media templates at $12 when similar products were selling for $24-29. After careful market research, we repositioned at $25 with added value (more templates and better documentation), and sales actually increased!
For mockups, I’ve found that Photoshop’s Smart Objects are your best friend. Create a template system for your preview images – it saves tons of time when you’re launching multiple products. I typically create:
- A main featured image with product name
- 3-4 lifestyle mockups
- A “what’s included” overview image
- Technical details/compatibility image
- Any special feature highlights
Here’s a pro tip that transformed one of my client’s shops: create seasonal mockups! Their Christmas-themed preview images for their regular products drove significant holiday sales. Just make sure to switch back after the season ends.
One often overlooked aspect is the thumbnail image. This tiny preview needs to be instantly recognizable at a small size. I always test thumbnails by viewing them at 50% size – if they’re not clear then, they need work.
Finally, don’t forget about mobile viewers! Creative Market gets a lot of mobile traffic, so test how your preview images look on a phone screen. You might be surprised how different things appear when scaled down.
Remember, your product presentation isn’t just about looking pretty – it’s about answering customer questions before they even ask them. The more thorough you are with your preparation, the fewer support tickets you’ll handle later!
Optimizing Your Shop for Success

Setting up a Creative Market shop is your opportunity to join a thriving community of digital creators and build a sustainable passive income stream. By following this guide and consistently implementing these strategies, you’ll be well-equipped to launch and grow your shop successfully. Ready to start your Creative Market journey? Begin with optimizing your shop profile and preparing your first products for launch. Remember, success on Creative Market comes from a combination of quality products, strategic optimization, and engaged community participation.


You May Also Like

15 Best Print on Demand Marketplaces to Launch Your Business in 2025

Using Social Media to Make Money Online