How to Sell Teaching Resources on TES in 2025: A Complete Guide for Educators
Did you know that top sellers on TES are earning over £2,000 per month from their teaching resources? Whether you’re an experienced educator looking to share your materials or a creative teacher wanting to earn passive income, TES offers an incredible platform to reach millions of educators worldwide. In this comprehensive guide, I’ll walk you through everything you need to know about turning your teaching materials into a profitable venture on TES, drawing from successful sellers’ experiences and proven strategies.
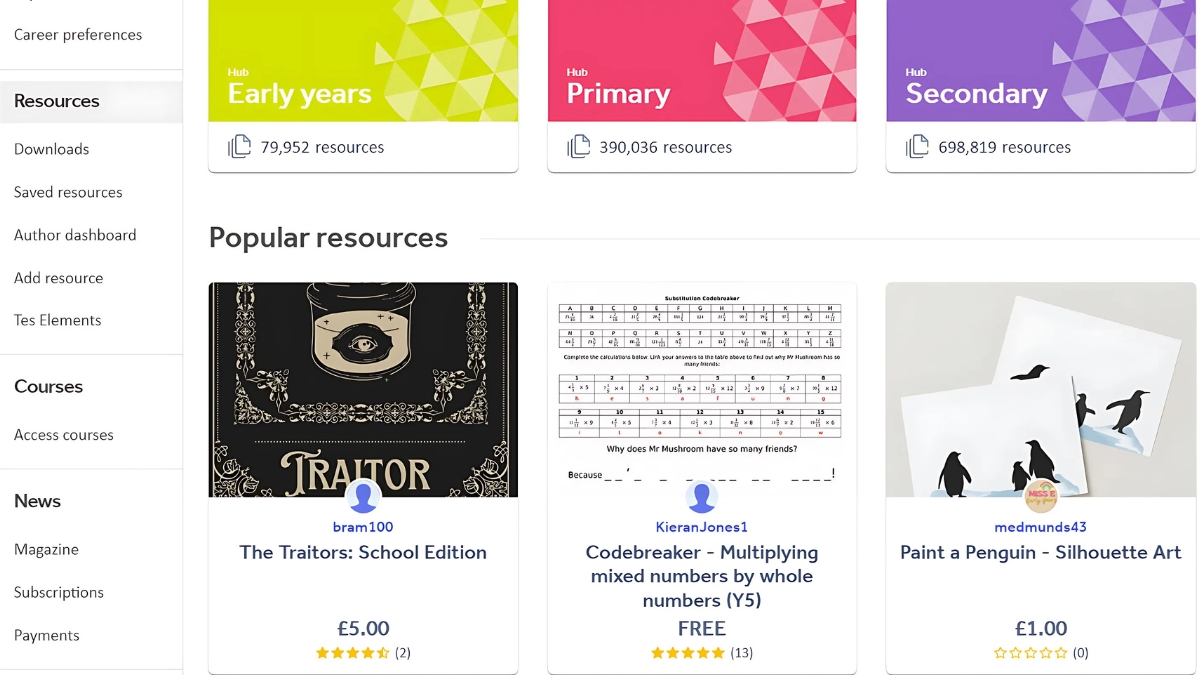
Getting Started with TES Resources
First things first, let’s talk about setting up your TES seller account. It’s pretty straightforward, but there are some crucial steps you don’t want to miss. Head over to TES.com and click on “Sell Resources” – you’ll need to create a basic account if you haven’t already. Here’s where many new sellers (including yours truly!) make their first mistake: rushing through the profile setup. Take your time with this part. Your profile is like your digital classroom – it needs to reflect your expertise and teaching philosophy.
When I first started to sell teaching resources on TES, I made the rookie error of using a generic bio that just listed my teaching experience. Big mistake! Your bio needs to tell a story. Mine now explains how I specialize in differentiated math resources for grades 6-8 and mentions my passion for making complex concepts accessible to all learners. Remember to include your subject specialties and grade levels – this helps buyers find exactly what they’re looking for.
Now, let’s talk about the nitty-gritty of TES guidelines. They’re pretty strict about quality, and honestly, that’s a good thing! Your resources need to be original (no copyright infringements, please!), professionally formatted, and include clear learning objectives. I learned this the hard way when my first submission got rejected because I hadn’t included detailed teacher notes. Make sure you read through their terms of service carefully – they update them periodically.
For creating professional-looking resources, you’ll need some essential tools. Microsoft Office is a must-have – PowerPoint and Word are my go-to programs. I also use Canva for creating engaging covers and Adobe Acrobat for managing PDFs. One tool that really upped my game was Grammarly – nothing undermines your credibility faster than spelling errors in your teaching materials!

Here’s a pro tip that took me ages to figure out: create templates for your resources. I spent hours designing a consistent header, footer, and style guide for my materials. Now, every worksheet I create has the same professional look, which helps build brand recognition when teachers browse through TES resources.
When it comes to your seller bio, think about what you look for when buying resources. I’ve found that being specific about your teaching experience and approach works wonders. For example, instead of saying “experienced math teacher,” I write “15-year veteran of middle school math with a focus on making algebra accessible through real-world applications.” This level of detail helps build trust with potential buyers.
One thing I wish I’d known earlier was the importance of organizing your computer files before you start uploading to TES. Create a dedicated folder structure for your resources, including separate folders for draft versions, final versions, and preview images. Trust me, when you’re managing dozens of resources, you’ll thank yourself for being organized from the start!
Remember, selling teaching resources on TES isn’t just about uploading what you’ve already created – it’s about building a brand that teachers can trust. Take time to get these foundational elements right, and you’ll be setting yourself up for long-term success in the TES marketplace.
Creating High-Quality Teaching Resources
Here’s something that might surprise you: my best-selling resources aren’t always the ones that took the longest to create. Teachers are looking for practical, time-saving materials that they can implement immediately. My top seller is actually a bundle of exit tickets for algebra concepts – something I created because I was tired of scrambling to assess understanding at the end of each lesson.
When it comes to the types of resources that sell best, complete units and bundles are absolute gold. Think about it – teachers are super busy, and having everything they need for a topic in one download is incredibly valuable. I’ve found that including detailed lesson plans, worksheets, PowerPoint presentations, assessments, and answer keys in a single bundle can command premium prices. My ancient Egypt unit, for example, has everything from vocabulary cards to end-of-unit tests, and it consistently brings in sales.
Let’s talk formatting because this is where many sellers stumble when they first sell teaching resources on TES. Consistency is key! Every resource needs to have:
- A clear, professional cover page with preview images
- A detailed table of contents
- Clear learning objectives
- Teacher notes with implementation suggestions
- Clean, consistent fonts (I stick to Arial and Calibri)
- Proper spacing and margins
I learned about accessibility the hard way when a colleague pointed out that my colorful worksheets were difficult for colorblind students to read. Now, I always ensure my resources are accessible by:
- Using high contrast colors
- Including alt text for images
- Providing both color and black-and-white versions
- Using dyslexia-friendly fonts in student materials
- Creating materials that work well when printed or viewed digitally
Here’s something most new sellers overlook: differentiation is absolutely crucial. Every resource I create now includes at least three difficulty levels. My most successful resources include:
- Core content for on-level students
- Scaffolded versions with extra support
- Extension activities for advanced learners
- Visual aids and manipulatives
- Word banks and sentence starters
Assessment components are another game-changer. Teachers love resources that help them track student progress. I always include:
- Pre and post assessments
- Rubrics for projects and assignments
- Self-assessment checklists for students
- Progress tracking sheets
- Quick formative assessment tools
One of my favorite tricks is creating what I call “flexible formats.” For example, I’ll make a reading comprehension activity that can be used as individual work, paired reading, or a whole class discussion. This kind of versatility makes resources more appealing to buyers because they can adapt them to different teaching situations.
The real secret to success? Think about the teacher who’s going to use your resource at 7 AM on a Monday morning. Will they be able to quickly understand and implement it? Is everything they need included? Have you anticipated potential questions or challenges? When I started approaching resource creation from this perspective, my sales significantly improved.
Remember to always test your resources before uploading them. I’ve made it a habit to use each resource in my own classroom first, then make adjustments based on how it actually works with students. This real-world testing has been invaluable for creating materials that truly serve their purpose.
Pricing Your Teaching Resources
I remember pricing my first unit at $2 because I was nervous about charging more. Big mistake! Not only did this undervalue my work, but I discovered that teachers often associate ultra-low prices with lower quality. These days, I’ve developed a much more strategic approach to pricing, and let me tell you, it’s made a world of difference in my earnings.
Here’s my tried-and-true pricing structure that’s evolved from years of selling on TES:
- Individual worksheets: $3-5
- Lesson plans with materials: $5-8
- Complete single-lesson packages: $8-12
- Mini-units (3-5 lessons): $12-20
- Full units with assessments: $20-35
- Comprehensive bundles: $35-50
When researching competitor pricing (which you absolutely should do!), don’t just look at the price tag. I spend time analyzing what successful sellers include in their resources. For instance, I noticed that resources priced above $15 typically include editable files, detailed teacher guides, and multiple assessment options. This helped me better position my own materials when I decided to sell teaching resources on TES.
Let’s talk about bundle pricing – this is where you can really maximize your earnings. I’ve found that offering a 20-25% discount on bundles compared to buying resources individually works well. For example, if I have five resources that would cost $40 individually, I might price the bundle at $30. This encourages multiple purchases while maintaining good profit margins.

Here’s something that took me ages to figure out about TES’s commission structure: they take a percentage of each sale (currently 45%). Initially, this seemed high, but I realized it’s actually pretty standard for educational marketplaces. I factor this into my pricing by using this formula:
Desired earnings ÷ 0.55 = Resource price
For example, if I want to earn $10 from a resource: $10 ÷ 0.55 = $18.18 (I usually round to $18 or $19)
When it comes to bulk licensing for schools, I offer a tiered discount structure:
- 5-10 licenses: 10% off
- 11-25 licenses: 15% off
- 26+ licenses: 20% off
This has helped me land several school-wide purchases, which really add up!
One pricing strategy that really boosted my sales was creating “starter packs” for new teachers. These bundles include essential resources for teaching a particular topic, priced at about 30% less than buying everything separately. It’s a win-win – new teachers get comprehensive materials at a better price, and I get larger sales.
The payment system on TES is pretty straightforward, but here’s a tip: they pay monthly for sales over a certain threshold. I keep track of my sales in a spreadsheet and always know exactly what to expect in my account. This helps with planning and ensuring everything is properly recorded.
Remember, pricing isn’t set in stone. I regularly review and adjust my prices based on:
- Seasonal demand (slightly higher during back-to-school)
- Resource complexity and included materials
- Market trends and competitor pricing
- Customer feedback and sales data
- Updates and improvements to existing resources
The key is finding that sweet spot where your resources provide excellent value for teachers while fairly compensating you for your time and expertise. Don’t be afraid to adjust your prices as you build your reputation and expand your resource library.
Optimizing Your Resources for TES Search
Let’s start with titles because they’re absolutely crucial. Here’s the formula that works best for me: [Grade Level] + [Subject] + [Specific Topic] + [Resource Type] For example: “Grade 7 Science – Cell Structure Unit with Interactive Activities and Assessments”
I’ve discovered that being super specific in your description is key. Don’t just say “A great resource for teaching cells.” Instead, write something like: “A comprehensive 5-lesson unit covering cell organelles, membrane transport, and cell division, including differentiated worksheets, interactive PowerPoint presentations, and formative assessments.” Remember to naturally weave in keywords that teachers actually use when searching.
Speaking of keywords, this is where you can really boost your visibility when you sell teaching resources on TES. Think about how teachers search:
- They use specific curriculum terms
- They include grade levels or key stages
- They mention specific skills or standards
- They search for specific types of activities
I keep a running list of high-performing keywords for each subject area. For science resources, terms like “hands-on experiments,” “differentiated worksheets,” and “assessment rubrics” tend to perform well. But don’t keyword stuff – TES’s algorithm is pretty smart about detecting that!
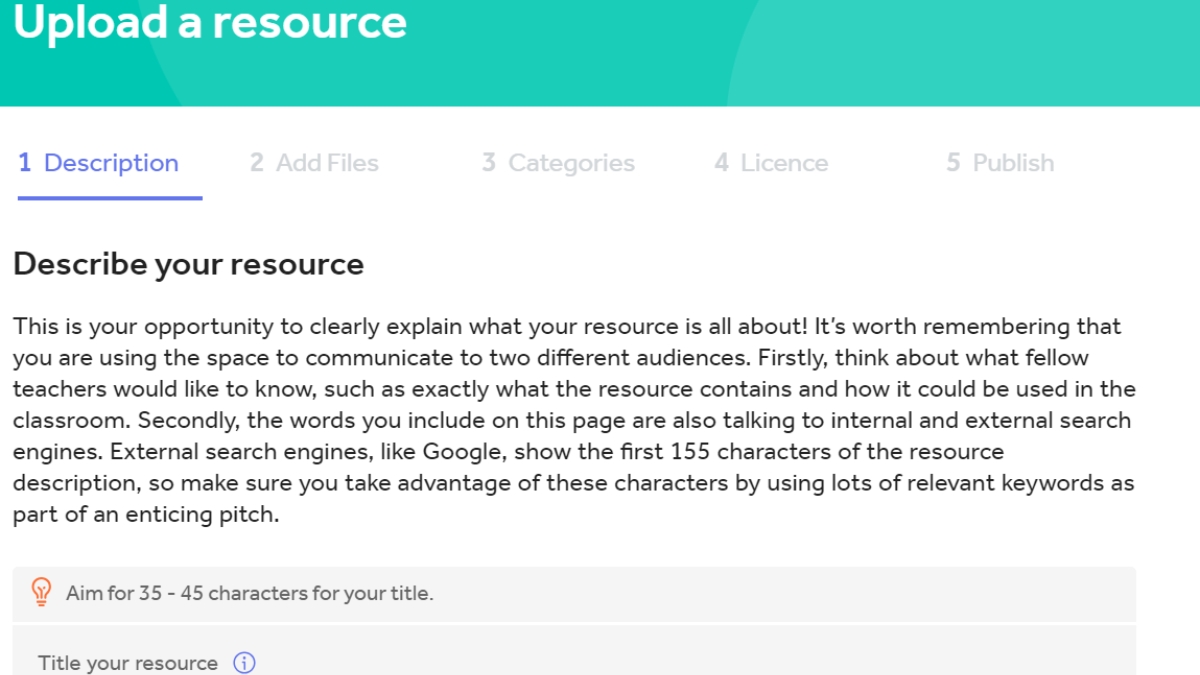
Now, let’s talk about preview images – they’re like the book cover of your resource. I used to just throw up a screenshot of the first page, but that was another rookie mistake. Now I create custom preview images that:
- Show 3-4 key pages from the resource
- Include clear text explaining what’s included
- Use consistent branding elements
- Display grade level and subject clearly
- Feature any unique selling points
Here’s a pro tip about thumbnails: make them pop with contrasting colors, but keep them professional. I use Canva to create thumbnails that stand out in search results while maintaining a cohesive look across all my resources.
The metadata game is where many sellers drop the ball. Each resource should have:
- Age range clearly specified
- Subject and sub-subject accurately categorized
- Curriculum standards (when applicable)
- Resource type properly tagged
- Teaching duration indicated
I organize my tags into these categories:
- Topic-specific (e.g., “photosynthesis,” “cell biology”)
- Skill-based (e.g., “critical thinking,” “problem-solving”)
- Activity type (e.g., “group work,” “independent study”)
- Assessment type (e.g., “formative,” “summative”)
- Special features (e.g., “differentiated,” “editable”)
One thing that really helped my visibility was creating seasonal variations of my resources. For example, my basic fractions worksheet became “Christmas Fractions,” “Halloween Fractions,” etc. Each version gets its own specific seasonal tags while maintaining the core educational keywords.
Don’t forget to update your keywords and descriptions periodically. I review mine every few months to:
- Add new relevant terms
- Remove underperforming keywords
- Update descriptions with fresh content
- Align with current curriculum changes
- Include feedback from users
Remember, it’s not just about stuffing in keywords – it’s about making your resources genuinely discoverable by teachers who need them. Think about what you would search for if you were looking for this type of resource, and optimize accordingly.
Marketing Your TES Resources
I spent my first three months on TES wondering why my carefully crafted worksheets and lesson plans weren’t getting any traction. The quality was there, but I hadn’t given any thought to actually marketing them. Looking back, I could’ve saved myself a lot of frustration by approaching it more strategically from the start.
Here’s what I’ve learned about how to effectively sell teaching resources on TES and build a following that actually generates income. The platform has some unique quirks that took me a while to figure out, but now I’ve got a system that works pretty consistently.
First things first – your profile needs to tell a story. I learned that teachers want to know they’re buying from someone who really gets it. I updated my bio to highlight my classroom experience and specific subject expertise. It made a huge difference! Your profile picture should be professional but approachable – I use a simple headshot of me smiling in my classroom.
Social media has been an absolute game-changer for my TES sales. I created a dedicated Instagram account where I share sneak peeks of my resources and behind-the-scenes looks at how I use them in my own classroom. Pinterest has been particularly amazing for driving traffic – I create eye-catching pins for each resource and pin them to relevant education boards.
One thing that really helped me sell teaching resources on TES more effectively was creating a marketing calendar. Teachers are always planning ahead, so I started promoting my seasonal resources about 6-8 weeks before they’re needed. For example, I start pushing my back-to-school materials in early July and my Christmas activities in early November.

Building relationships within the TES community has been crucial. I make it a point to respond thoughtfully to every comment and message I receive. When other teachers ask questions about my resources, I don’t just give quick answers – I try to provide additional tips and suggestions they might find helpful. This kind of engagement has led to repeat customers and word-of-mouth recommendations.
Here’s a pro tip that took me way too long to figure out: use your preview images strategically! I used to just upload the first page of my resources, but now I create custom preview images that showcase the best parts and clearly communicate the value. I always include 2-3 actual pages from the resource too, so teachers can see the quality firsthand.
Something that initially tripped me up was pricing. I started too low because I was nervous about charging “too much.” But I learned that teachers are willing to pay for quality resources that save them time and engage their students. Now I price based on the hours it saves them and the educational value it provides, not just how long it took me to create it.
The TES algorithm seems to favor sellers who maintain consistent activity. I try to upload at least one new resource every week and update older resources regularly. This steady presence has helped keep my profile visible in search results and category browsing.
Remember, building a successful presence on TES takes time – don’t get discouraged if you don’t see immediate results. Focus on creating genuine value for other teachers and building authentic connections. The sales will follow naturally when you approach it with patience and persistence.
Managing and Growing Your TES Shop
I remember the moment I realized I needed a better system. I was frantically searching through my computer trying to find the original file for a popular worksheet that needed updating, and it hit me – I was spending more time managing my resources than creating new ones! That was my wake-up call to get serious about organization.
Here’s the file management system that’s worked wonders for me. I create a master spreadsheet with columns for resource titles, creation dates, last update dates, and sales data. Each resource has a unique code that matches its folder name on my computer. It sounds super nerdy (because it is!), but trust me – when you’re trying to sell teaching resources on TES successfully, good organization becomes your best friend.
One game-changing habit I developed was setting aside “maintenance Mondays.” Every Monday afternoon, I spend an hour reviewing customer feedback, updating resources that need tweaking, and checking my analytics. This regular check-in helps me catch any issues before they become problems and keeps my shop running smoothly.
Speaking of feedback – don’t just collect it, treasure it! I created a simple Google Form that I include with every resource download, asking specific questions about what worked well and what could be improved. The responses have been invaluable for making my resources better and understanding what teachers really need.
Here’s something I wish someone had told me earlier: create resource series instead of standalone products. Once I started developing themed collections and curriculum units, my sales really took off. Teachers love being able to buy related resources that work together seamlessly. Plus, it’s more efficient for me since I can reuse similar layouts and styling.
Time management was probably my biggest challenge at first. Between planning lessons, grading papers, and trying to grow my TES shop, I felt like I was always playing catch-up. What worked for me was blocking out specific times for TES work – Tuesday and Thursday evenings are for creating new resources, Sunday afternoons for planning and marketing.

I’ve learned to batch similar tasks together. When I’m in “creation mode,” I’ll design several resources at once using the same template or theme. When I’m in “marketing mode,” I’ll write all my product descriptions and social media posts for the week. This approach has dramatically improved my productivity.
One thing that really helped scale my business was creating templates for everything – product covers, worksheets, answer keys, you name it. Not only does this save time, but it also gives my resources a consistent, professional look that customers recognize and trust.
Don’t forget about the power of customer service! I keep a dedicated email folder for TES communications and try to respond to messages within 24 hours. Building a reputation for reliability and helpfulness has led to more repeat customers than any marketing strategy I’ve tried.
Here’s a tip that might seem counterintuitive: sometimes less is more. I used to think I needed to create new resources constantly, but I’ve found that focusing on improving and expanding my existing popular resources often yields better results. Quality over quantity has become my mantra.
The best piece of advice I can give about balancing teaching and selling is to be realistic with your goals. I set small, achievable targets each month rather than overwhelming myself with ambitious plans. Steady progress is better than burnout!
Remember, growing a successful TES shop is a marathon, not a sprint. Focus on creating systems that work for you and can scale as your business grows. And most importantly, never let your TES work interfere with your primary mission – being a great teacher for your students.
Success on TES comes from combining quality teaching resources with smart marketing strategies and consistent effort. Start by implementing these proven techniques, and remember to regularly analyze your sales data to refine your approach. With dedication and the right strategy, you can build a thriving business sharing your expertise with educators worldwide. Ready to start your journey as a TES seller? Begin by creating your first premium resource using the guidelines we’ve covered!


You May Also Like

How to Scale Your Print on Demand Business in 2025: The Ultimate Growth Guide

How to Write Blog Headlines That Actually Convert in 2025: Expert Guide