

My first attempt at selling products online was a disaster. I ordered 50 tote bags with a design I loved, stored them in my spare closet, and sold exactly four. I spent months staring at that stack, wondering how I’d turned a creative idea into clutter. Then I discovered print-on-demand, and everything changed.
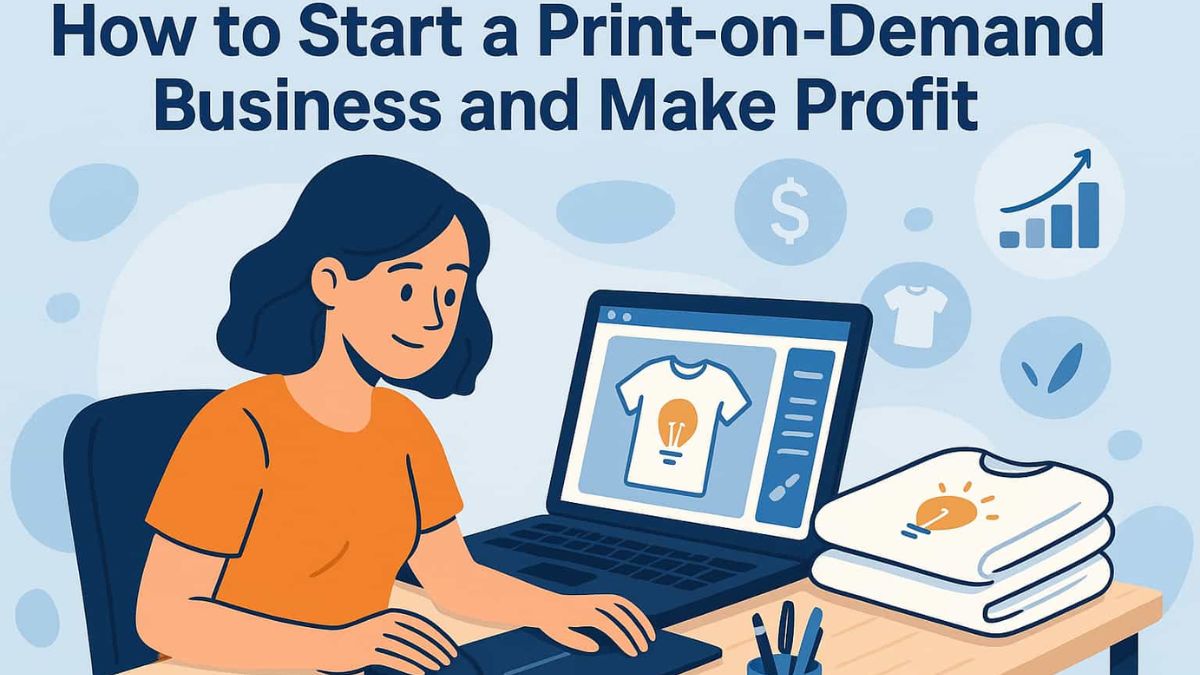
With a print-on-demand business, you upload a design, a partner prints it on a product only after someone buys it, and the partner ships it directly to your customer. No inventory. No packing boxes. No closet full of unsold stock.
In this guide, I’ll walk you through how print-on-demand works, which platforms to choose, how to find niches that sell, and how to get those first sales. Let’s dive in!
What Is Print-on-Demand?
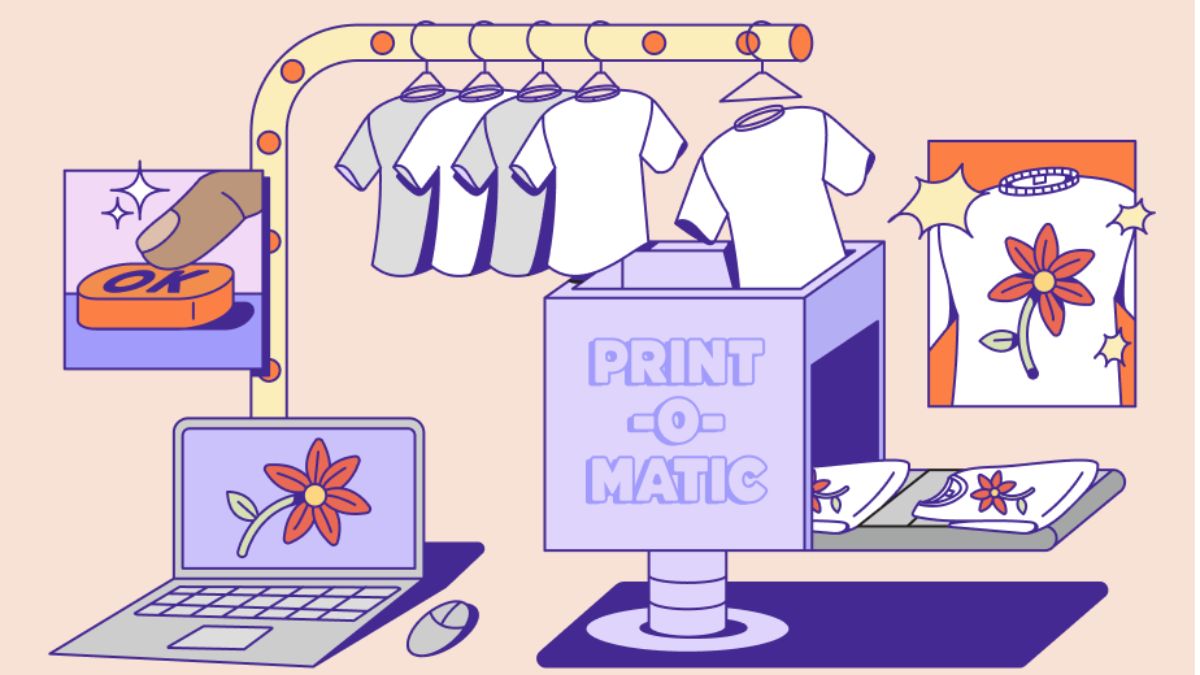
Print-on-demand (POD) is a business model where products are printed after an order comes in. Here’s the simple flow:
- You create a design.
- You upload it to a POD service and add it to products like t-shirts, mugs, tote bags, posters, or phone cases.
- You list the products in your online store or on a marketplace.
- A customer places an order.
- The POD company prints and ships it.
- You earn the difference between the retail price and the base cost.
Why beginners love it:
- Low risk. You only pay for products that have already sold.
- Low startup costs. Free tools can handle the design.
- Flexible. You can run it from anywhere.
- Creative. You can test lots of ideas without huge investment.
The honest downside: Profit margins per item are modest, competition is real, and you don’t control the printing or shipping quality directly. You’ll want to order samples before selling.
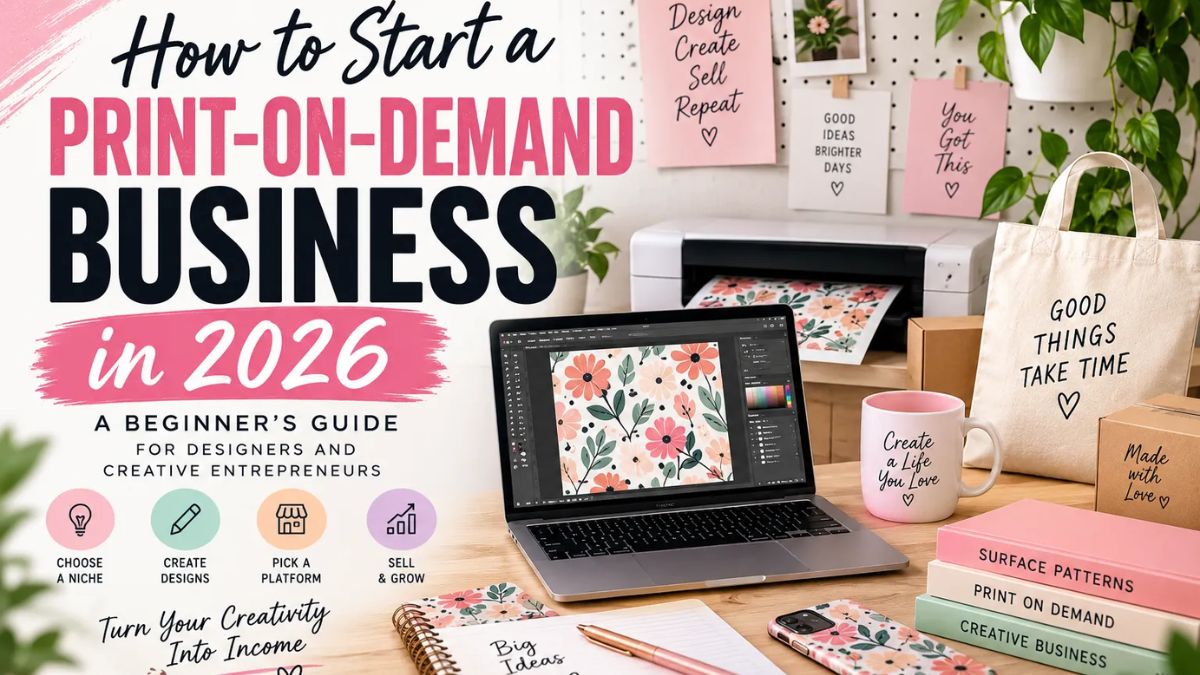
Step 1: Choose a Niche That Sells
I used to design whatever I thought looked cool. Little did I know that the best-selling shops focus on clear audiences and interests. Here’s how to find yours:
- List your interests and communities. Nurses, dog moms, teachers, gardeners, runners, bookworms, coffee lovers.
- Browse Etsy, Amazon, and Pinterest to see what’s selling.
- Look for passionate groups. People who identify with a hobby or profession love products that celebrate it.
- Avoid trademark trouble. Never use copyrighted characters, brand names, or slogans you don’t own.
Niche Ideas That Often Perform Well
- Profession-themed gifts (nurses, teachers, teachers’ assistants)
- Pet lover products
- Hobby and lifestyle designs (gardening, reading, hiking)
- Motivational and mental-wellness quotes
- Family and holiday gifts
- Funny designs for specific communities
Pro tip: Specific beats broad. “Funny gifts for night-shift nurses” attracts buyers more easily than “funny shirts.”
Step 2: Create Designs That Stand Out
You don’t need to be an illustrator. Here’s what works for many beginners:
- Typography-based designs. Clean text with a clever phrase can sell well.
- Simple illustrations. Use tools like Canva or Procreate if you have an iPad.
- Quote designs that speak to a particular audience.
- Seasonal designs for holidays and events.
Design Tips
- Use high-resolution files, usually PNG with transparent backgrounds.
- Choose bold, readable fonts.
- Keep designs simple. Busy designs often print poorly.
- Check each platform’s size requirements.
- Use only licensed fonts and graphics permitted for commercial use.
AI tools can help brainstorm phrases, product names, and listing descriptions. The Claude Advantage walks through prompt techniques that make that brainstorming far more useful. Always check the rules on AI-generated artwork on any platform you use.
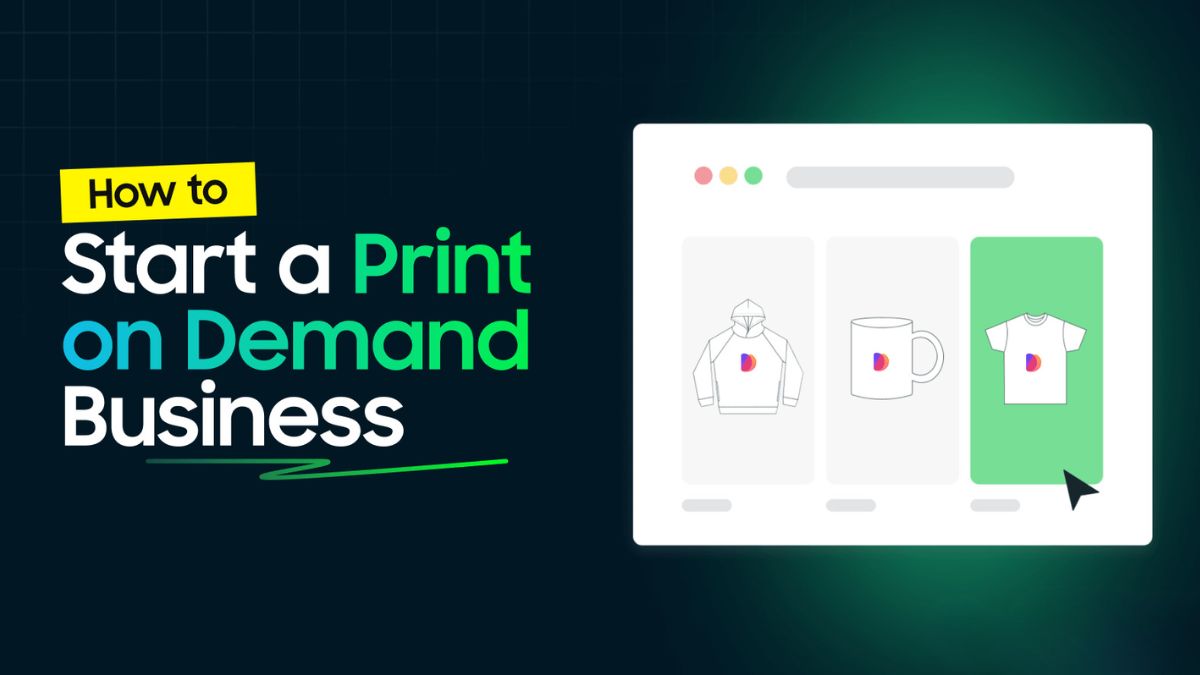
Step 3: Choose a Print-on-Demand Partner
Popular options include:
- Printful: Known for quality and many product options, with slightly higher prices.
- Printify: A network of print providers, often offering lower prices.
- Gelato: Strong for international shipping and local printing.
- Redbubble, TeePublic, and Society6: Marketplaces where you upload designs and they handle sales, though you have less control.
I recommend ordering a sample of each product before selling it. I once skipped this and sold a shirt with a washed-out print. Big mistake, and it cost me a refund and a one-star review.
Step 4: Choose Where to Sell
You have three main options:
- Etsy: Built-in traffic, great for gifts and niche products. Fees apply.
- Your own online store such as Shopify, which gives you control and branding but requires driving your own traffic.
- POD marketplaces that bring traffic but give you lower margins.
Many sellers start on Etsy, then add a standalone store as they grow.
Step 5: Price for Profit
Here’s a simple formula:
Retail price = base cost + platform fees + shipping adjustments + your profit
For example, a shirt might cost $12 from a POD partner. Add platform fees and your desired profit, and you might price it at $24–$32. Check current fees on your platform and POD partner, since these change.
Don’t compete on price alone. Offer a clear niche, strong mockups, and great customer service.
Step 6: Create Listings That Sell
Your listing is your storefront:
- Titles: Include keywords people actually search for.
- Tags and descriptions: Use all available tags and write helpful descriptions.
- Mockups: Show products in lifestyle settings and in use.
- Variations: Offer a range of colors and sizes.
- Gift angle: Many shoppers buy for someone else, so mention who it’s perfect for.
Step 7: Market Your Business
A beautiful product needs visibility. Here’s what works for many sellers:
- Pinterest. Pins can send steady traffic for months.
- Short-form video. Show your designs, your process, or customer reactions.
- Instagram and Facebook communities around your niche.
- Email list. Offer a small discount for subscribers.
- Seasonal planning. Start holiday designs early. Shoppers search weeks before the season.
To learn how to build real traffic and sales, The Digital Marketing Playbook is a solid guide for beginners.
A Simple Plan for Your First 30 Days
If you want a clear path, here’s how I’d launch a POD shop starting today:
- Week 1: Choose your niche, research competitors, and save ten design ideas.
- Week 2: Create your first ten designs, set up your POD account, and order two or three samples.
- Week 3: Open your shop, upload your products, and write keyword-rich listings with strong mockups.
- Week 4: Promote on Pinterest and social media, then review early data and tweak your listings.
Keep your first goal modest: ten live products and your first sale. Once you reach that, you can expand into new product types and designs with confidence.
Customer Service Can Make or Break Your Shop
Because a partner prints and ships your products, you might think customer service doesn’t matter. In reality, shoppers blame you if something goes wrong. Here’s how I protect my reputation:
- Write clear shipping times in your listings, since POD production adds a few days.
- Reply to messages quickly, ideally within 24 hours.
- Handle issues generously. If a print arrives damaged, work with your POD partner on a replacement.
- Ask for reviews after delivery, and thank buyers who leave them.
One kind, quick reply can turn an unhappy customer into a repeat buyer, and that goodwill is worth far more than the cost of a replacement.

Build a Brand, Not Just a Store
Customers return to brands they trust. Create a consistent look, voice, and story. The Personal Brand Blueprint can help you shape a brand that feels memorable and authentic.
Handle Legal and Money Basics
- Avoid copyright and trademark issues. Create original work.
- Read platform and POD policies carefully.
- Track income and expenses.
- Save for taxes. Consult a qualified professional for your situation.
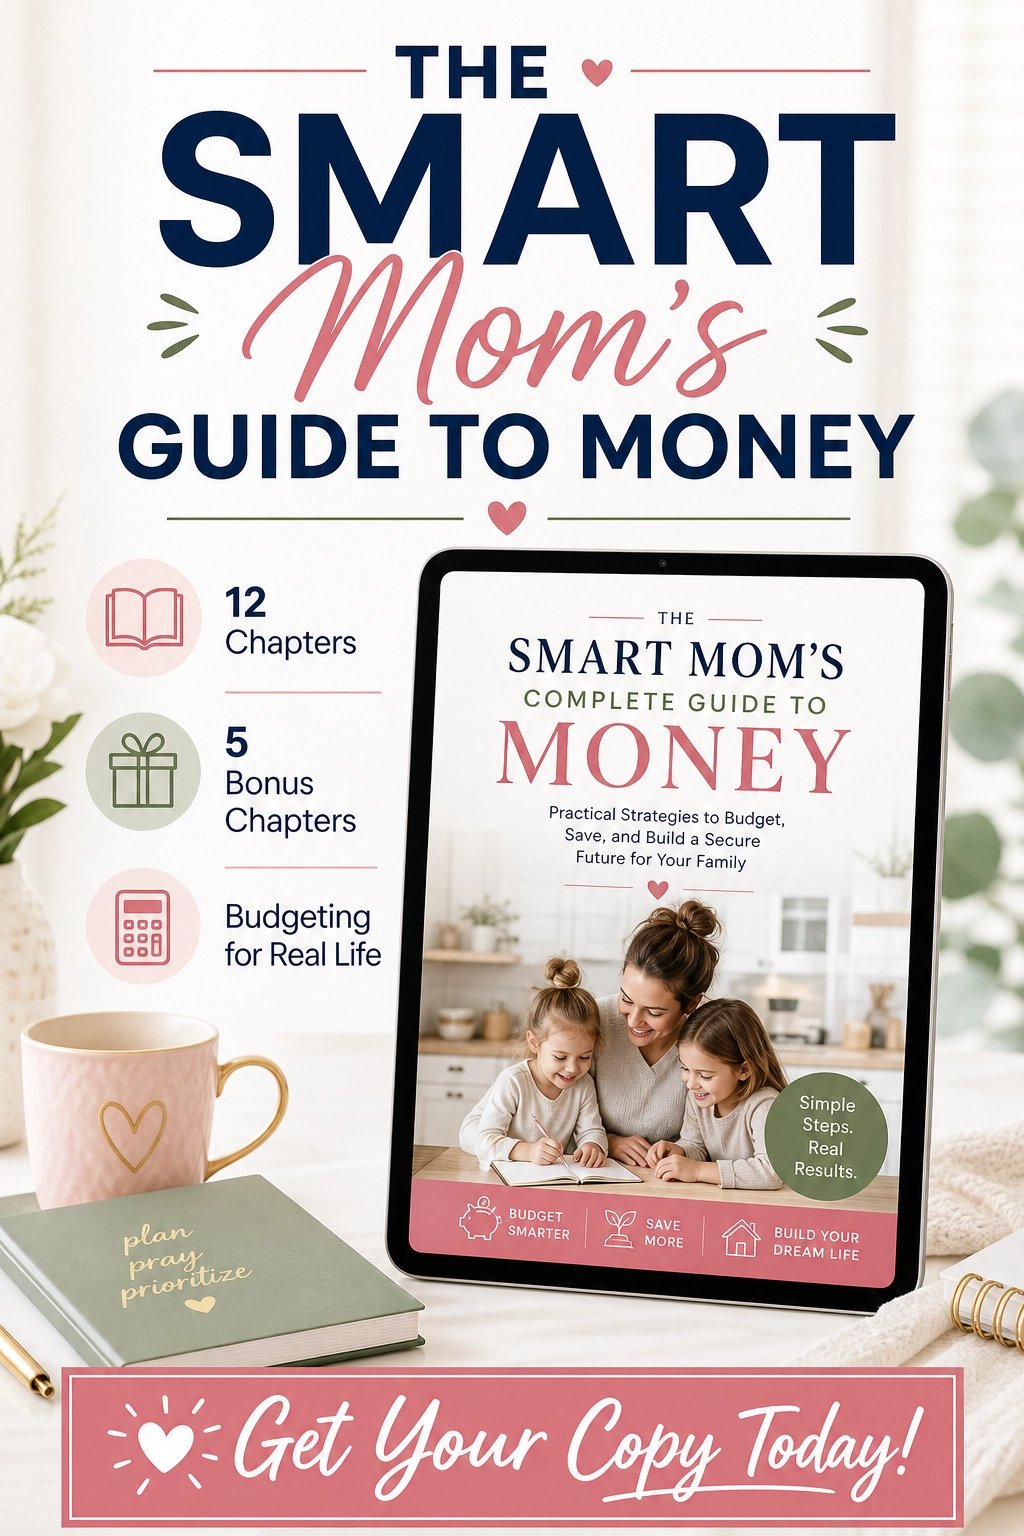
If money management stresses you out, The Smart Mom’s Complete Guide to Money offers clear steps.
Mistakes to Avoid
- Skipping samples. Always check quality yourself.
- Using protected content. It can get your listings removed.
- Listing too few products. A larger catalog increases visibility.
- Ignoring SEO. Keywords are everything on marketplaces.
- Giving up too soon. Many POD shops need months to build traction.
Quick Answers About Print-on-Demand
How much money do I need to start? You can start with very little, often under $100 for samples and optional tools.
How much can I earn? It varies. Some sellers make a few hundred dollars a month, and a few build much larger shops. Niche, design quality, and marketing make the difference.
Do I need design skills? Not necessarily. Many successful designs are simple text-based graphics created with beginner tools.
Is print-on-demand still worth it? Yes, if you choose a clear niche, deliver quality, and market consistently. It’s competitive, so differentiation matters.
Your Print-on-Demand Journey Starts With One Design
A print-on-demand business lets you test your creativity without drowning in inventory. Choose a niche you care about, create a handful of strong designs, order samples, and launch with confidence.
Start this week by listing ten audience ideas and sketching five design concepts. Trust me, seeing your design on a real product for the first time is a thrill you won’t forget. You can do this!







Leave a Reply