


I once sent my first “media kit” to a brand. It was a screenshot of my follower count, a blurry photo, and a sentence that said, “I’d love to work together!” The reply took six weeks and said, “Thanks, we’ll keep you in mind.” Looking back, I can’t blame them. I hadn’t told them anything they could use.
A media kit is a short document that answers the questions a brand has in the first thirty seconds: who are you, who watches you, what have you done, what do you offer, and how much does it cost? A rate card is the pricing section that makes the answer easy. Together, they signal that you’re a professional, even if you’re just starting.
And brands do want proof. CreatorIQ’s survey found about 48% of brands reporting 3x ROI or better from creator marketing, yet many teams struggle to connect creator data and measure performance. A newer industry index reported that brands are building creator departments, giving creators dedicated budget lines, and reusing creator content widely. That means brands are looking for creators who can show clear, trackable results and who are easy to work with.
In this guide, I’ll show you how to build a media kit and rate card, what to include, how to price, and how to make it look professional without a designer. (Rates vary widely, and nothing here guarantees income.)
What a Media Kit Is (and Isn’t)
A media kit is:
- A one to three page document or simple web page
- A sales tool that makes it easy for a brand to say yes
- A living document you update regularly
It isn’t:
- A long autobiography
- A list of every post you’ve ever made
- A place for exaggerated claims

What to Include
1. A clear introduction
- Your name and photo
- One sentence about what you do: “I create honest skincare reviews for people with oily and acne-prone skin.”
- Your niche and platforms
2. Your audience
Use your platform analytics (with real numbers) to show:
- Followers or subscribers on each platform
- Average views, reach, or watch time per post
- Engagement: comments, shares, saves
- Audience location, age range, and gender split
- Audience interests or what they ask you about
Real insight beats a big number. A smaller, focused audience can be more valuable to the right brand.
3. Your best content
- Three to five examples with links, screenshots, or short descriptions
- Brief results: views, saves, comments, clicks, or sales (only if true and permitted to share)
- A line on why each piece worked
4. Past collaborations and testimonials
- Brand names you’ve worked with, if allowed
- Short quotes from brands or customers
- Results from affiliate links or codes, if you have them
If you’re new, include sample content you created to show your style, labeled honestly as samples.

5. Your services
List what you offer:
- Short video reviews
- Photo posts and carousels
- Live selling or live reviews
- Stories or community posts
- UGC content delivered to the brand for their own channels
- Affiliate partnerships
- Longer collaborations or ambassadorships
6. Your rate card
Prices or starting prices for each service, plus what’s included and what costs extra (see below).
7. Your values and rules
- Disclosure and honesty: “I only promote products I’ve tested.”
- Verification: “I review certifications and claim documentation before promoting health, beauty, or food products.”
- Your approval process
These statements are especially valuable in markets where advertising rules are tightening.
8. Contact details and next step
- Email, a booking or contact link, and your handles
- A simple call to action: “Contact me to discuss a collaboration.”
How to Build a Rate Card
There’s no universal price list, and numbers you see online vary a lot. Use a method instead of a guess.
Step 1: Calculate your minimum
- Your target monthly income
- Taxes and expenses (software, equipment, fees)
- The real hours each deliverable takes, including planning, filming, editing, revisions, and communication
Step 2: Research the market
- Look at rate guides and peers in your niche, remembering they vary widely and often come from vendors
- Ask other creators for ranges
- Consider your audience quality and results, not just size

Step 3: Choose pricing formats
- Per deliverable: for example, one video, one post, or one live session
- Packages: bundles such as three videos plus usage rights
- Performance-based: commission or bonus tied to sales, which has become more common in creator deals
- Hybrid: a base fee plus commission
Step 4: Price the extras separately
- Usage rights: how long and where a brand can use your content. Many creators charge an additional 50% to 100% or more for paid ad usage.
- Exclusivity: not working with competitors for a period
- Whitelisting or partnership ads: letting a brand run content through your account
- Rush delivery
- Extra revisions
- Raw footage
Step 5: Show ranges, then confirm
Many creators show “starting at” prices and confirm the final quote after a brief. This protects you from underpricing complex requests.
Design Tips (No Designer Needed)
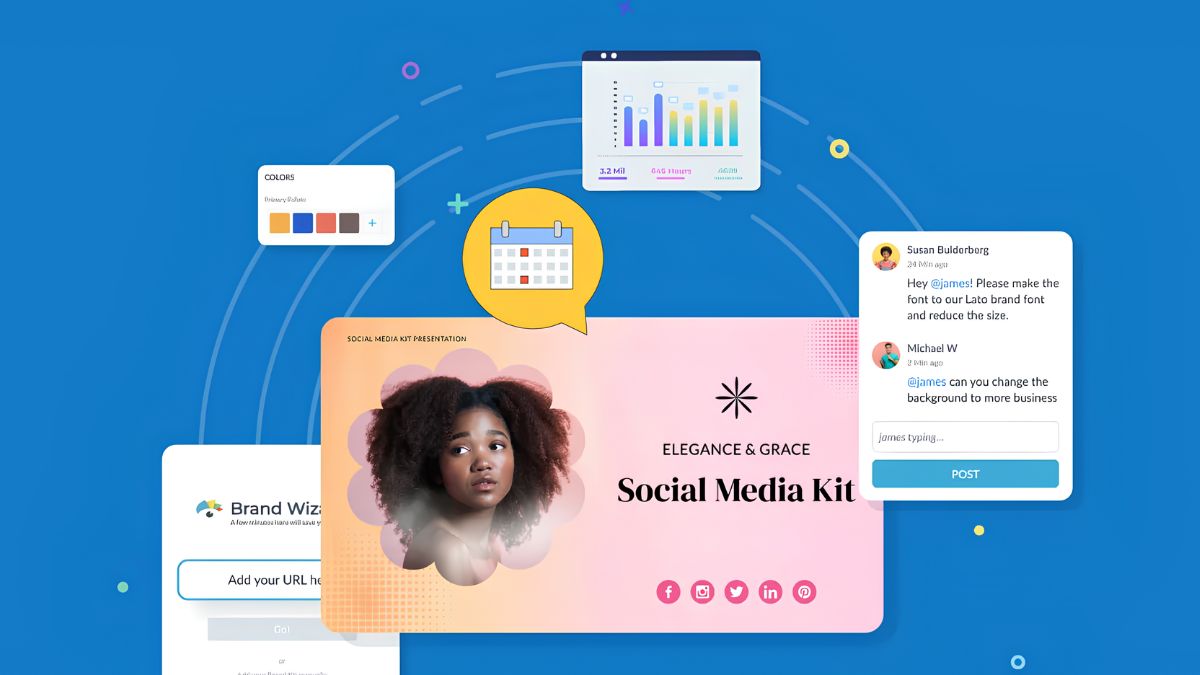
- Use a clean template from a free design tool.
- Keep branding consistent: same colors and fonts as your content.
- Use clear headings and plenty of white space.
- Show your face. Real people are more memorable.
- Make links clickable and check them.
- Save a PDF version and a web version.
- Keep numbers current. Update monthly.
If you use AI tools to help draft or design, edit everything for accuracy and your voice, and never invent numbers or testimonials.
How to Use Your Media Kit
- Attach it to pitch emails or link to it.
- Add it to your bio link or website.
- Send it when a brand asks “do you have a media kit?”
- Update it after each collaboration with new results.
- Pair it with a short, personal message that explains why you’re a good fit for that brand.
Mistakes to Avoid
- Inflating numbers or using fake followers. Brands check.
- Listing only follower count. Show engagement and audience fit.
- Unclear services and pricing.
- Forgetting usage rights and exclusivity pricing.
- Leaving out contact details.
- Never updating it.
- Making it too long.
Your 7-Day Media Kit Plan
- Day 1: Collect your analytics and screenshots.
- Day 2: Write your one-sentence introduction and bio.
- Day 3: Choose your best three to five content examples.
- Day 4: List your services and calculate your minimum prices.
- Day 5: Build your rate card with extras priced separately.
- Day 6: Design the kit and check all links.
- Day 7: Ask a friend to review it, then send it to your first brand.
Build Your Professional Foundation
A strong media kit is a small step with a big effect on how brands see you. If you’d like a step-by-step guide to building a KOL or influencer career, take a look at my ebook:
The Complete Beginner’s Guide to Building a KOL/Influencer Career

Trust me, a clear, honest media kit makes brands feel safe saying yes.
Final Thoughts
You don’t need a huge following to look professional. You need a clear introduction, real audience insights, your best proof, a transparent rate card, and an honest approach. Build it this week, send it with confidence, and update it as you grow.







Leave a Reply